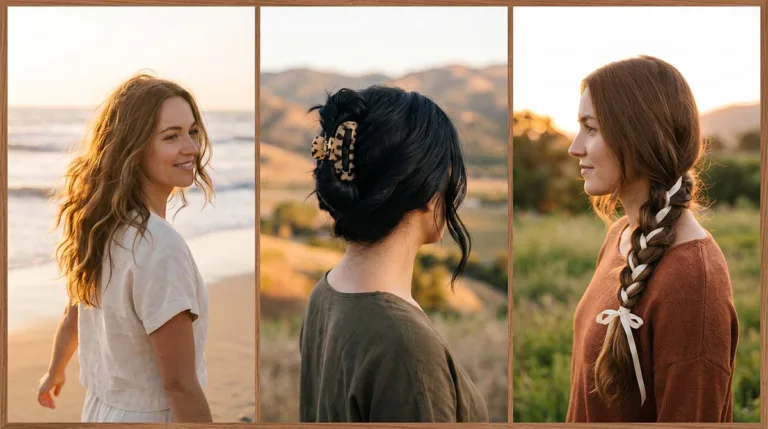
Heatless Curls: 6 Amazing Ideas for Bouncy Healthy Hair
Your curling iron is the reason your hair won’t grow past your shoulders. Every pass of a 400°F heat tool strips moisture from the hair shaft and weakens the cuticle layer — the slow breakage that follows is the part most people never connect back to their styling routine. You don’t need heat to get beautiful curls.
Heatless curls give you the same bouncy, defined look overnight, and your hair stays stronger for it. These six methods work on every hair type, and most require tools you already own.
Why Heatless Curls Are Better for Your Hair
Most people don’t think twice about reaching for a curling wand every morning. But chronic heat use causes real, cumulative damage. Heat weakens the keratin bonds inside each strand, leading to dryness, split ends, and eventually breakage that cannot be reversed without cutting.
The Science Behind Heat Damage
Hair is made of keratin proteins held together by hydrogen and disulfide bonds. Temperatures above 300°F begin to alter those bonds permanently. The hair cuticle — the protective outer layer — lifts under heat and doesn’t always lie flat again. That’s why heat-damaged hair looks dull and feels rough even right after washing.
Heatless styling works differently. Instead of forcing hair into a curl shape with high temperatures, it uses tension and time. Slightly damp hair is wrapped or twisted around a tool and left to dry in that position. The result is a natural, lasting curl that leaves the hair’s structure intact.
The benefits compound over time. Less breakage means more length retention. Less dryness means color-treated hair stays vibrant longer. Switching to no-heat methods even a few nights a week makes a visible difference within a month.
6 Heatless Curl Methods That Actually Work
Not every method suits every hair type. What creates defined ringlets on fine hair may only produce a loose wave on thick, coarse hair. Each method below includes guidance on which hair types it works best for, with a clear step-by-step process.
1. The Overnight Braid Method
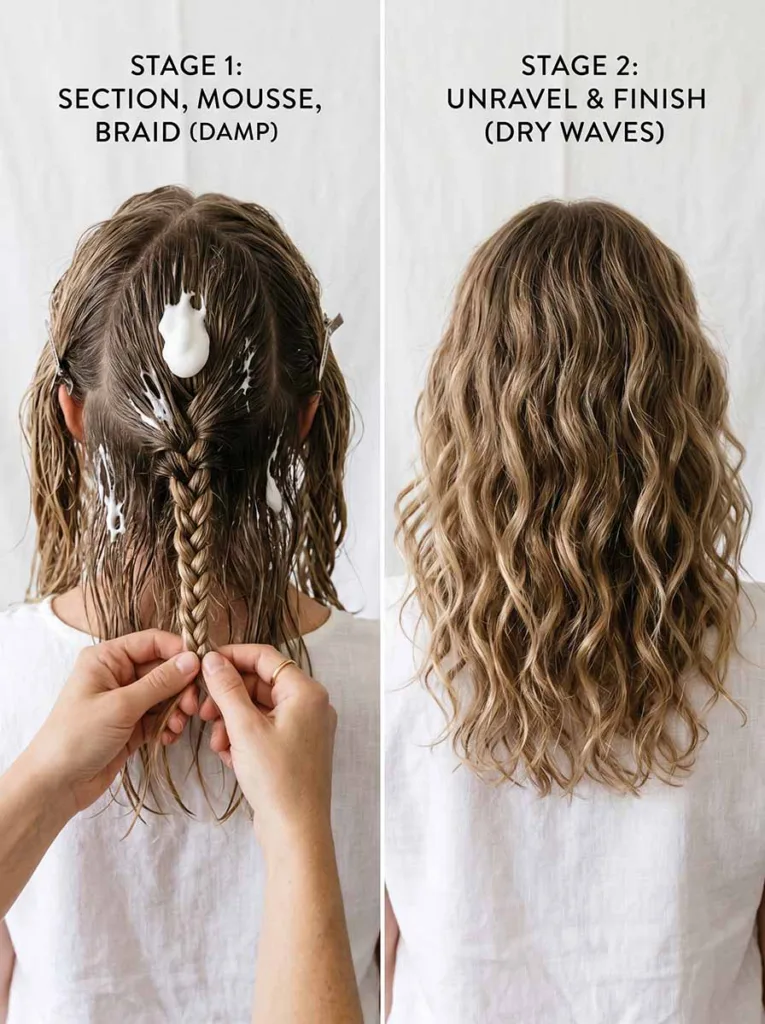
Braiding is the most accessible heatless curl technique. It requires nothing but your hands and works on almost every hair type. The number of braids and their size control the final curl pattern.
Best for all hair types. More braids produce tighter curls; fewer braids give loose beach waves.
Steps:
- Start with clean, damp hair — not soaking wet, roughly 70–80% dry.
- Apply a small amount of curl-enhancing mousse or leave-in conditioner to each section.
- Divide hair into 2–8 sections depending on the curl size you want.
- Braid each section down to the ends and secure with a soft elastic.
- Sleep on a satin pillowcase or wrap hair in a silk scarf to reduce frizz.
- In the morning, gently unravel each braid and separate curls with your fingers.
- Finish with a light anti-frizz serum to seal the style.
One Tip Worth Knowing: French braids create more volume at the roots than regular three-strand braids, which is useful if your hair tends to lie flat on top.
2. The Robe Belt or Silk Ribbon Method
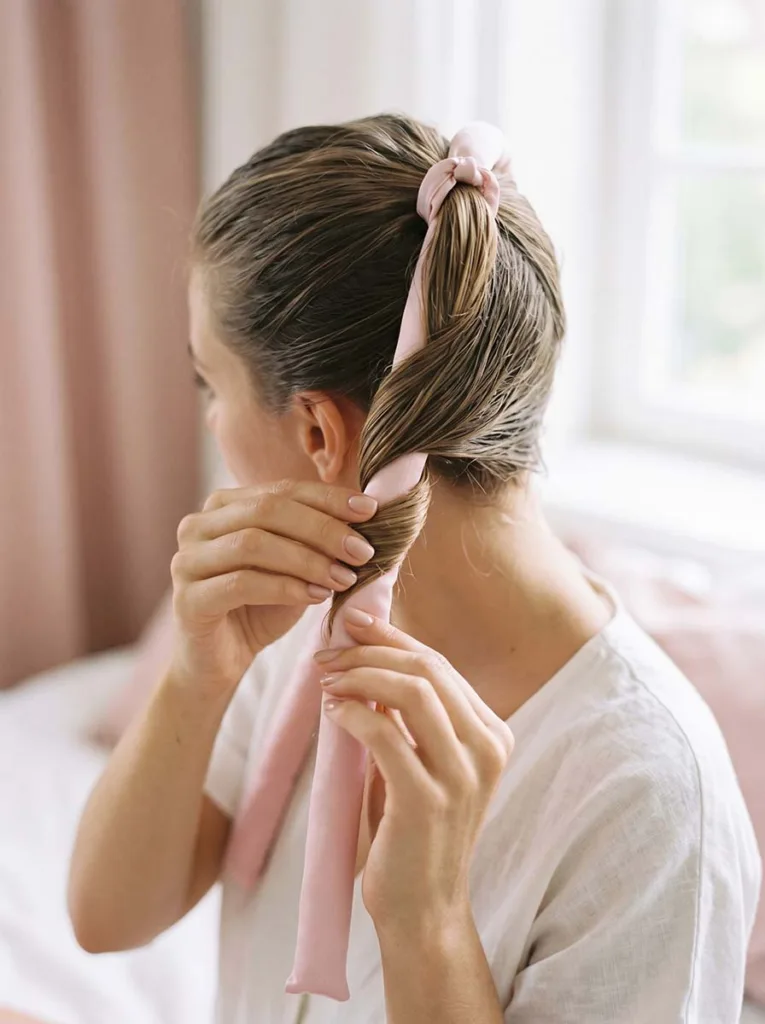
This technique went viral on TikTok and has genuinely earned its popularity. Wrapping hair around a soft robe cord or silk ribbon creates voluminous, soft waves that look professionally styled. It takes under ten minutes and works best for medium to long hair.
Best for medium to long straight or wavy hair. Less effective on very short hair.
Steps:
- Secure a robe belt or silk ribbon at the crown of your head using a small clip or hair tie.
- Divide hair into two sections.
- Take a small piece of hair from one section, wrap it over and under the ribbon, then continue adding more hair as you wrap downward (similar to a waterfall braid).
- Repeat on the other side.
- Secure the ends to the ribbon and leave in for 6–8 hours or overnight.
- Gently remove the ribbon and separate waves with your fingers.
The silk or satin material matters. It reduces friction, which means less frizz and fewer tangles when you take it out.
3. Flexi Rods
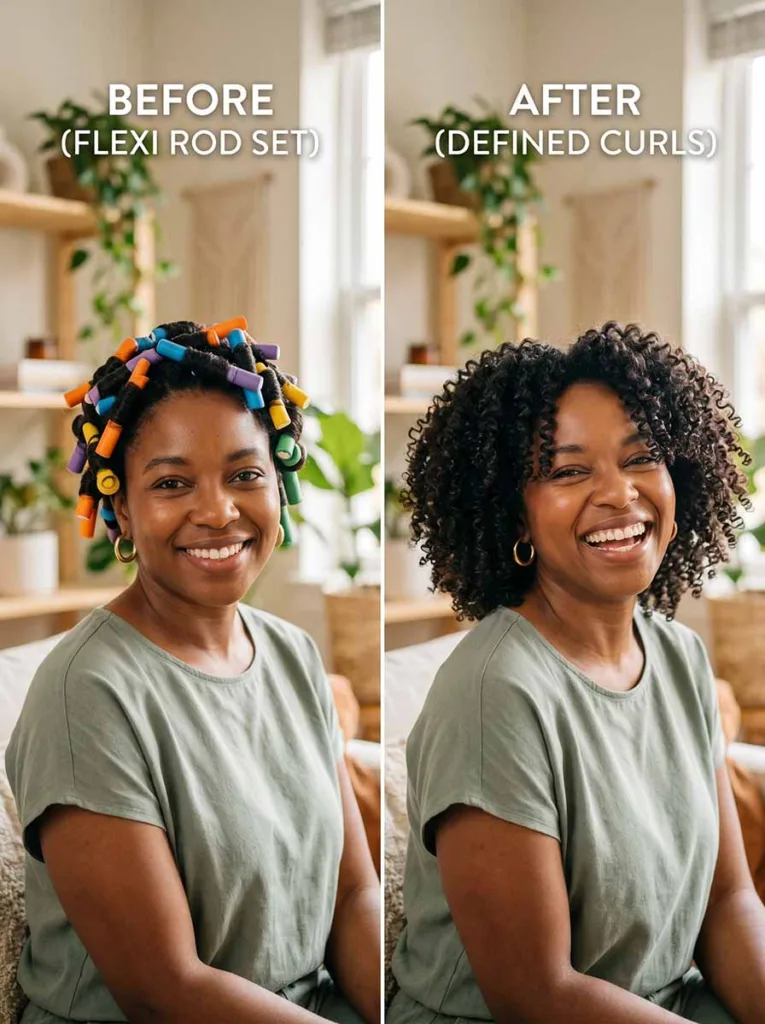
Flexi rods are bendable foam rods that have been a staple in the natural hair community for decades. They create defined, spiral curls without any heat, and the curl size depends entirely on the rod’s diameter.
Best for natural hair, 4A–4C curl types, and anyone who wants tight, defined ringlets. Also works on relaxed hair.
Steps:
- Section slightly damp hair into 1-inch pieces.
- Apply curl cream or setting lotion to each section.
- Place the rod at the end of the section and roll upward toward the scalp, wrapping hair tightly around it.
- Bend both ends of the rod inward to secure it close to the scalp.
- Allow hair to air-dry completely — at least 8 hours. Do not rush this step.
- Once fully dry, gently unroll each rod and separate curls with a pick or your fingers.
- Seal with a light oil to add shine.
Skipping the full drying time is the most common mistake with flexi rods. Damp hair removed early will frizz and lose definition within the hour.
4. Foam Rollers
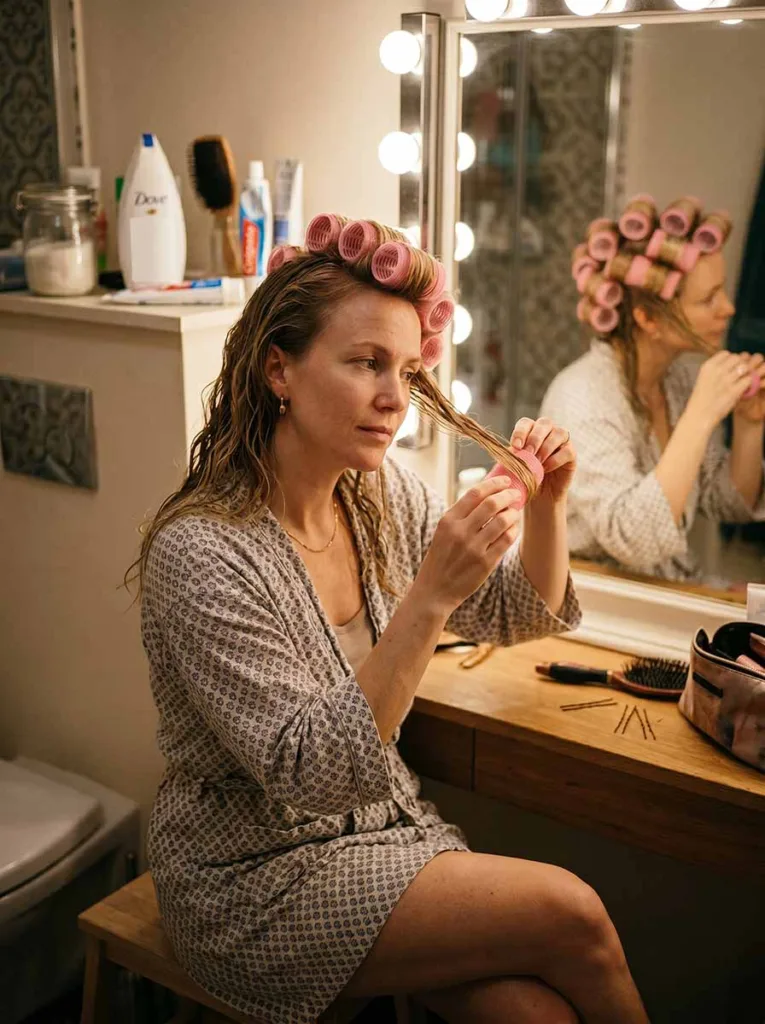
Foam rollers are affordable, widely available, and produce smooth, bouncy curls close to a classic blowout. They are gentler on the hair than hard plastic rollers and cause less snagging.
Best for fine to medium hair. Good for voluminous, polished curls rather than natural-looking waves.
Steps:
- Start with hair that is 60–70% dry.
- Divide hair into sections that match the roller size. Smaller sections produce tighter curls.
- Wrap each section smoothly around a foam roller, rolling from the ends upward toward the roots.
- Secure the roller in place.
- Leave in for a minimum of 4 hours; overnight gives the best results.
- Remove carefully, unrolling downward.
- Run fingers through curls to loosen and style.
Apply a volumizing mousse before rolling for extra hold. Foam rollers also work well the day after washing — second-day hair holds a curl better than freshly washed strands.
5. Rag Curls
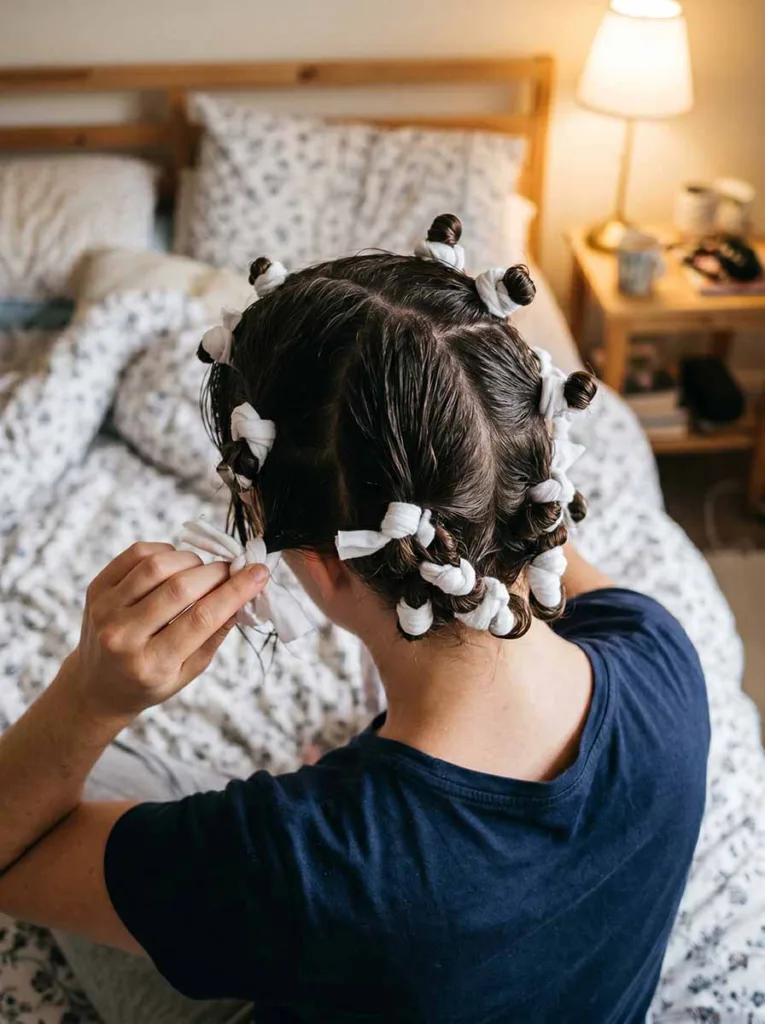
Rag curls are an old-school technique that works well on fine, limp hair that struggles to hold heat-styled curls. You only need strips of fabric — an old cotton T-shirt works perfectly.
Best for fine, straight, or color-treated hair that needs extra hold. Also works well for kids’ hair.
Steps:
- Cut or tear clean fabric into strips approximately 1 inch wide and 12–15 inches long.
- Section damp hair into pieces — 1-inch sections for ringlets, larger sections for waves.
- Place a fabric strip horizontally under the hair section, halfway along the strip’s length.
- Roll the hair section around the center of the rag, wrapping from ends to roots.
- Tie the two ends of the fabric together in a knot at the scalp to secure.
- Allow to dry completely overnight.
- Untie each rag and gently separate the curl with your fingers.
The fabric absorbs a small amount of moisture as the hair dries, which helps set the curl more firmly. That’s why rag curls tend to last longer on fine hair than roller methods.
6. The Sock Bun Method
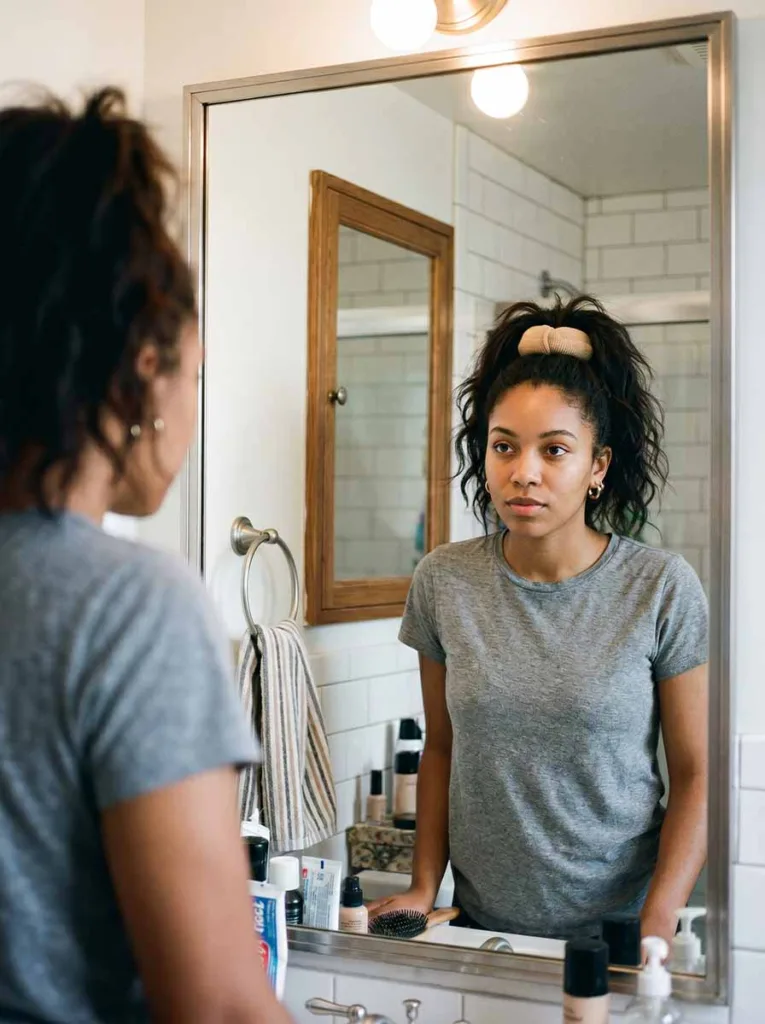
The sock bun creates loose, romantic waves rather than defined curls. It doubles as a polished updo while your hair sets, which makes it practical for evenings when you still want your hair out of the way.
Best for medium to long hair of any texture.
Steps:
- Cut the toe off a clean sock and roll it into a donut shape.
- Pull hair into a high ponytail and thread it through the sock donut.
- Spread the ends of your hair over the donut, then roll the sock down toward the base of the ponytail, tucking hair in as you roll.
- Secure with a hair tie or bobby pins at the base.
- Sleep with the bun in or leave for at least 4–6 hours.
- Gently unroll, take out the sock, and shake hair loose.
A little texturizing spray on the waves before separating them adds that effortless, undone quality that makes this method look so good.
How To Prep Your Hair for Heatless Curls
Preparation is what separates limp, undefined results from curls that last all day. The best technique in the world will underperform on badly prepped hair.
The Ideal Moisture Level
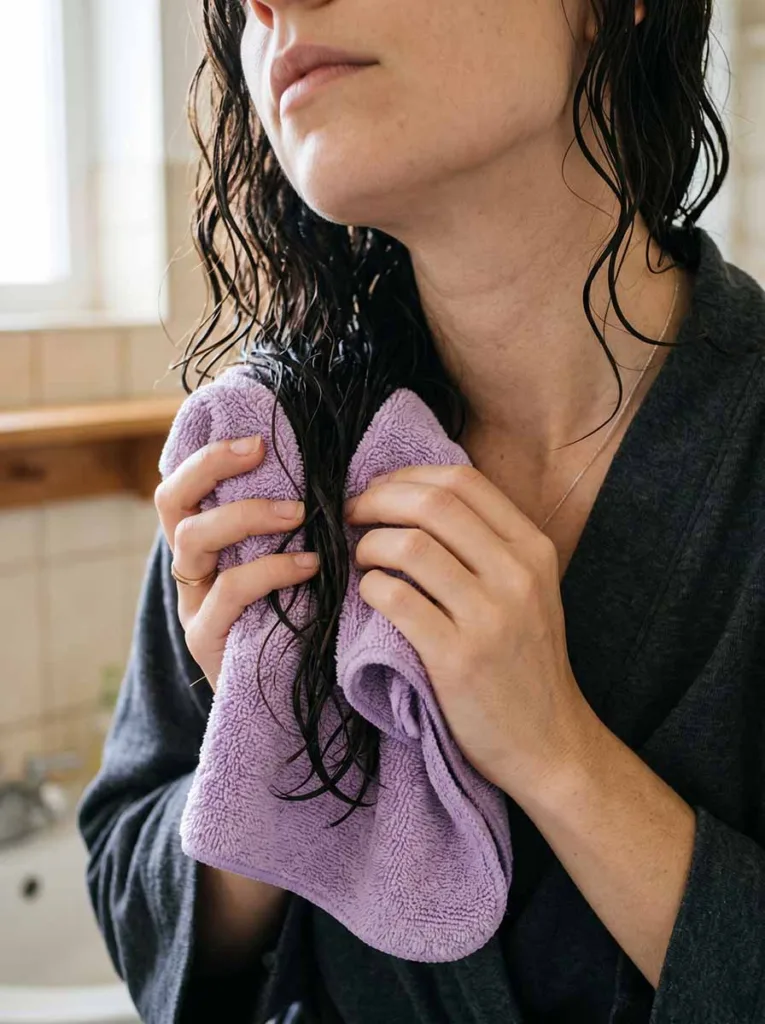
Hair should be damp but not dripping wet when you apply any heatless method. Soaking wet hair takes too long to dry and may not set properly, especially for thicker types. Completely dry hair won’t hold a curl without heat.
Wash your hair in the evening, blot gently with a microfiber towel, and let it air dry for 20–30 minutes before starting. If you prefer to set your curls during the day, use a spray bottle to mist dry hair lightly.
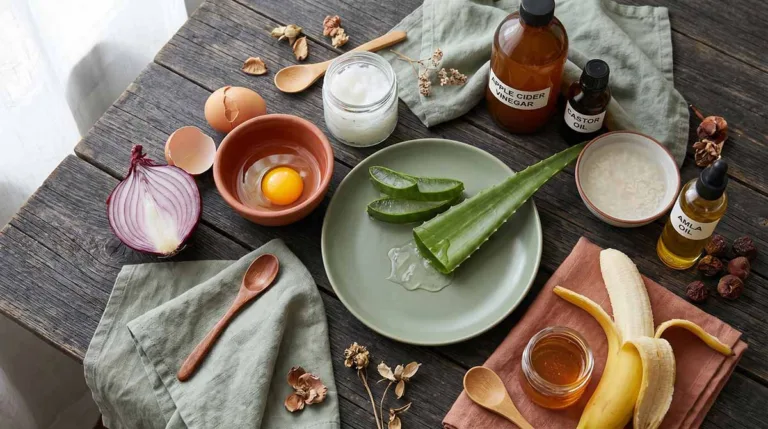
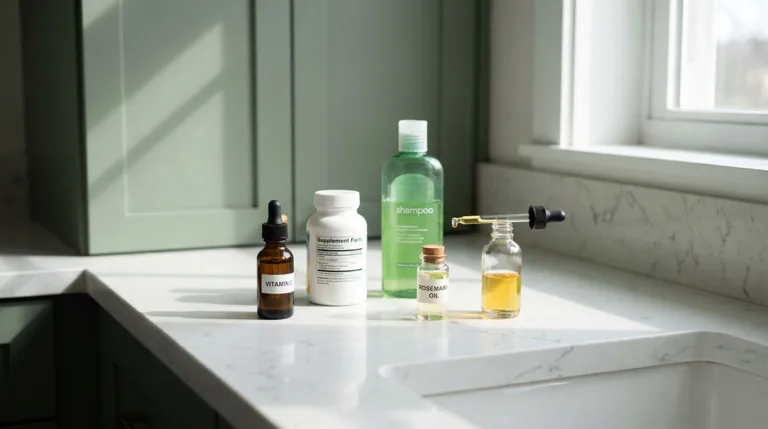
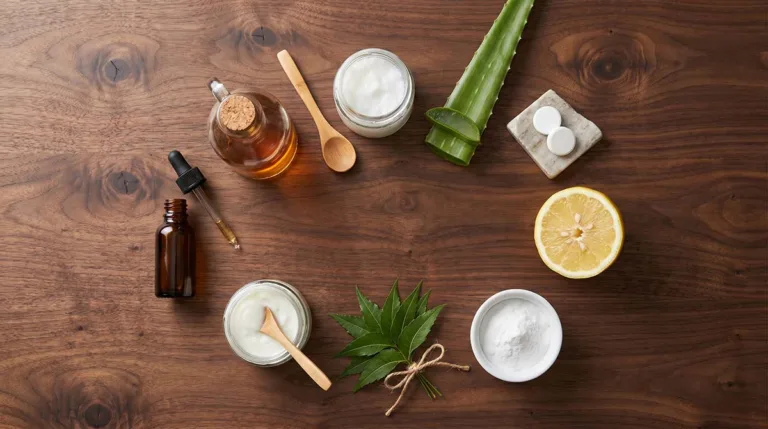
Products That Improve Results
Fine hair does well with lightweight mousses and curl-defining creams that add hold without weight. Thick or coily hair responds better to leave-in conditioners, setting lotions, and curl butters that provide moisture and definition.
Avoid heavy oils before setting your style. Oil creates a barrier that slows drying time and can prevent the curl from forming properly. Use oil only after the curls are set, as a finishing step.
How To Make Heatless Curls Last Longer
A few habits make a real difference in how long the style holds.
Dry completely before removing. Even 10% residual moisture will cause the curl to relax within hours. This single step accounts for most disappointing results.
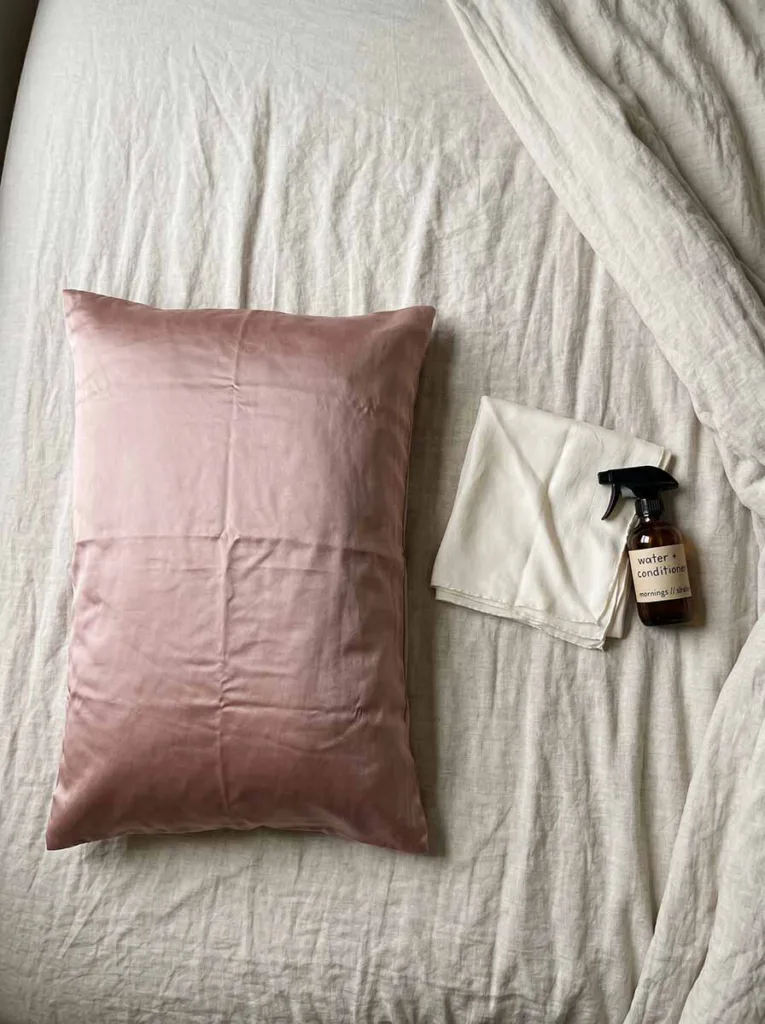
Sleep on satin. A satin or silk pillowcase reduces the friction that breaks up curl patterns overnight. A loose satin bonnet offers even more protection for longer styles.
Use hold product before setting, not after. Too little and the curl fall flat. Too much and hair becomes stiff. A lightweight curl-hold spray applied before setting gives structure without crunch.
Refresh on day two with a quick spritz of water mixed with a few drops of conditioner. Mist lightly over hair and scrunch. It revives the curl shape without requiring a full reset.
Common Heatless Curl Mistakes to Avoid
Even the right technique can produce bad results. These are the most frequent errors.
Removing the style before hair is fully dry. Set a timer if you have to. Rushing this step is responsible for more frizzy, flat results than anything else.
Skipping product entirely. Bare, dry hair does not grip a curl tool well. Even a light mist of leave-in conditioner improves hold substantially.
Using sections that are too large. Thick sections mean the interior hair stays damp longer and may not curl at all. Smaller sections give more consistent results throughout.
Not protecting hair while sleeping. Cotton pillowcases pull at the style. Switch to silk or satin, or loosely pin the style before bed.
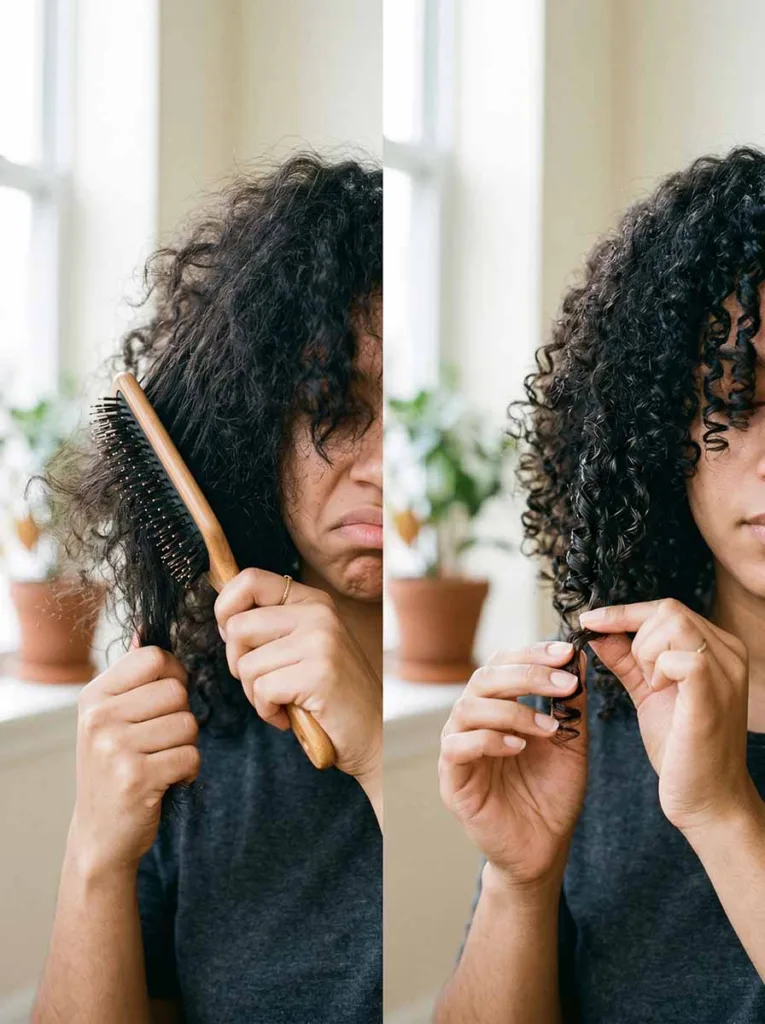
Brushing curls apart. Always use your fingers to separate heatless curls. A brush or fine-tooth comb breaks the curl pattern and creates frizz immediately.
FAQ Section
1. How long do heatless curls last?
Heatless curls typically last 24–48 hours depending on hair type, method, and preparation. Fine hair may need refreshing on day two. Coarser hair often holds curls longer.
2. Can heatless curls work on very straight hair?
Yes. Straight hair can achieve heatless waves with methods like the robe belt or overnight braids. A curl-enhancing mousse and full drying time are essential for straight hair types.
3. Is it better to do heatless curls on wet or dry hair?
Slightly damp hair, about 70–80% dry, produces the best results. Fully wet hair takes too long to set. Fully dry hair will not curl without heat.
4. What is the easiest heatless curl method for beginners?
The overnight braid method is the simplest starting point. It requires no tools, takes only a few minutes, and works on all hair types.
Conclusion
Heatless curls actually produce better results over time than heat styling does, not just healthier hair. The methods in this guide protect the hair cuticle, reduce breakage, and keep moisture where it belongs. Start with overnight braids if you are new to no-heat styling. Once you’re comfortable, try flexi rods or the robe belt method for different curl types. Pick one method and try it tonight.
For more insightful articles related to hairstyles, please visit VelvetBoard.