Simple Nail Care Routine at Home: 8 Proven Steps
Your nails keep breaking at the same length. The peeling won’t stop no matter what cream you buy. And every nail care tip you’ve tried has done absolutely nothing. The real issue is sequence: nobody told you the right order to do things.
A simple nail care routine at home takes fifteen minutes once a week. Done consistently, it gets to the actual causes of breaking, peeling, and brittleness rather than masking the symptoms with creams that wash off.
Eight steps, the right tools, your specific nail type, daily habits, natural remedies, and the mistakes most people make without realizing it — all covered below.
Why Your Nails Need a Consistent Routine
Nails grow about 3 millimeters per month. Damage you cause today shows up for weeks. Harsh dish soap and acetone-based removers strip your nails’ natural oils with every use. The damage shows up long before you notice anything is wrong.
A routine stops that cycle. It gives nails the hydration and nutrients they need to grow strong. The same logic applies as with a skincare routine: skip a week and you’ll be fine, but skip for months and you’re dealing with problems that take twice as long to fix.
Healthy nails don’t need complicated products. They need the right habits, applied in the right order.
Know Your Nail Type First
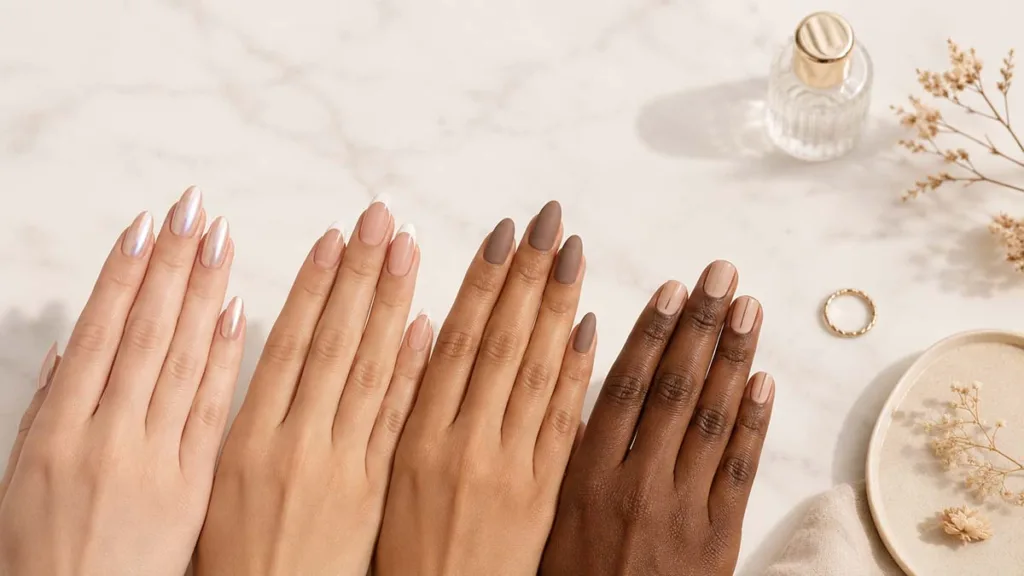
The eight steps work for everyone, but your nail type tells you where to focus. Peeling nails, brittle nails, and soft nails each have different root causes. The fix that works for one can make another worse.
| Nail Type | What It Looks Like | Root Cause | Priority Fix |
| Brittle / breaking | Snaps cleanly at the tip, often at a consistent length | Low moisture, frequent acetone use, low biotin | Cuticle oil daily + biotin-rich foods |
| Peeling | Thin layers split and lift from the nail surface | Excess water exposure, over-buffing, vitamin deficiency | Limit soaking, use a strengthener, add vitamin E |
| Soft / bendy | Nails bend instead of breaking, feel thin and flimsy | Iron deficiency, over-moisturizing without a strengthener | Nail strengthener with keratin or calcium |
| Ridged | Vertical or horizontal lines running along the nail | Vertical = hereditary; horizontal = past trauma or illness | Gentle buffing, no peeling or picking |
| Dry / dull | No natural shine, cuticles crack, skin around nails peels | Dehydration, harsh soaps, cold weather | Hand cream after every wash, overnight cuticle oil |
If your nails fall into more than one category (brittle and peeling together is common), treat the peeling first. Peeling means the nail plate lacks the structural integrity to hold moisture, so strengthening comes before hydration.
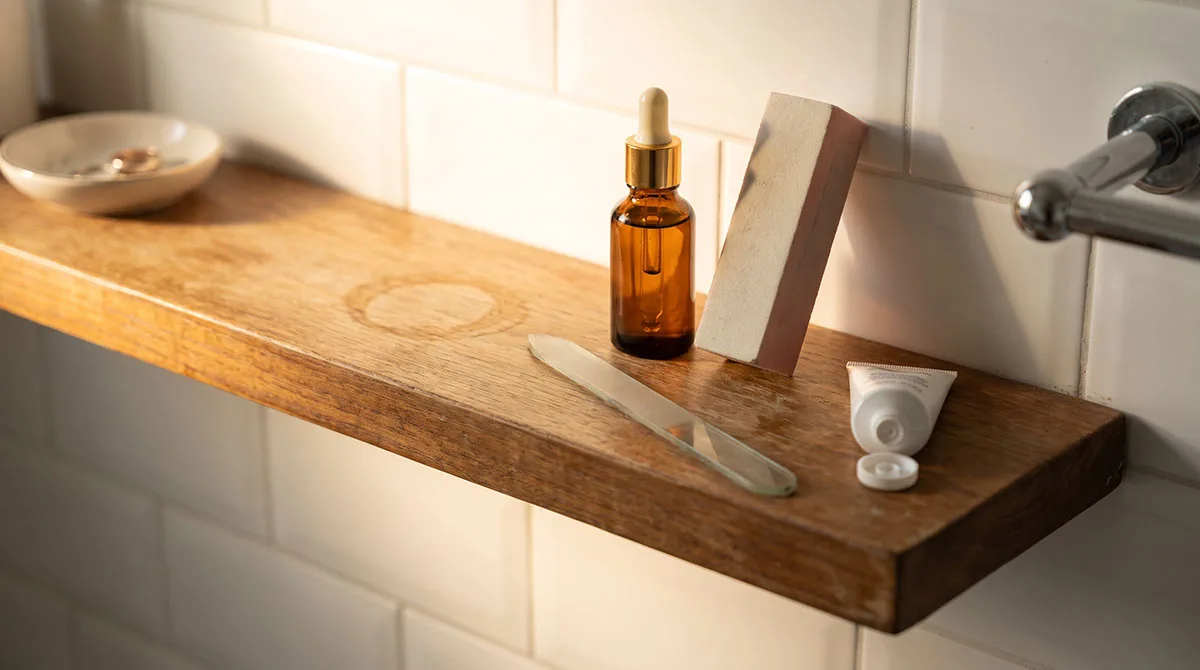
The Tools You Need for At-Home Nail Care
Before starting, gather the right tools. Using the wrong ones causes more harm than skipping the routine entirely.
Must-Have Tools
| Tool | Why It Matters |
| Glass nail file | Leaves a smoother edge than emery boards; causes less microscopic tearing |
| Cuticle pusher | An orange wood stick or rubber-tipped pusher works best — never metal for beginners |
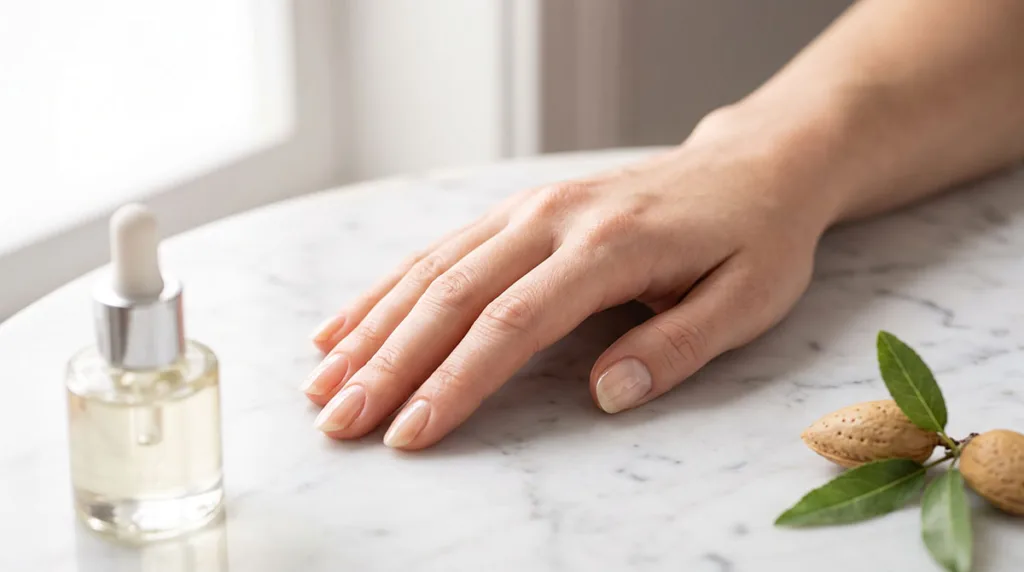
| Cuticle oil | Look for jojoba oil, vitamin E, or almond oil — these penetrate rather than sit on the surface |
| Nail buffer | Four-sided; lets you shape, smooth, and add shine without polish |
| Hand cream with urea or shea butter | Locks moisture in longer than regular lotion |
Optional Upgrades
A nail strengthener with biotin or keratin helps if your nails are very brittle. A small soaking bowl and a soft nail brush for cleaning round out a complete kit. None of these cost more than a few dollars, and they last months.
Simple Nail Care Routine at Home: Step by Step
This routine works best done once a week. It takes between fifteen and twenty minutes from start to finish.
Step 1: Remove Old Polish
Start with an acetone-free nail polish remover. Acetone works faster, but it strips the natural oils from your nails with every use. If you use gel or dip powder, take a week off between sets so nails can rehydrate and breathe.
Soak a cotton pad, press it flat against each nail for a few seconds, then wipe in one smooth stroke from base to tip.
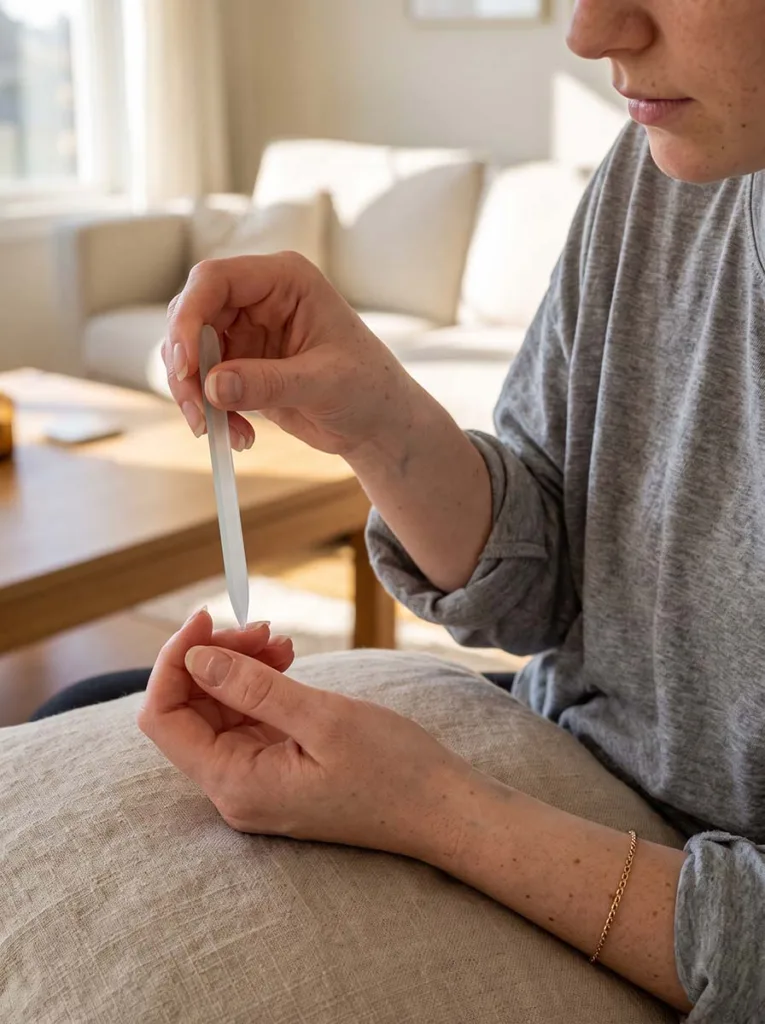
Step 2: Trim and Shape
Clip nails straight across first, then file the sides and corners to your preferred nail shape. Round, oval, and square are the most common. Square tips hold up best because they have more surface area at the edge.
Always file in one direction. Sawing back and forth creates friction that tears the nail layers apart. Five to eight strokes in one direction is enough. Filing wet nails weakens them, so always file dry.
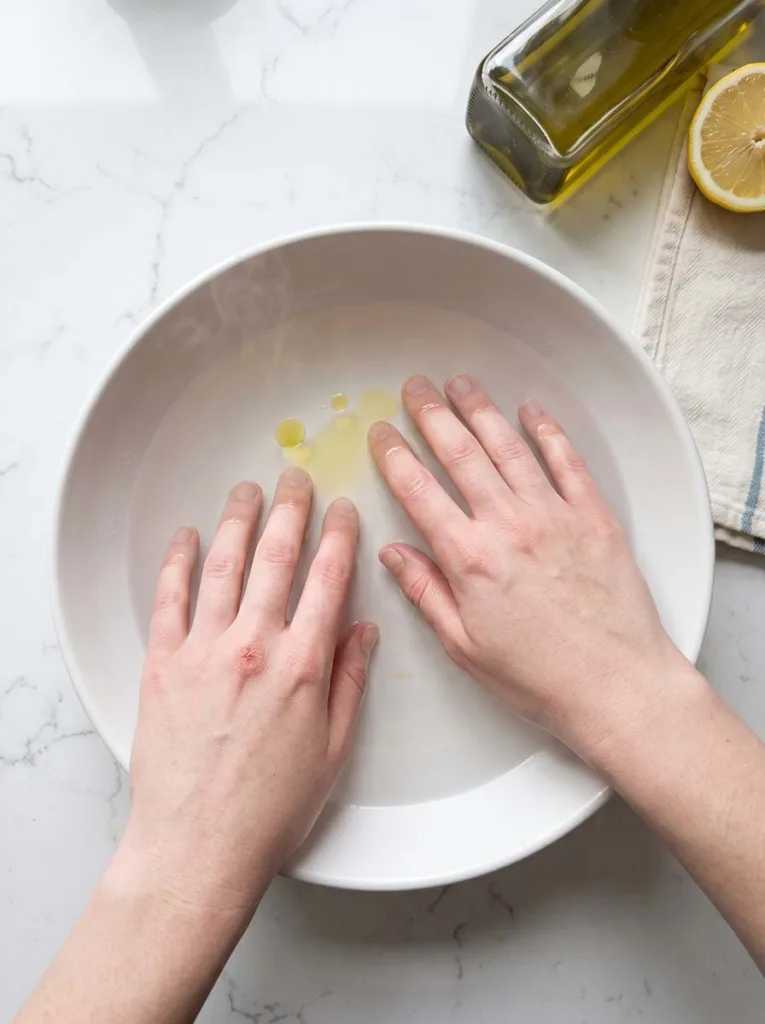
Step 3: Soak Your Nails
Fill a small bowl with warm water and add two drops of olive oil. Soak your fingertips for three to five minutes. Softened cuticles are easier to push back, and a hydrated nail plate absorbs the products you apply next.
Important: Don’t soak longer than five minutes. Extended water exposure weakens nails because the nail plate expands then contracts as it dries, causing microfractures.
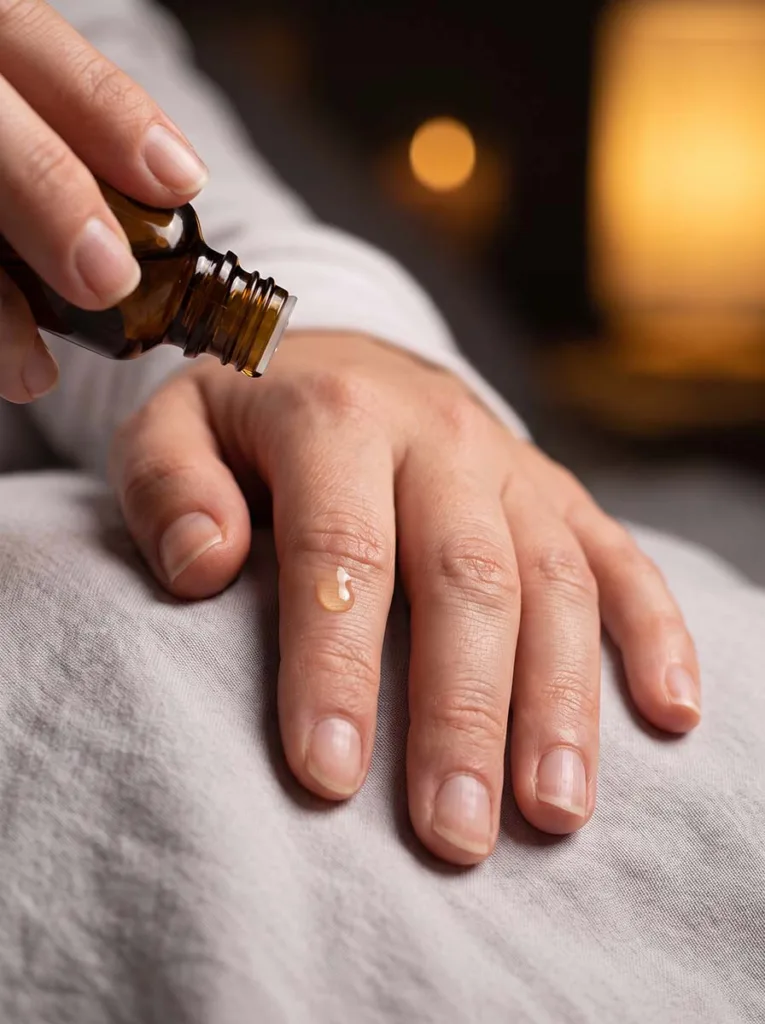
Step 4: Care for Your Cuticles
After soaking, pat your hands dry and gently push your cuticles back using an orange wood stick. Start from the center and work outward. Keep the pressure light.
Cutting cuticles creates tiny entry points for bacteria that can cause infections. The cuticle’s job is to protect the nail matrix (the growth center at the nail’s base) from pathogens. Pushing is enough.
Apply cuticle oil directly to the base of each nail and massage it in for thirty seconds. Do this even on the days you skip the full routine.
Step 5: Buff and Smooth
Use the rough side of your nail buffer to smooth any ridges, then work through the finer sides in sequence to finish with a natural shine. Keep the pressure light: over-buffing thins the nail plate.
- Horizontal ridges usually indicate past damage or nutritional deficiencies
- Vertical ridges are mostly hereditary and harmless
Buffing minimizes both without chemicals.
Step 6: Apply a Base Coat or Strengthener
If you’re wearing polish, a base coat is non-negotiable. It creates a barrier between the pigment and the nail plate, preventing staining and extending how long your manicure lasts.
If you’re going bare, apply a clear nail strengthener instead. Products with hydrolyzed keratin, calcium, or biotin reinforce the nail structure and reduce breakage. Apply one thin coat and let it dry for two minutes.
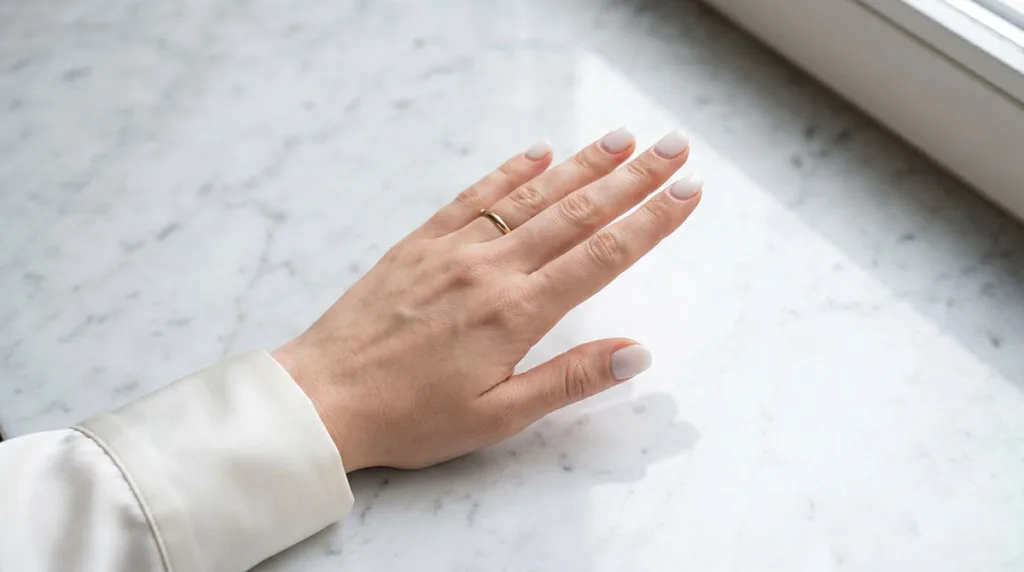
Step 7: Moisturize Your Hands and Nails
Most people skip this step and then wonder why their nails stay brittle. Massage a hand cream into your palms, fingers, and nails. Give the knuckles and the skin around each nail extra attention.
Dry skin draws moisture away from the nail bed, which makes nail edges brittle. If your hands feel dry again within an hour, the lotion isn’t occlusive enough. Switch to one with shea butter or beeswax.
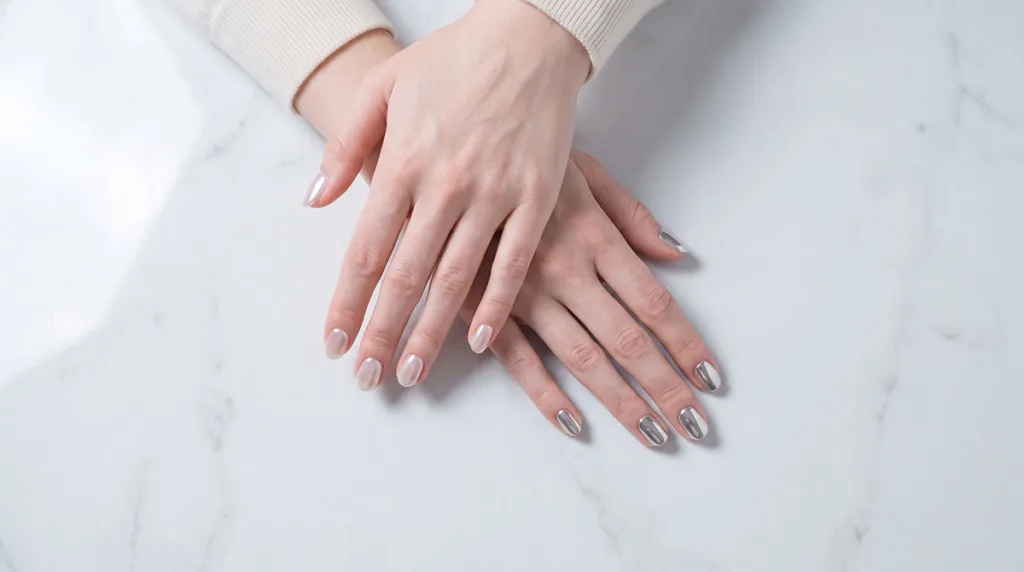
Step 8: Add Color (Optional)
Apply your first coat of nail polish color in a thin, even stroke. Wait two full minutes between coats. Thick coats dry unevenly and chip faster. Two thin coats will last longer than one thick one.
Finish with a top coat to seal the color and reduce chipping. Reapply every two to three days to extend the wear. For something more creative, a few simple nail art designs work just as well over this same base.
Daily Habits That Keep Nails Healthy
The weekly routine handles the maintenance. What you do daily determines whether nails stay in good shape between sessions. These nail care tips at home work alongside the weekly routine to stop the breaking cycle before it starts.
Wear gloves when washing dishes or cleaning. Prolonged contact with hot water and dish soap breaks down the nail’s natural oils faster than almost anything else. A pair of rubber gloves costs less than one bottle of nail polish.
Apply cuticle oil every night. It takes thirty seconds. Massage it into each nail before bed and let it absorb overnight. This single habit improves nail flexibility and reduces breakage within two weeks.
Stay hydrated. Nails are made of keratin, a protein that needs adequate water to stay flexible. Chronic dehydration visibly affects nail quality within weeks.
Eat for your nails. The right nutrients make a real difference:
| Nutrient | Best Food Sources |
| Biotin | Eggs, almonds, sweet potatoes |
| Zinc | Pumpkin seeds, chickpeas |
| Vitamin E | Sunflower seeds, avocado |
You won’t see results overnight. Nails reflect nutritional changes after four to six weeks because of how slowly they grow.
Natural Remedies for Brittle or Weak Nails
Knowing how to care for nails naturally means using ingredients already in your kitchen — no commercial products required. If your nails split, peel, or break constantly, a few targeted remedies can help between your weekly sessions.
Olive Oil Soak: Warm two tablespoons of olive oil and soak your fingertips for ten minutes, twice a week. Olive oil penetrates the nail plate and helps restore flexibility to brittle nails. Dermatologists often recommend it as a low-cost alternative to commercial nail conditioners.
Coconut Oil Massage: Apply extra-virgin coconut oil to nails and cuticles each night. Coconut oil contains lauric acid, which binds to keratin proteins and reduces protein loss from nails. It’s the same reason it works on damaged hair.
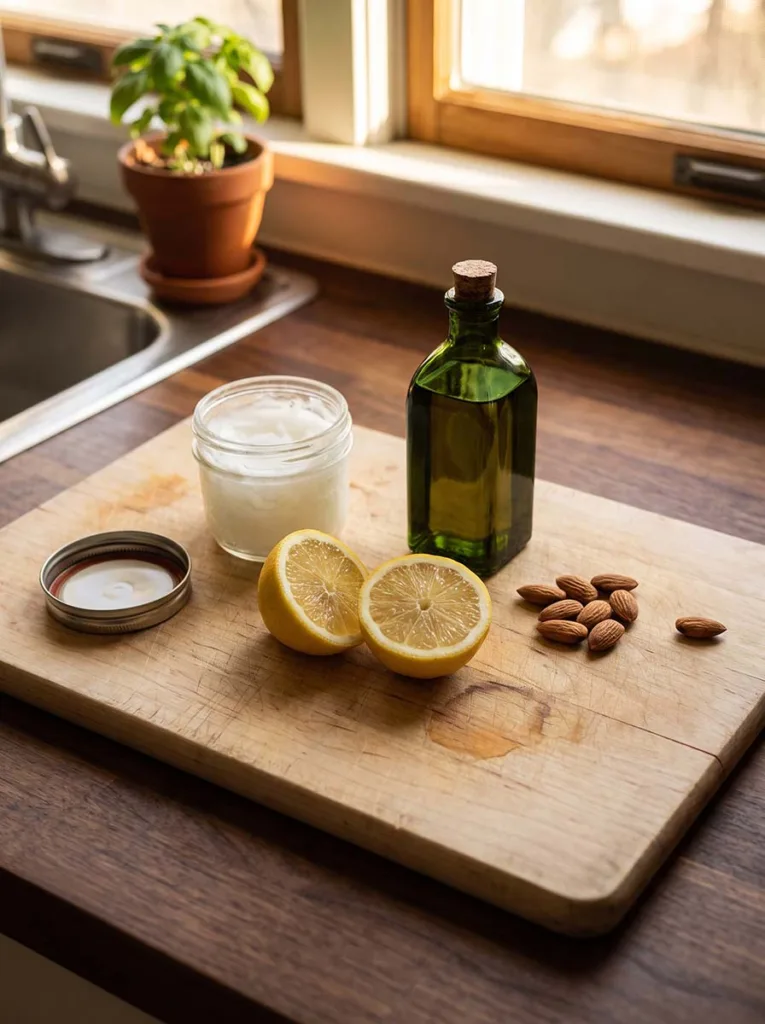
Lemon Juice And Olive Oil Mix: Mix one tablespoon of lemon juice with two tablespoons of olive oil. Soak for ten minutes weekly. The vitamin C in lemon juice supports collagen production around the nail bed, while olive oil hydrates.
Biotin Supplements: Research published in the Journal of the American Academy of Dermatology found that biotin supplementation increased nail thickness by 25% in participants with brittle nails. Consult a doctor before starting any supplement, especially if you take other medications.
Nail Care Mistakes to Avoid
These are the habits that undo a good routine.
| Mistake | Why It’s Harmful |
| Cutting cuticles | Removes the protective barrier at the nail root; invites infection |
| Using nails as tools | Causes stress fractures at the tip, leading to breaking and peeling |
| Skipping the base coat | Dark polish pigments stain nails yellow over time |
| Frequent acetone use | Strips natural oils; switch to acetone-free remover for regular polish changes |
| Over-filing | Thins the nail plate; once a week is enough for maintenance |
| Skipping moisturizer after hand washing | Every wash strips surface oils — reapplying makes a measurable difference over weeks |
How Often Should You Do This Routine?
Do the full eight-step routine once a week. Most people pick a specific evening (Sunday night is a common choice) and make it a habit. Think of the weekly session as your nail strengthening routine and the daily habits as your maintenance layer.
Daily minimums:
- Cuticle oil — every night before bed
- Hand cream — after every hand wash
- Gloves — whenever cleaning or washing dishes
Each month, check in on your nails. If they’re still breaking frequently, revisit hydration, diet, and whether you need a nail strengthener. Persistent changes in texture, color, or growth pattern (white spots, pitting, significant yellowing) are worth mentioning to a dermatologist. These can sometimes point to nutritional deficiencies or other health issues.
FAQ Section
1. How long does a simple nail care routine at home take?
A full routine takes fifteen to twenty minutes once a week. Daily maintenance (cuticle oil and hand cream) takes under two minutes.
2. What is the most important step in a nail care routine?
Moisturizing consistently is the most impactful habit. Dry nails break. Hydrated nails flex instead of splitting.
3. Can I do nail care without any products?
Yes. Warm water soaking, gentle shaping with a basic file, and natural oils like olive or coconut oil are enough to improve nail health significantly without any commercial products.
4. Why do my nails keep breaking after I moisturize?
Frequent breaking usually points to a nutritional gap (low biotin or zinc), excessive water exposure, or using nails as tools. Address all three before assuming a product issue.
Conclusion
Pick one evening a week, follow the eight steps, and apply cuticle oil every night. That’s the whole system. Nails typically look and feel different within four to six weeks, mostly because the breaking cycle has stopped rather than because anything dramatic has changed. Start tonight with just the cuticle oil. Once that’s a habit, the rest follows easily.
For more helpful articles related to nail designs and nail care, please visit VelvetBoard.