Cute and Simple Nail Art Designs: 12 Easy Ideas
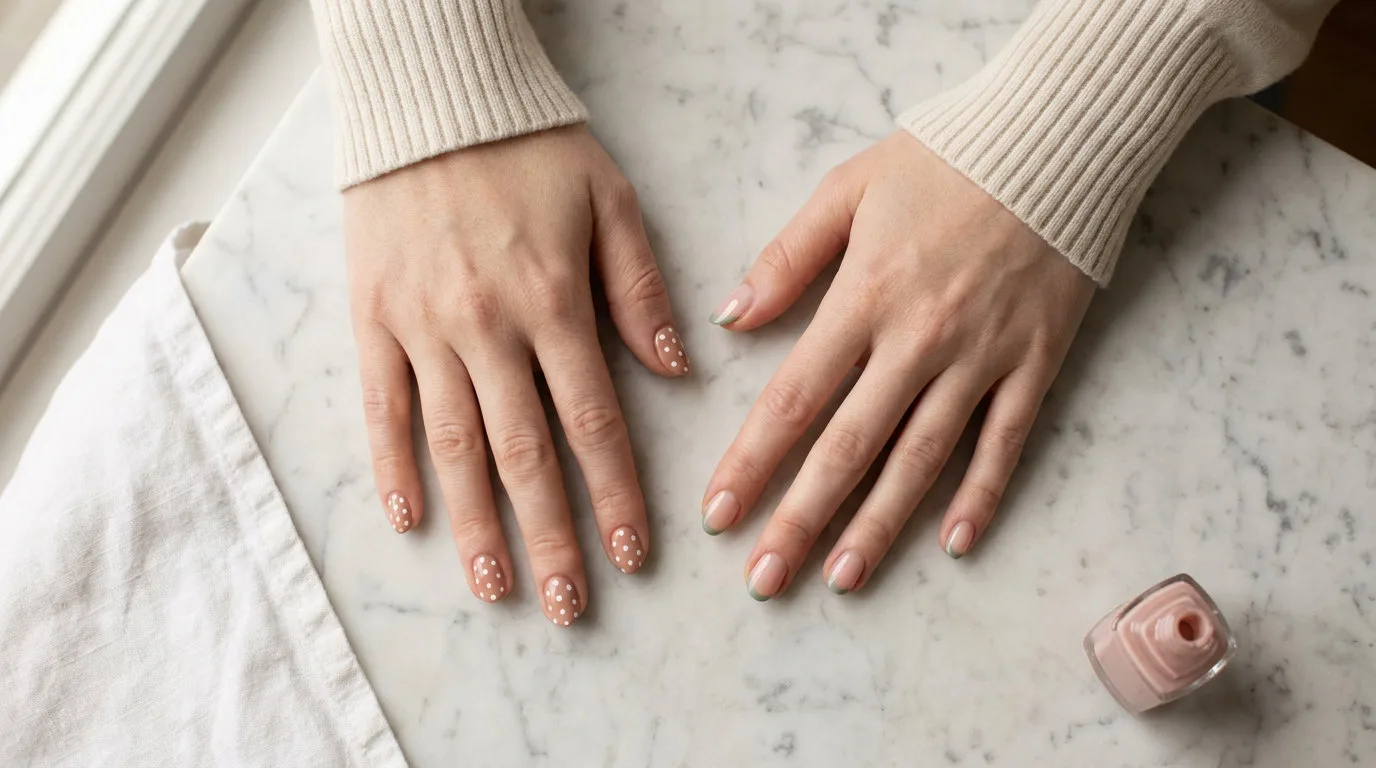
Tired of tutorials that promise cute and simple nail art designs and then assume you own a full brush kit?
Most beginner guides jump straight to technique without mentioning that a toothpick, a bobby pin, and scotch tape cover most of what you need. No professional kit required. No salon trip.
These 12 designs use what you already have at home. Each comes with clear steps, a difficulty rating, and color combinations that actually work together. They run from the simplest possible to slightly more involved, so start wherever your confidence sits right now.
Some take under five minutes. All of them look considerably better than a plain coat of color.
Why Simple Nail Art Works Better Than You Think
You probably assume nail art needs a steady hand and a full kit of professional tools. That assumption keeps a lot of beginners from ever trying. Minimalist nail designs look more polished than heavily detailed ones, and they hold up better too.
The nail trends dominating 2026 back this up. Clean lines, accent nails, and subtle detail work are having a moment right now. A single painted dot or a thin French stripe does more for a manicure than most people expect.
Simple designs also dry faster, chip less at the edges, and take less time to fix when something goes wrong. For anyone building at-home nail art skills, starting simple is the right call.
Tools You Already Have at Home
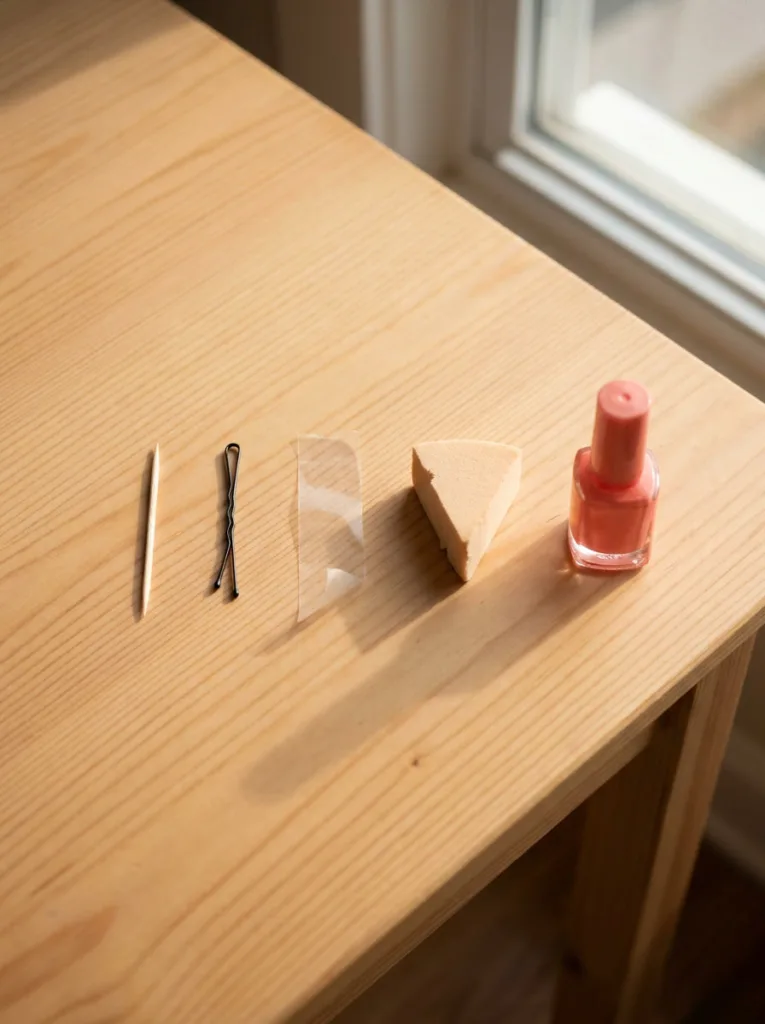
Professional nail art kits exist, but you don’t need one for easy nail art at home. Most of these designs come down to a few things you likely already own.
Toothpick
A toothpick handles more nail art moves than anything else in this list. Dip the pointed end into polish, press it onto your nail, and lift straight up for a clean dotting effect. Use the flat end for larger dots. Drag the tip through wet polish to create swirls, petals, or line details.
Bobby Pin
The rounded end makes rounder, more uniform dots than a toothpick can. It’s the right tool for polka dot nails and flower centers. Open the pin flat and use whichever end gives you the dot size you want.
Scotch Tape
Tape gets you straight lines, crisp color blocks, and clean French tips without needing a steady hand. Press it down firmly, paint over the exposed area, and peel it while the polish is still slightly wet. That’s when the edge comes out sharpest.
Makeup Sponge
Cut a small piece from a cosmetic sponge, dab two colors side by side on it, and press it onto your nail. You get a gradient nail effect that reads like a professional ombre with zero blending skill required.
Small Fan Brush or Old Eyeliner Brush
A fan brush creates feathered strokes for the marble effect. A thin eyeliner brush works as a striping brush for geometric lines.
12 Cute and Simple Nail Art Designs
These beginner nail art ideas run from easiest to slightly more involved. Start at the top if you’re new to nail art.
1. Polka Dot Nails
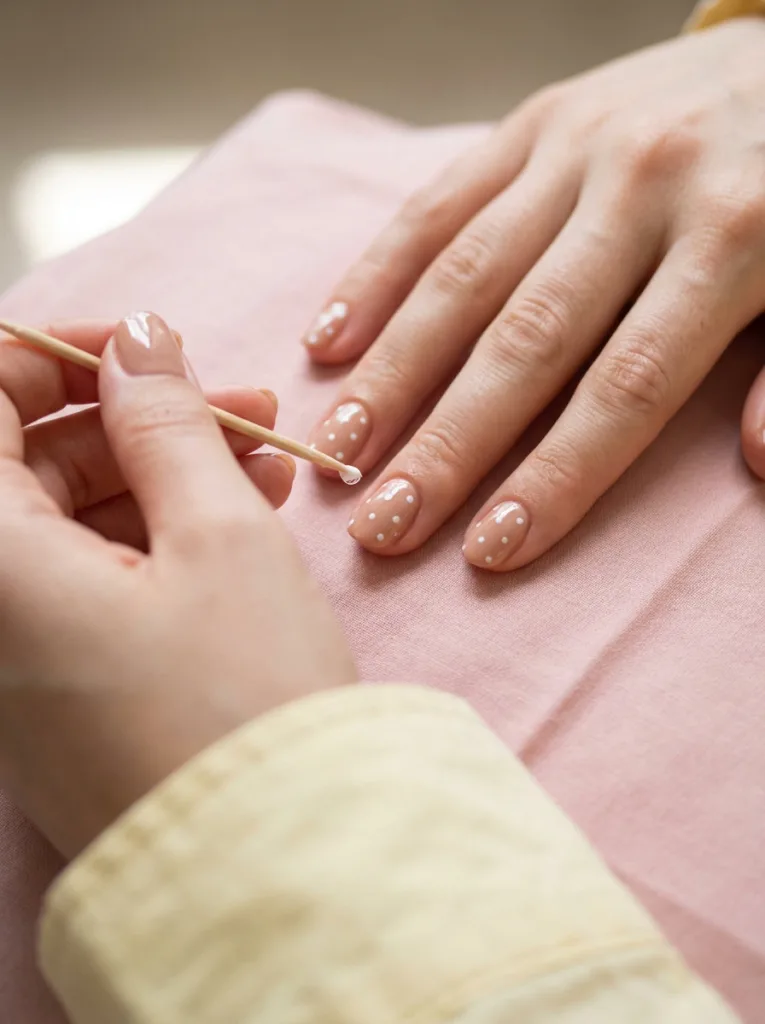
Dip a bobby pin or toothpick tip into a contrasting polish color. Press it lightly onto your base coat and lift straight up. Repeat across your nail in a grid, scattered, or single-row pattern. Let the base coat dry fully before adding dots, or they will smear.
Difficulty: Beginner
Best colors: White base + black dots · Nude base + gold dots · Pastel base + white dots
2. Accent Nail

Paint all nails in one color and leave one nail (usually the ring finger) a different shade. It’s the easiest way to make a manicure look intentional. The accent nail requires zero art skills, which is why it stays popular.
Difficulty: Beginner
Best colors: Soft nude + cobalt blue accent · Sheer pink + chrome accent
3. French Tip with Tape
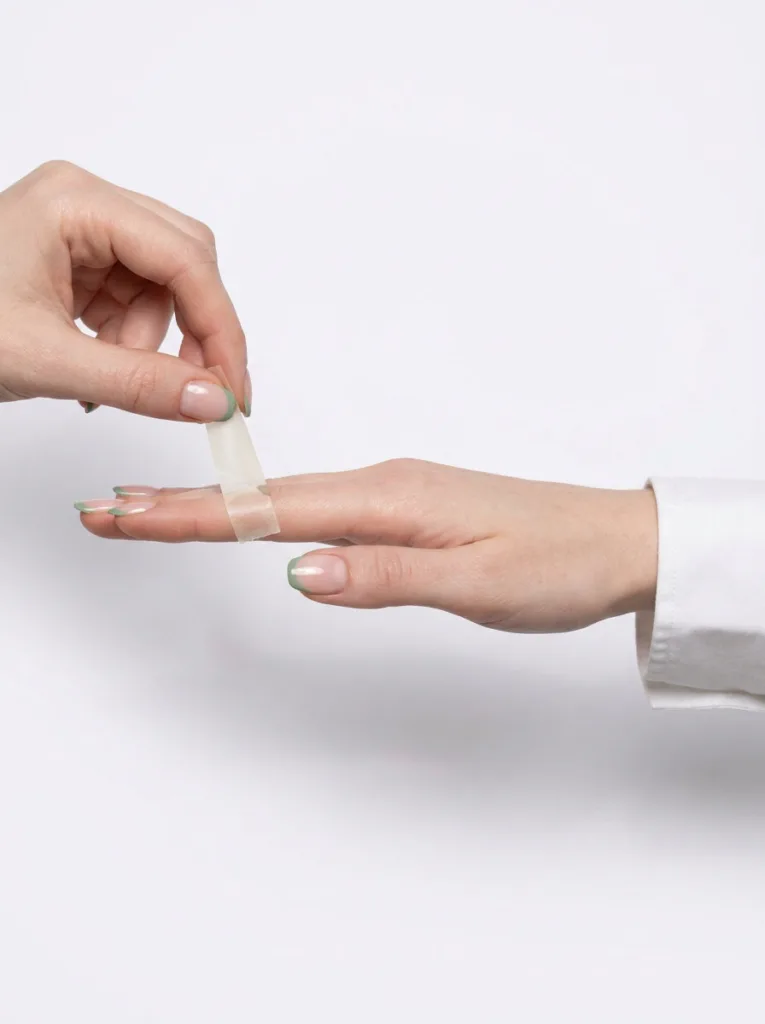
Lay a piece of tape horizontally across your nail, leaving the tip exposed. Paint the tip white, pale pink, or any color you want. Wait 30 seconds, then peel the tape slowly. You get a clean, straight French tip without freehand work.
Difficulty: Beginner
Best colors: Classic white tip · Micro French in dusty rose or sage green
4. Single Stripe
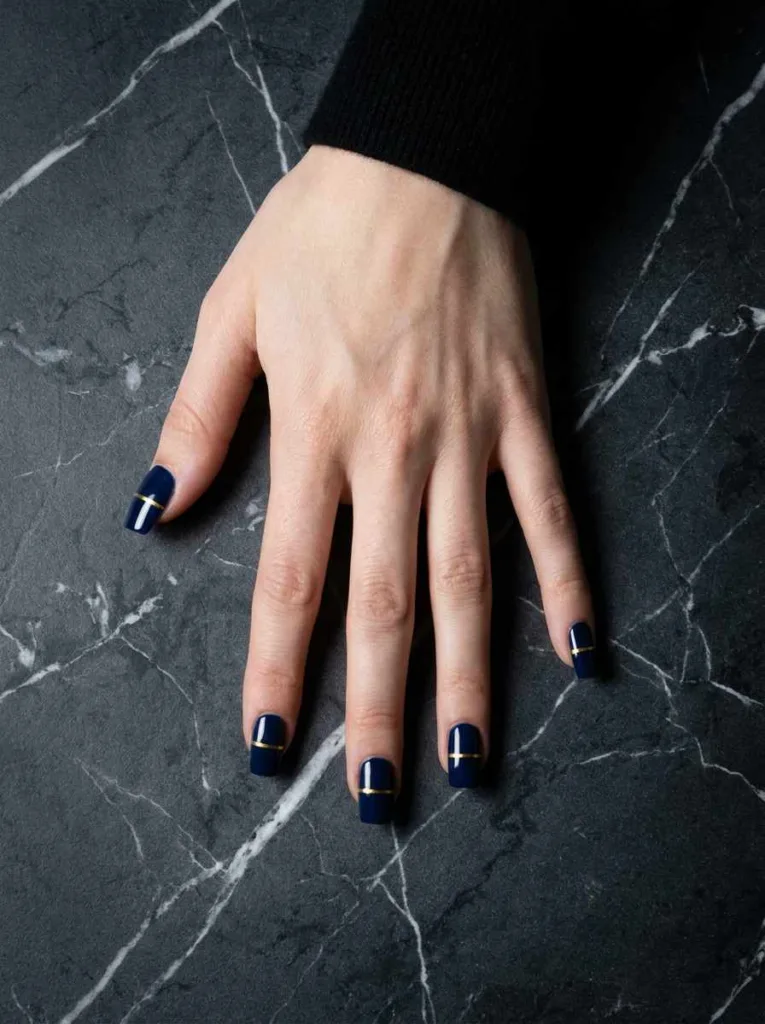
Place two strips of tape in parallel lines across your nail, leaving a thin gap between them. Paint the gap with a contrasting color. Remove the tape immediately. The result is a clean stripe that reads as minimal and intentional on any base color.
Difficulty: Beginner
Best colors: Gold or silver stripe on dark base · White stripe on navy
5. Half-Moon Nails
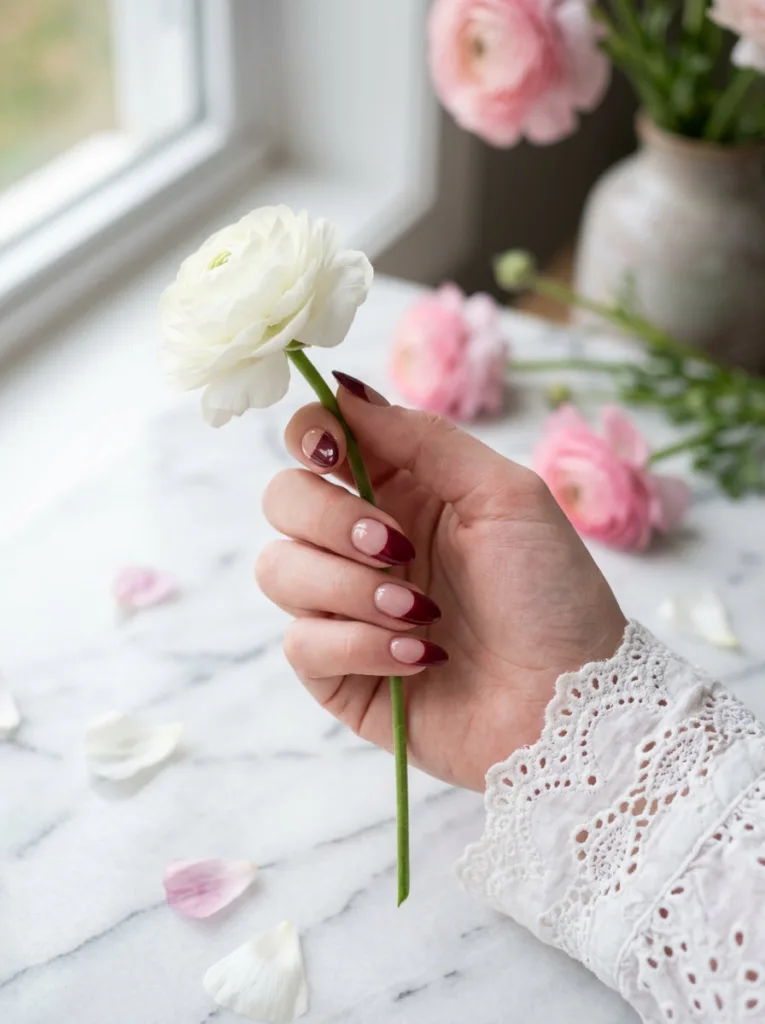
Place a paper hole-punch reinforcement ring (the white sticker circles from binders) at the base of your nail to cover the half-moon area. Paint the rest of the nail, then peel the ring off. You get the classic half-moon manicure without any freehand work.
Difficulty: Beginner
Best colors: Dark wine over nude · Black over metallic silver
6. Gradient Ombre Nails
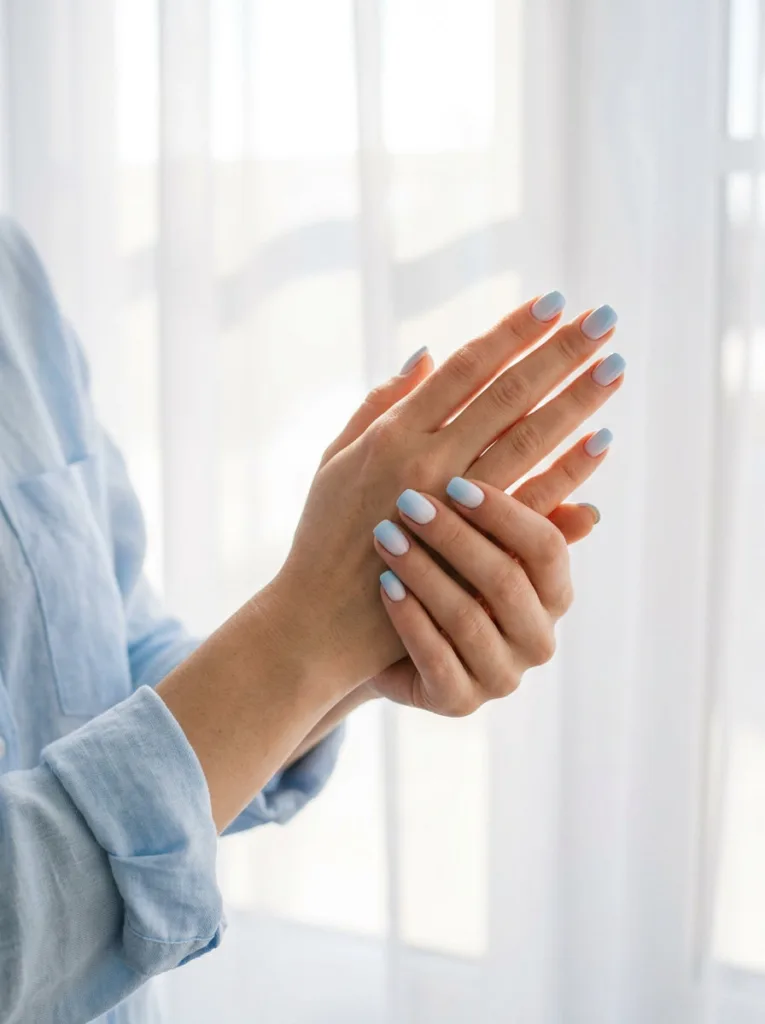
Dab two polish colors side by side on a small makeup sponge. Press it onto your nail with short dabbing motions. Two or three layers give full coverage; let each dry for 60 seconds. Finish with a glossy top coat to smooth out the texture.
Difficulty: Easy
Best colors: White fading into pastel blue · Coral into yellow (sunset effect)
7. Floral Dot Nails
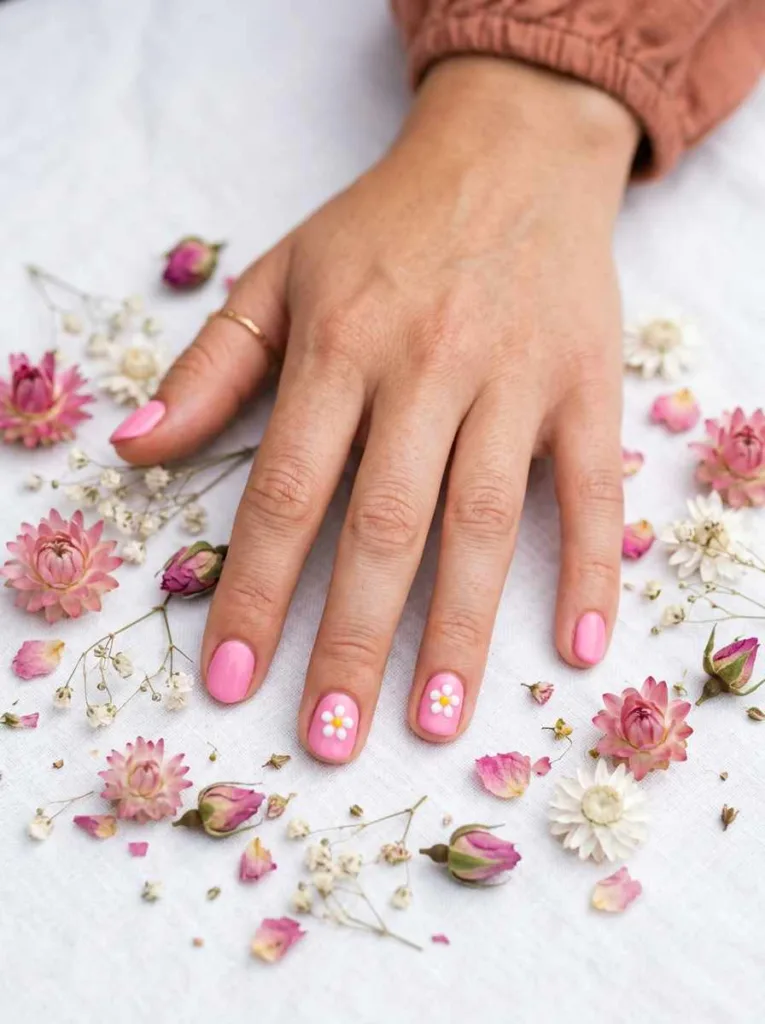
Make five small dots in a circle using a toothpick or bobby pin. Those are your petals. Add a single dot in the center with a contrasting color. A single flower on an accent nail reads as deliberate rather than decorated.
Difficulty: Easy
Best colors: White petals + yellow center on pink base · Blush petals + gold center
8. Diagonal Color Block
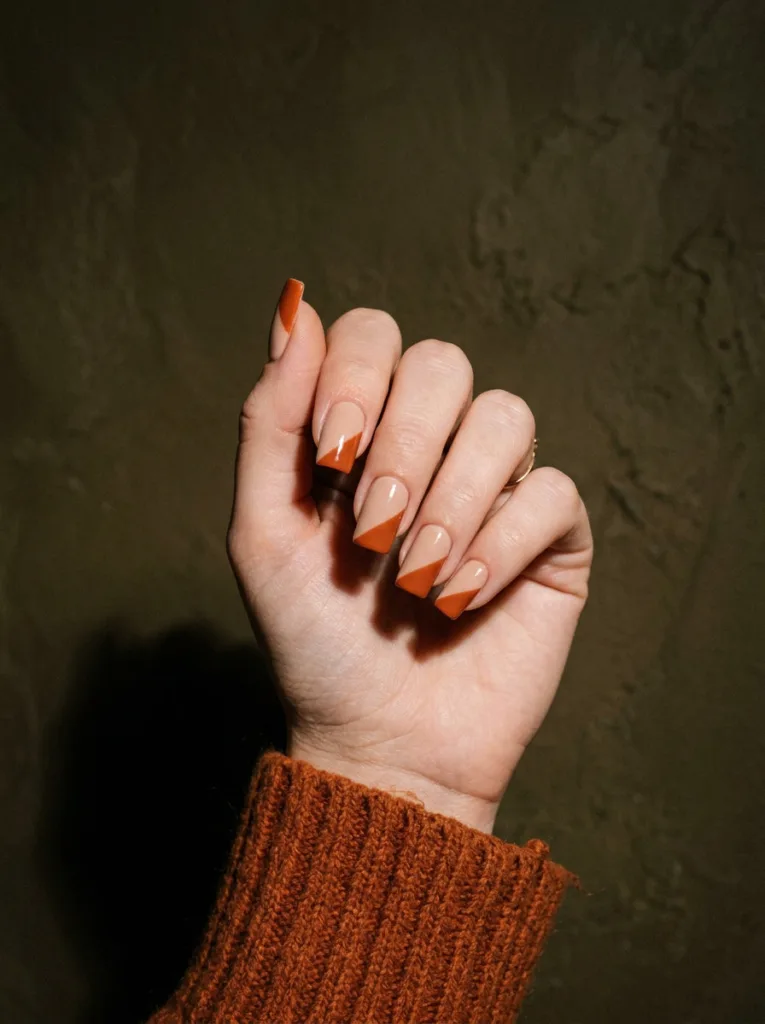
Place tape diagonally across your nail. Paint the exposed triangle a second color. Peel while the polish is still wet. The sharp diagonal edge photographs well and holds up better than most freehand designs.
Difficulty: Easy
Best colors: Nude + terracotta · White + black · Soft pink + deep burgundy
9. Heart Nail
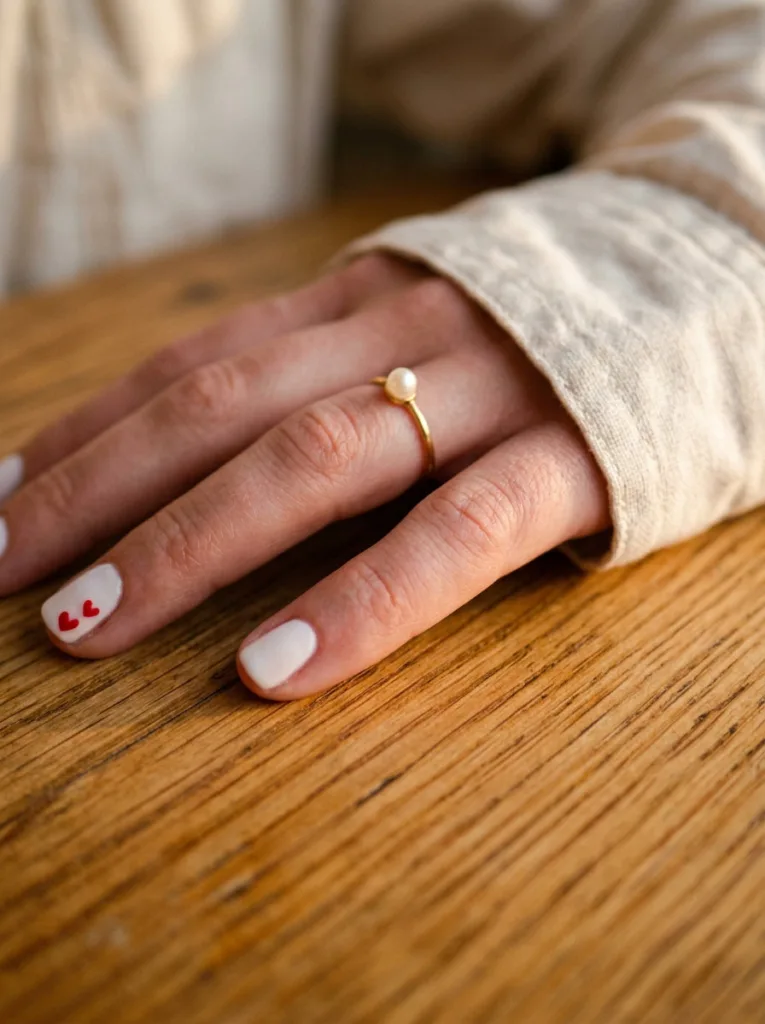
Using a toothpick, place two small dots close together. Before they dry, drag the toothpick down from between them to pull the bottoms into a point. Repeat once or twice to define the shape. Keep hearts small; they read cleaner on a small canvas nail.
Difficulty: Easy
Best colors: Red or pink hearts on white · White hearts on deep red
10. Marble Effect
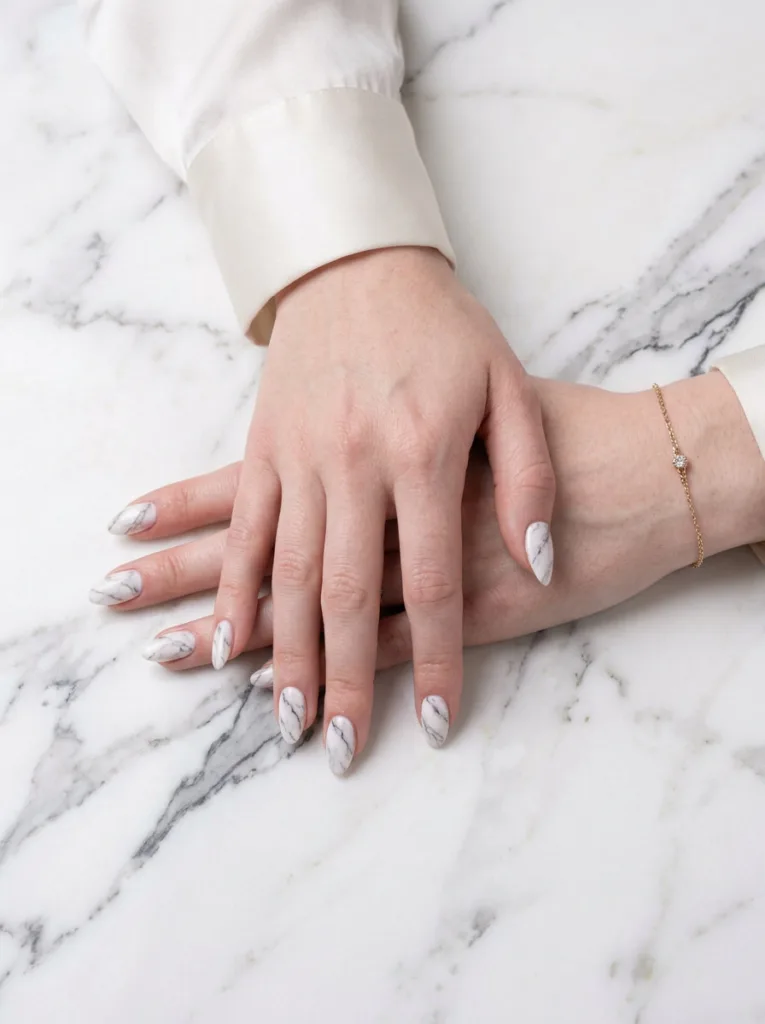
Apply a white base coat. While it’s still slightly tacky, drag a thin brush or toothpick dipped in grey and black polish across the nail in thin, uneven veining lines. Add a glossy gel top coat for depth. Move fast; this technique depends on wet polish.
Difficulty: Easy (with practice)
Best colors: White with grey veins · Black base with gold veins
11. Rhinestone Accent
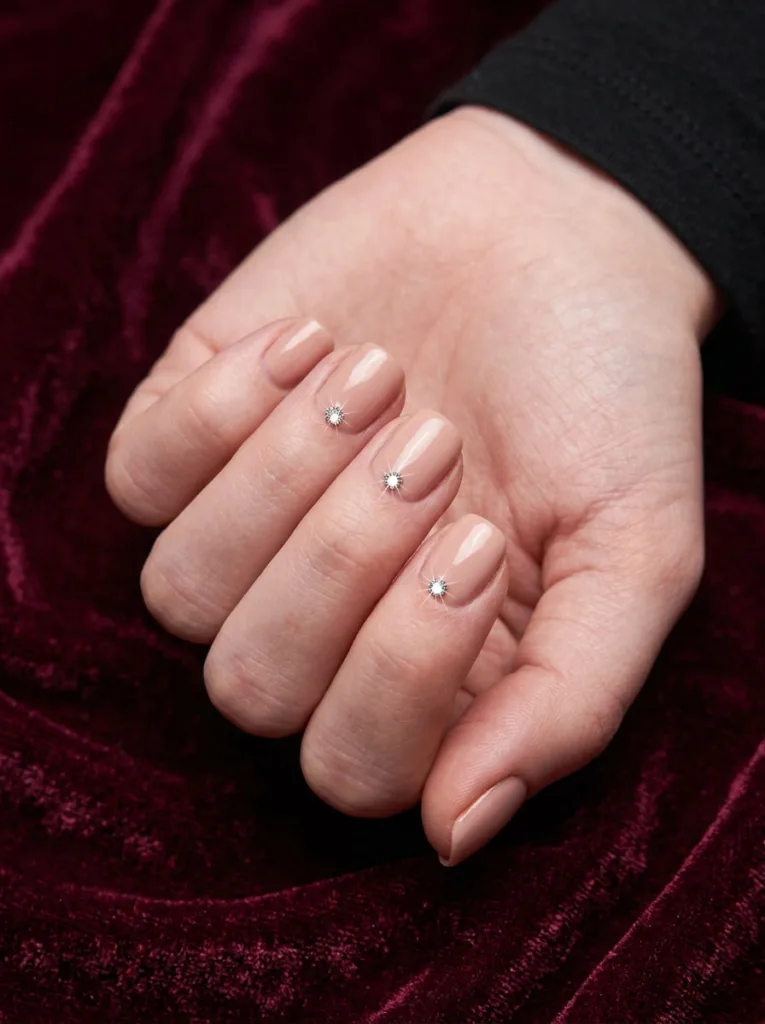
Paint your nails in any color and let them dry fully. While your clear top coat is still wet, place a rhinestone using a toothpick dipped in a small amount of nail glue or the tacky top coat itself. Press down and hold for five seconds. Apply one more top coat layer to seal.
Difficulty: Easy
Best colors: Any nude or sheer base with a single rhinestone at base or tip
12. Negative Space Nails
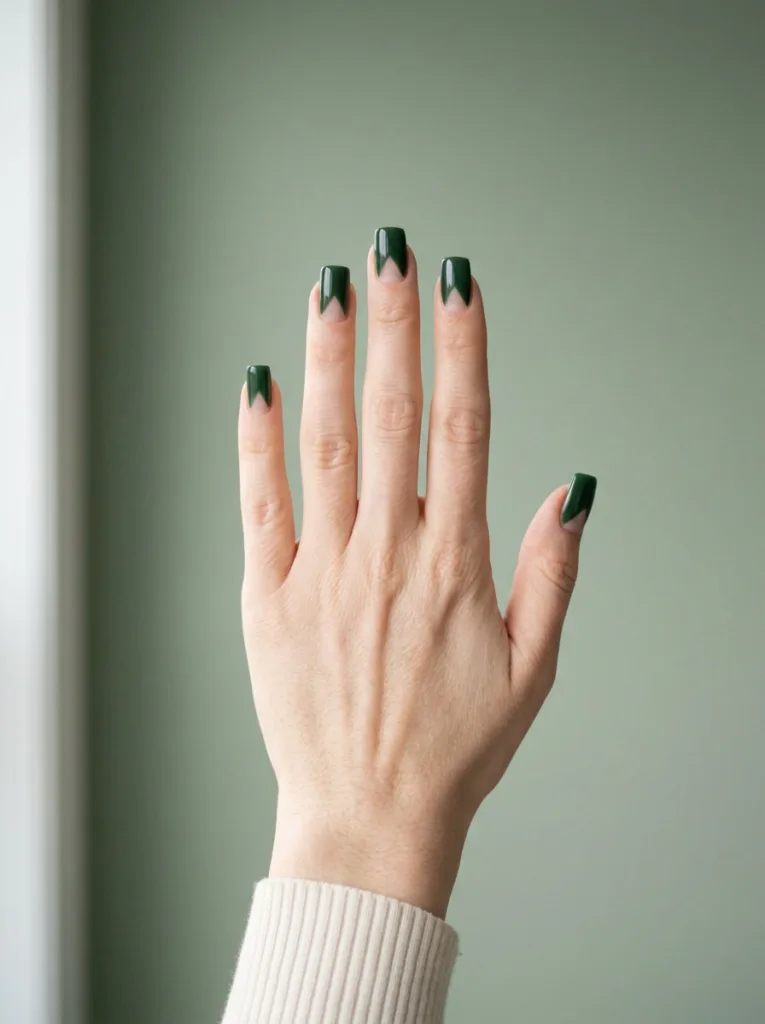
Apply tape over your bare nail in a shape: a triangle, stripe, or curved crescent. Paint around it, then remove the tape. The bare patch left behind is the negative space. It looks considered rather than simple, which is the point.
Difficulty: Easy (with practice)
Best colors: Nude negative space + deep navy · Bare nail + forest green surround
Nail Prep: The Step Most Beginners Skip
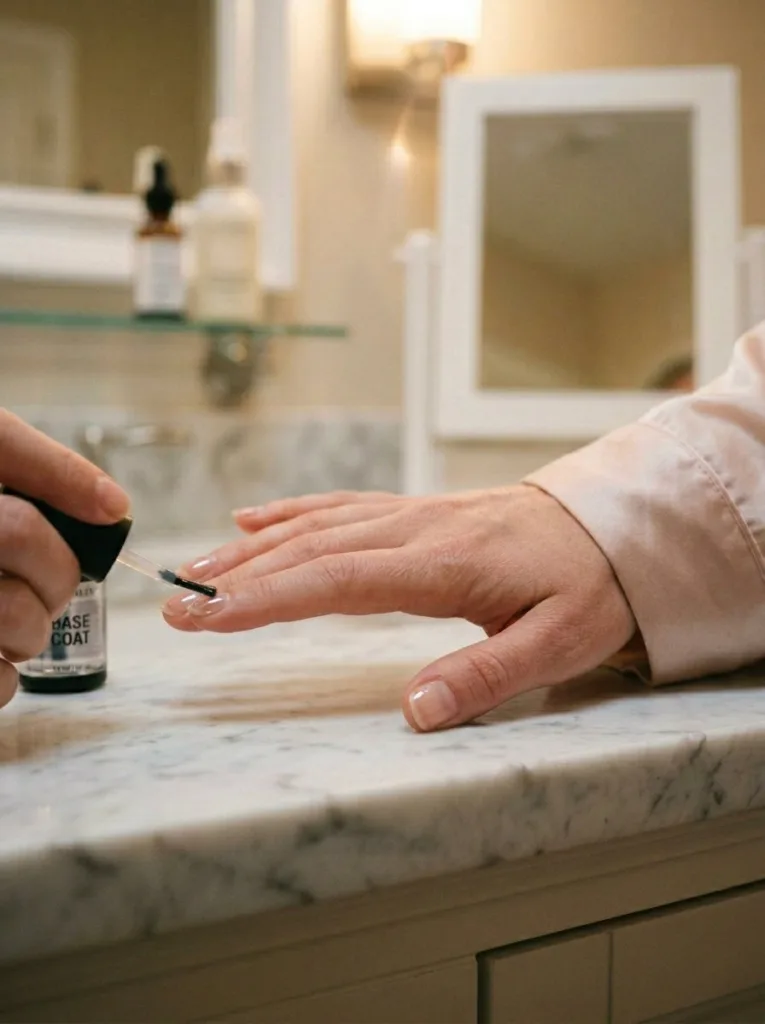
Every design above depends on a clean, smooth surface underneath. Skip nail prep and your polish chips in two days.
File your nails first. Push back your cuticles gently (do not cut them). Wipe each nail with a cotton pad soaked in polish remover. That removes the oil that stops polish from bonding.
Apply a base coat before any color. This is not optional. It protects your nail from staining, fills ridges, and gives the polish something to grip. Let it dry for two full minutes before your first color coat.
Wait at least 60 seconds between each color layer. Rushing is why nail art smears. Finish with a top coat, then reapply it every two days to keep the manicure intact.
Common Mistakes and How to Fix Them
These problems come up whether you’re a beginner or not. Knowing the cause makes them straightforward to fix.
| Problem | Cause | Fix |
| Streaky polish | Polish applied too thick | Roll the bottle to thin it; never shake |
| Tape pulls up polish | Polish was too dry before tape removal | Peel tape while the top layer is still slightly wet |
| Dots smearing | Base coat not fully dry | Wait a full two minutes before adding any design on top |
| Bubbles | Bottle shaken, coat too thick, or humid room | Work in thin layers; roll the bottle instead |
| Rhinestones falling off | The regular topcoat not strong enough | Use nail glue or an extra-thick top coat |
2026 Nail Art Trends Worth Trying
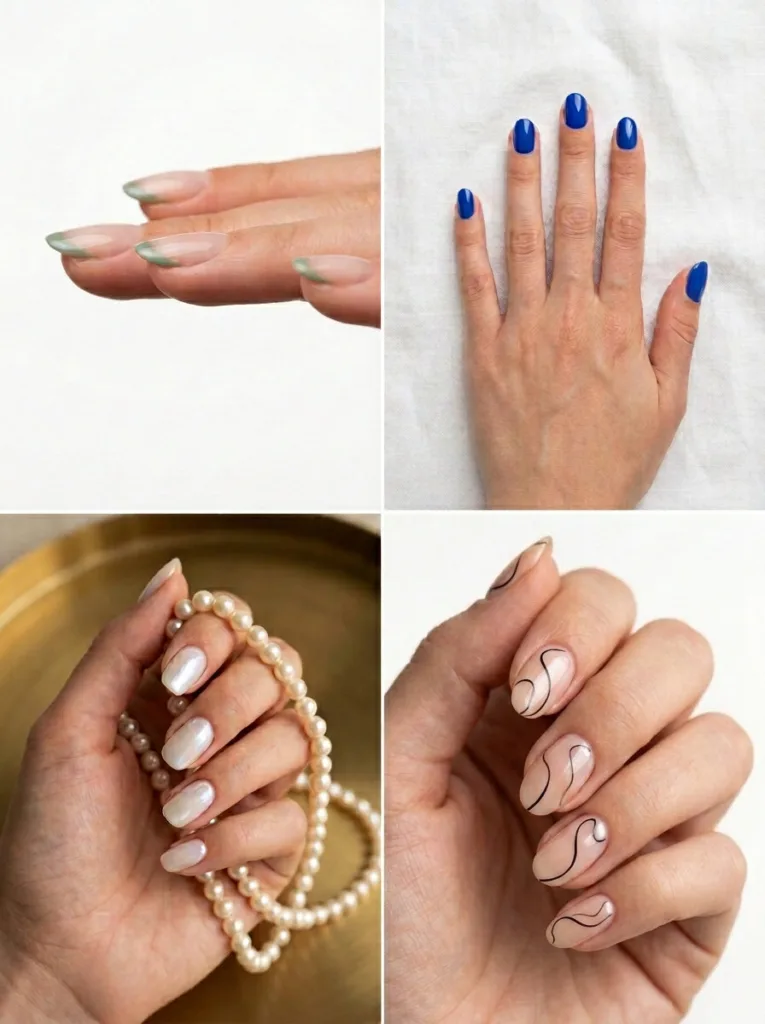
If you want what’s actually on Pinterest right now, these four styles are worth knowing about. They all work best when paired with the right nail polish colors.
Micro French tips have replaced the classic version. The stripe is thinner, barely a line, and done in sage, blush, or sky blue instead of white.
Glazed, sheer nails are a single coat of milky, semi-transparent color. The effect looks intentional with almost no effort and works on any nail length.
Cobalt blue is the standout color of 2026. Wear it as a solid, pair it with white for a color block, or use it as your accent nail.
Minimalist line art is a thin curved or geometric line drawn on a nude base with a toothpick. Easier than it looks, and it reads well in photos.
Frequently Asked Questions
What is the easiest nail art design for beginners?
Polka dot nails are the easiest start. Dip a toothpick into polish and press it onto a dry base coat. You don’t need drawing ability or brush control.
Do I need special tools for nail art at home?
No. A toothpick, bobby pin, scotch tape, and makeup sponge cover most beginner nail art techniques without any professional tools.
How long should I wait between nail art layers?
Wait at least 60 seconds between color coats and at least two minutes after your base coat. Rushing layers is the main cause of smearing and bubbles.
How do I make nail art last longer?
Apply a base coat before color, work in thin layers, and seal with a top coat. Reapply top coat every two days to extend your manicure by up to a week.
Can I do nail art on short nails?
Yes. Short nails give you better control over simple designs. Dots, accent nails, French tips, and rhinestone accents all work on shorter lengths.
Conclusion
Cute and simple nail art designs don’t need a steady hand or a salon budget. A toothpick and some tape get you most of the way there; the prep section handles the rest. Start with polka dots or an accent nail. Move to ombre or marble once those feel comfortable. These DIY nail designs are forgiving enough to practice on.
For more nail art designs, please visit VelvetBoard.