How To Patch Test Skincare: Simple Steps For Calm Skin
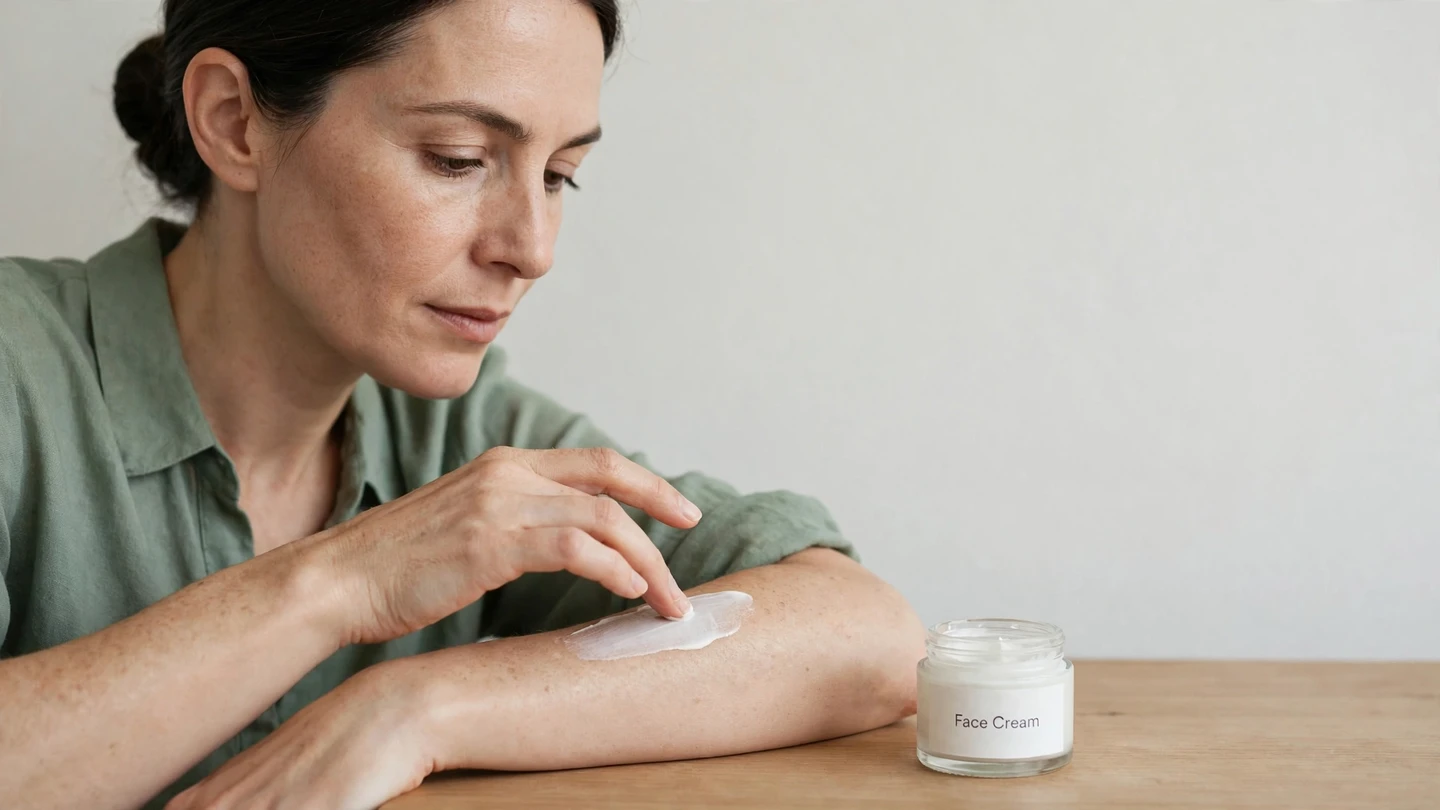
Worried a new serum might leave your face itchy or irritated? Learning how to patch test skincare can help you notice a reaction before wider use. A small test area gives you somewhere to observe changes while keeping the rest of your routine familiar.
The general method uses a quarter-sized area, with applications twice daily for seven to ten days. Use your normal application thickness, and follow the appropriate contact time for the product. Stop if you develop a reaction. A clear result cannot guarantee that your face will tolerate the product or that an allergy will never develop.
You will need the product instructions and a simple record of applications. The five steps below explain location, timing, and symptoms, followed by guidance on clinical testing.
How To Patch Test Skincare At Home
A home product test checks how one small area responds to a finished skincare product. It can reveal irritation before you apply that product over a larger area. It cannot diagnose an allergy or identify the ingredient responsible.
Think of the result as information about that product, area, and period of use. A quiet test spot does not prove that your face will tolerate the product indefinitely.
What A Clear Test Means
If the area stays comfortable without a rash or swelling, you can consider introducing the product as directed. Continue watching your skin during wider use. Stop if new symptoms appear, even after a clear initial test.
Why Product Labels Are Not A Guarantee
A label cannot predict your individual response. A product described as natural may still contain ingredients that irritate your skin. Read the ingredient list for known triggers. Avoid products containing an ingredient you already know you must avoid.
For example, a moisturizer test may show itching after several comfortable applications. That observation is a reason to stop. It does not tell you whether fragrance, a preservative, or another ingredient caused the problem.
Step 1: Choose A Quarter-Sized Test Area
Choose intact skin without an active rash, cuts, or soreness. Testing irritated skin can cause discomfort and make changes harder to interpret. If your skin is already flaring, seek advice before introducing something new.
The test area should be about the size of a US quarter. That describes the area of skin, not the size of the dollop.
Use The Underside Of Your Arm Or Inner Elbow
The American Academy of Dermatology suggests the underside of the arm or the bend of the elbow. Choose somewhere clothing will not rub the product away during its normal contact time. Use the same area throughout the test.
Keep The Starting Conditions Simple
Avoid layering other new products over the test area. Note any existing marks before you begin, so you can recognize changes. Our sensitive skin routine guide offers ideas for keeping the rest of your routine simple.
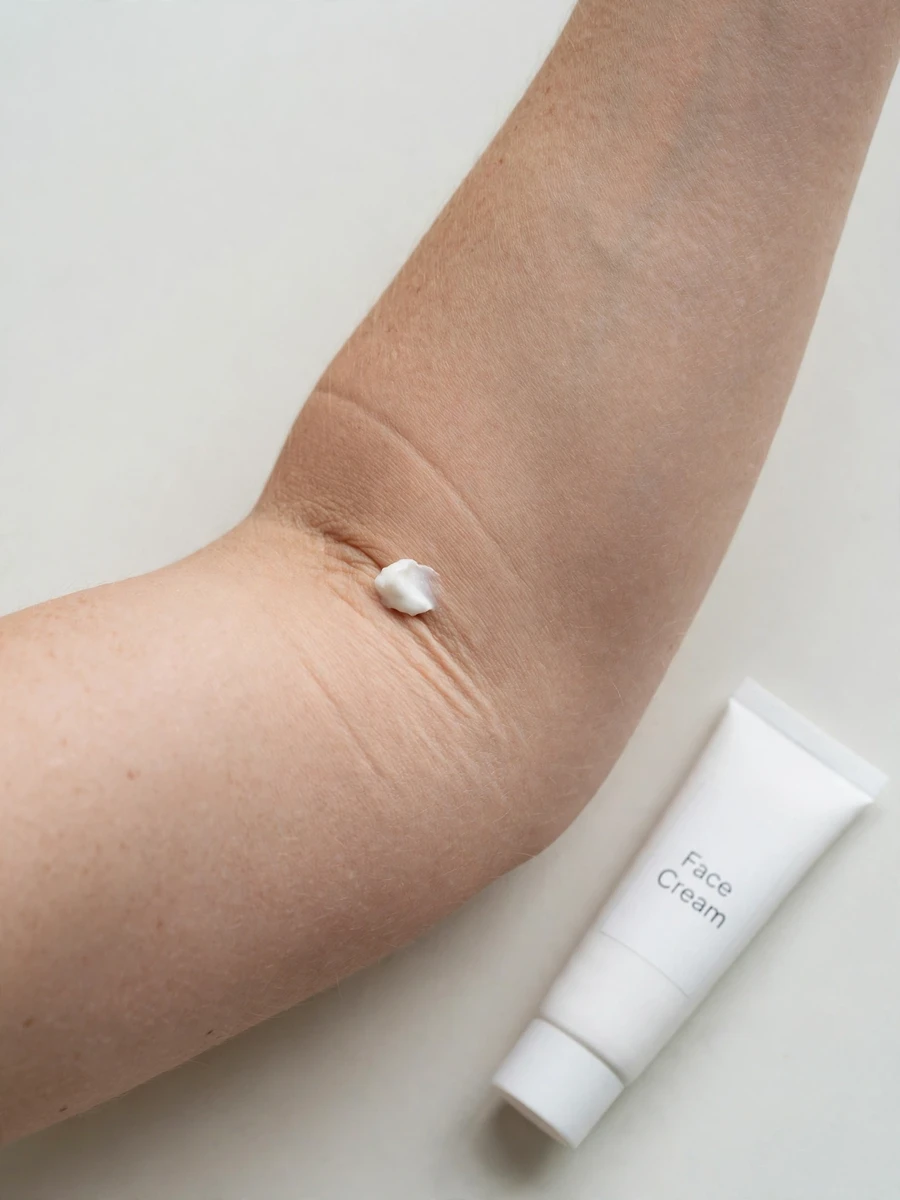
A home product test does not require adhesive patches. Do not copy a clinical procedure by covering products under tape. The covered allergen patches used in a clinic belong to a different testing method.
Step 2: Repeat Applications For Seven To Ten Days
The AAD home product-testing method uses twice-daily applications for seven to ten days. One brief application does not provide the same observation period. Stop early if the area reacts.
This is general advice for skincare products, not a replacement for specific prescribing instructions. Ask a clinician or pharmacist about medicines or products with conflicting directions.
Use Your Normal Application Thickness
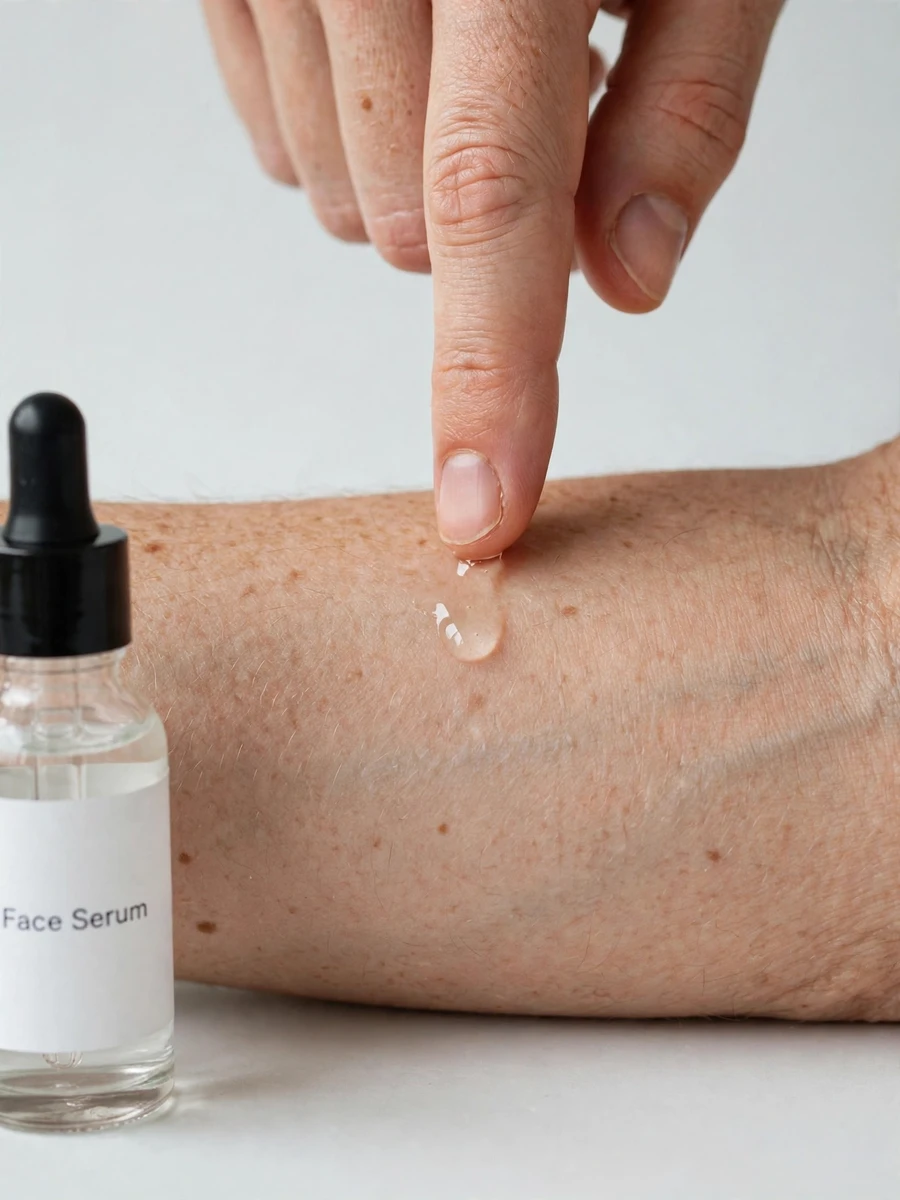
Apply the amount and thickness you would normally use over an area that size. A serum may need only a thin layer. Adding a large mound of cream does not make the test more useful.
Respect Normal Contact Time
For a leave-on product, leave it on as you normally would. You do not need to keep one application on for several days. Normal washing still applies; avoid scrubbing the area or deliberately rubbing off a fresh application.
Step 3: Follow Wash-Off Product Timing
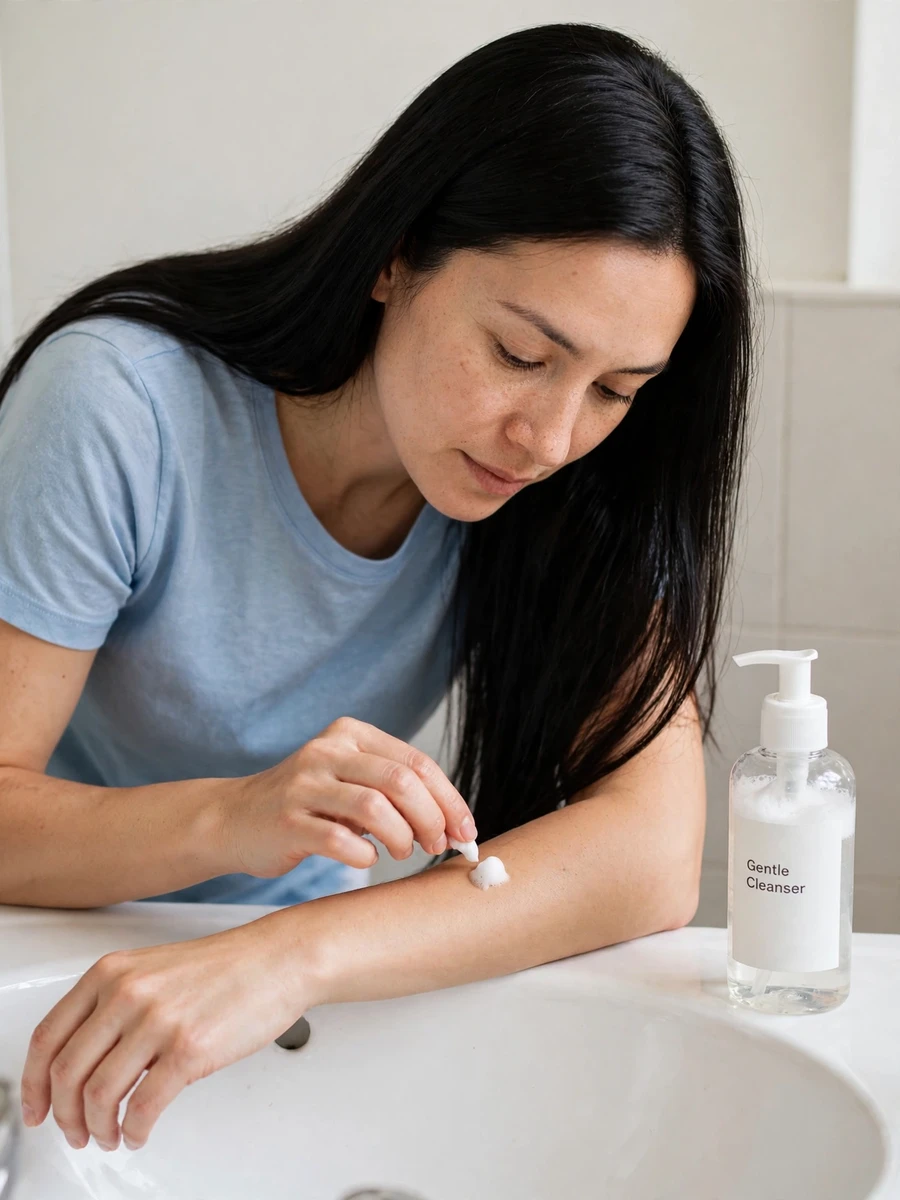
Wash-off products need different contact times from leave-on creams. The AAD advises five minutes or the duration stated in the product instructions. Five minutes is not a universal minimum that overrides a shorter labeled time.
Use a timer if it helps you follow the directions consistently. Rinse after the appropriate contact time rather than leaving cleanser on as though it were moisturizer.
Check The Directions Before Applying
Read the instructions for that specific cleanser or mask. Do not extend contact time to make the test stronger. If you are unsure how the general method fits the product, ask a pharmacist or dermatologist before testing.
Observe After Rinsing
Check how the skin feels after rinsing and before the next application. Note any itching, burning, or visible change. Stop if you develop symptoms rather than repeating the application to see whether they get worse.
Step 4: Check For Changes Each Day
Look at the area before each application. Compare it with nearby skin in similar lighting, and pay attention to discomfort as well as appearance. A photo can help you track changes, but it cannot diagnose them.
Observe without pressing, scratching, or repeatedly touching the area. Those actions may irritate the skin and make the original change harder to assess.
Recognize Possible Reaction Signs
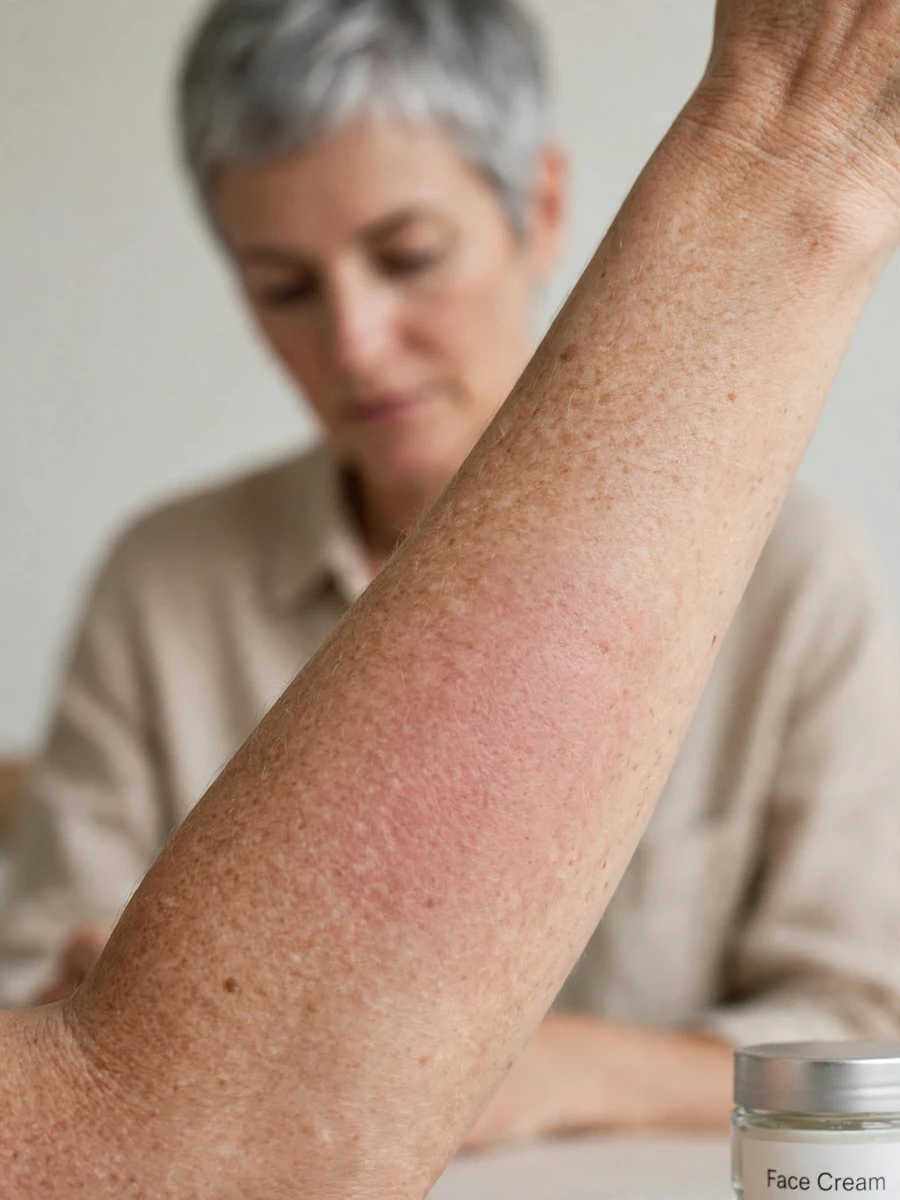
Watch for itching, a new rash, swelling, blisters, or persistent burning. Color changes can look different across skin tones, so redness is not the only clue. New tenderness or unusual discomfort also deserves attention.
Allow For Delayed Symptoms
A reaction may appear after several applications rather than on the first day. Complete the observation period if the skin stays comfortable. Do not continue through symptoms simply because the planned testing period has not ended.
Step 5: Stop If Your Skin Reacts
Gently wash off the product as soon as possible and stop using it. Avoid reapplying it to confirm the reaction. Record the product name, application dates, and symptoms for any later discussion with a clinician.
Set aside the container and ingredient list. These details may help a dermatologist assess what happened, particularly if several products have caused similar symptoms.
Care For Mild Local Irritation
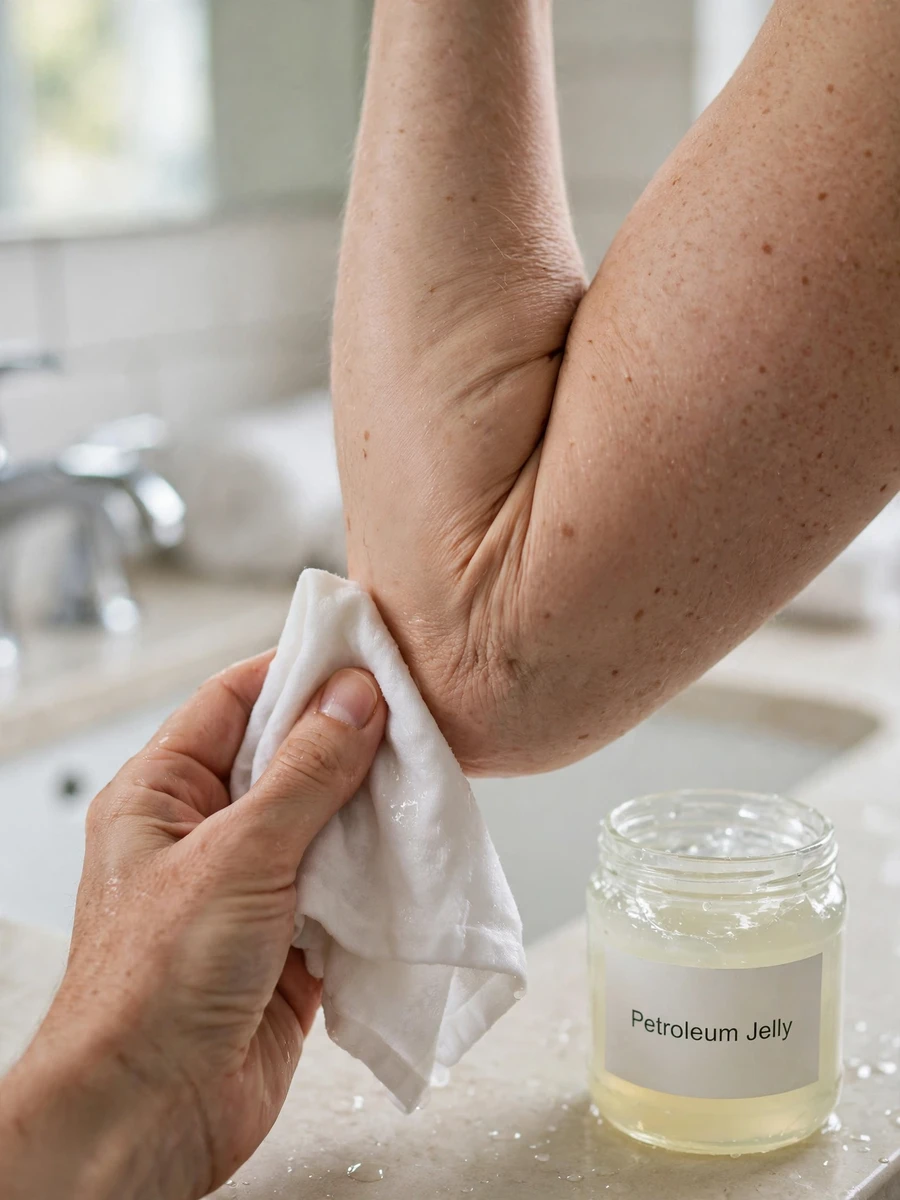
The AAD suggests a cool compress or petroleum jelly for relief if needed. Use a clean cloth and avoid rubbing the irritated area. Seek medical advice for severe, persistent, or worsening symptoms rather than relying on home care.
Recognize Symptoms That Need Emergency Help
Breathing difficulty, throat or tongue swelling, or fainting require emergency help. Call your local emergency number immediately. Do not wait for a routine dermatology appointment or try to manage these symptoms with a compress.
A local rash alone cannot tell you whether the cause is irritation or allergy. Keep photographs if you can take them without delaying care. Note whether symptoms spread beyond the application area and tell your clinician.
Test One New Product At A Time
Keeping other products familiar makes it easier to connect a change with the new addition. Testing several new formulas together can leave you unsure which one caused symptoms. It still cannot identify the particular ingredient responsible.
Wait until any reaction has settled before considering another product. Repeated reactions deserve professional advice instead of a succession of home experiments.
Introduce Products Separately
Finish observing one product before adding another new one. If you start wider use, keep the rest of your routine steady while monitoring tolerance. Adding several products immediately afterward can make a later reaction difficult to trace.
Keep A Practical Test Log
Record the product name, start date, test location, and application times. Add the contact time for wash-off products. Describe symptoms in ordinary words, such as itching after rinsing, instead of labeling the reaction as an allergy yourself.
After A Clear Test, Introduce The Product Carefully
A clear arm test does not guarantee that facial skin will respond the same way. Wider use changes the area exposed and may involve other products. Follow the label or your clinician’s instructions when introducing it.
For products such as retinoids or exfoliating acids, ask about a suitable starting schedule if you have sensitive skin. Do not assume the home testing schedule sets your full-face routine.
Keep Expectations Realistic
This method does not establish whether a product will cause breakouts during longer use. It also cannot prove the product will deliver its advertised benefits. Watch how your skin responds without treating a clear test as a permanent safety certificate.
Respond To New Symptoms
Allergic contact reactions can develop after earlier use without problems. Stop the product if you develop new itching, swelling, or a rash. Seek advice when symptoms persist or recur, even if the original small-area test was clear.
When To Ask About Clinical Patch Testing
Recurring facial or eyelid rashes and reactions to several products deserve a clinician’s assessment. A dermatologist can review your history and decide whether medical patch testing is appropriate. Home product testing cannot replace that evaluation.
Our facial eczema skincare guide discusses gentle routine choices. A recurring rash still needs an individual assessment rather than an assumed diagnosis.
How Clinical Testing Differs
According to Mayo Clinic’s explanation of allergy skin tests, clinicians apply selected allergens under patches. They commonly remove patches at 48 hours and arrange later readings. Follow the clinic’s exact schedule and instructions.
How Clinicians Interpret Results
Clinical patch testing can help identify allergens relevant to contact dermatitis. A clinician interprets the findings alongside your symptoms and exposure history. Results do not automatically explain every reaction, and further assessment may be necessary.
Bring the containers or ingredient lists for products you suspect. Include the products you used before the rash began. Ask the clinic about preparation, and follow its instructions about medicines rather than stopping them yourself.
Frequently Asked Questions
Product instructions can differ, so read them before beginning. These answers explain the general method and its limits.
How Long Does A Skincare Patch Test Take?
The AAD’s general home method uses twice-daily applications for seven to ten days. Stop sooner if symptoms develop, and follow specific product or clinician instructions.
Where Should I Put The Test Spot?
The underside of your arm or inner elbow are suggested locations. Choose intact skin where clothing will not rub away the product during its normal contact time.
What If My Skin Reacts On Day Three?
Gently wash off the product and stop using it. Seek medical advice for severe or persistent local symptoms; breathing difficulty or throat swelling requires emergency help.
Can I Test Two Products At Once?
Test one new product at a time to make changes easier to trace. This can suggest which product caused symptoms, but it cannot identify an allergenic ingredient.
Does A Cleanser Need The Full Test?
The general observation period also applies to cleansers. For each application, the AAD advises five minutes or the duration specified in the product instructions, followed by rinsing.
Is Home Testing The Same As Clinical Patch Testing?
No. Home testing observes your response to a finished product. Clinical patch testing uses selected allergens and professional interpretation to investigate possible contact allergy.
Keep A Record Before Adding Something New
A written record makes it easier to explain a reaction if you need professional advice. It also helps you distinguish the planned schedule from what you actually applied. You can keep the product name and ingredient list alongside your notes, without trying to diagnose the cause yourself.
Create a test log before introducing your next product. Include application times, contact duration, and any symptoms.