20 Thanksgiving Nails Ideas to Try Before Turkey Day
Have you spent an hour scrolling Pinterest for the perfect Thanksgiving nail design, only to close the app with nothing saved? Thanksgiving nails deserve more than an endless scroll. Your hands show up in every photo, every toast, and every dish you pass around the table.
Most inspiration boards skip the details that actually matter: which shade flatters your skin tone and which shape survives a full day of cooking and dishwashing. Skip that thinking, and you usually end up with chipped polish before dessert is even served.
Below are 20 Thanksgiving nail designs, plus real advice on choosing colors, shapes, and lasting power for the whole holiday. Save this pin so you don’t have to start another search next week.
How to Pick the Right Thanksgiving Nail Color for You
Skin undertone decides which fall shades flatter you more than any trend list can. Match your undertone first, then pick from the shades below.
Match Your Undertone to the Right Shade
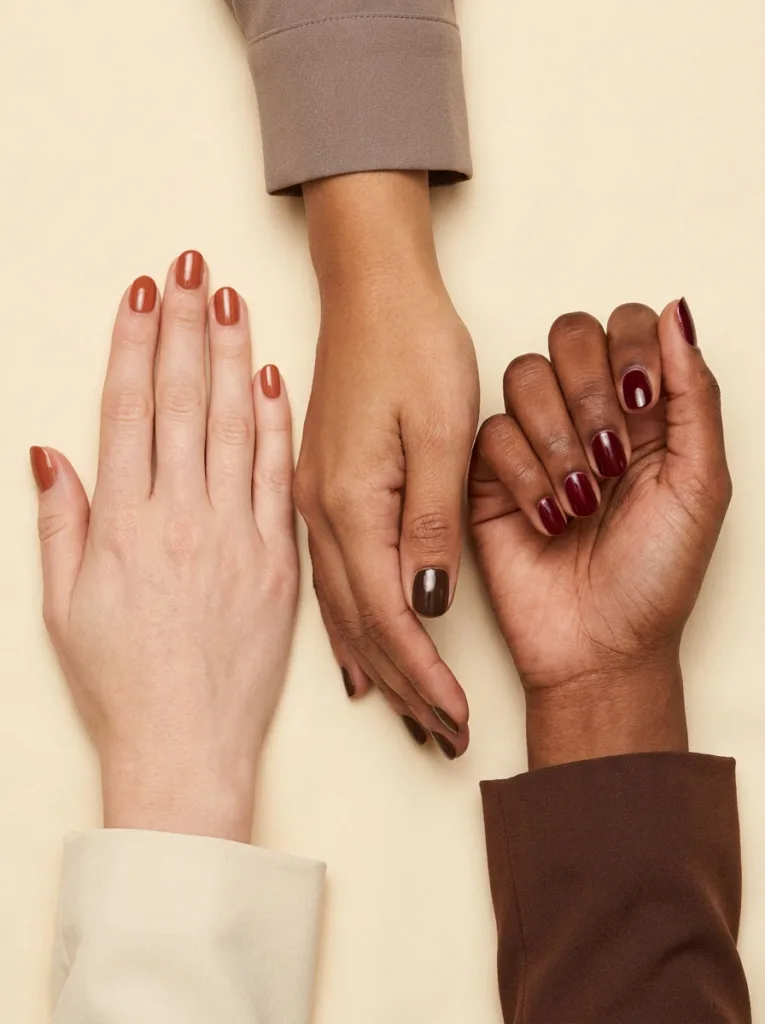
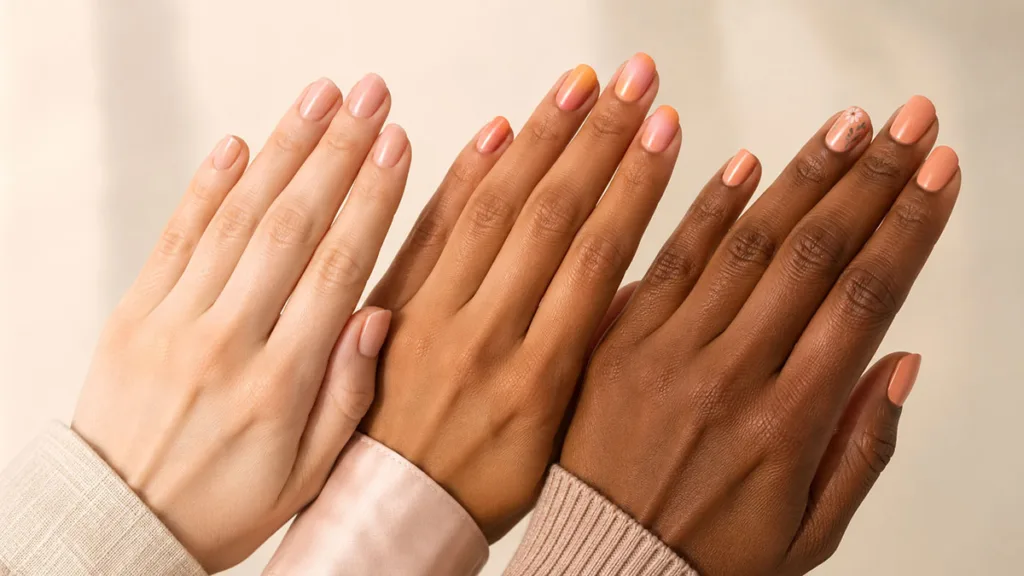
Warm undertones pair beautifully with burnt orange, mustard, and golden brown. Cool undertones look sharper in cranberry, plum, and deep emerald.
If you have fair skin, try terracotta or soft cinnamon for a natural glow without washing you out. Medium skin tones can wear almost any fall shade, but espresso brown and amber tend to pop the most on this tone. Deep skin tones shine in rich burgundy, chocolate, and metallic gold, since these shades create real contrast against the skin.
Find Your Undertone with the Vein Test
Not sure which category you’re in? Check the veins on your wrist. Blue usually means cool undertones. Green usually means warm undertones. That one trick removes the guesswork before you pick a polish shade. It is not a lab measurement. Skin color comes from a mix of melanin, hemoglobin, and carotene, as research on skin color measurement in the Journal of the American Academy of Dermatology explains, so the vein test works best as a quick starting point rather than a final answer.
Best Nail Shapes and Lengths for Thanksgiving Hosting
Cooking a full Thanksgiving meal keeps your hands moving nonstop. The right shape depends on whether you’re cooking, hosting, or just showing up to eat.
Shapes for Cooking and Hosting
Long, sharp shapes like stiletto can slow you down when peeling potatoes or carving a turkey. Short to medium almond or squoval shapes hold up better while you’re actually in the kitchen.
If you host every year, go with short square nails. They resist chipping during dishwashing and still look polished in photos. Guests who show up for dinner, not the kitchen, can get away with long coffin or stiletto shapes for extra drama.
Gel and Dip Powder for All-Day Durability
Gel and dip powder manicures outlast regular polish during a full day of hosting. Both resist water damage and hold up through repeat handwashing far longer than a standard lacquer.
20 Thanksgiving Nail Designs You’ll Love
Every design below fits a different mood: some cozy and classic, some bold and glamorous. Pick one that matches your outfit, your schedule, and how much time you want to spend at the salon or your kitchen table.
Classic Fall Colors
1. Burnt Orange Chrome
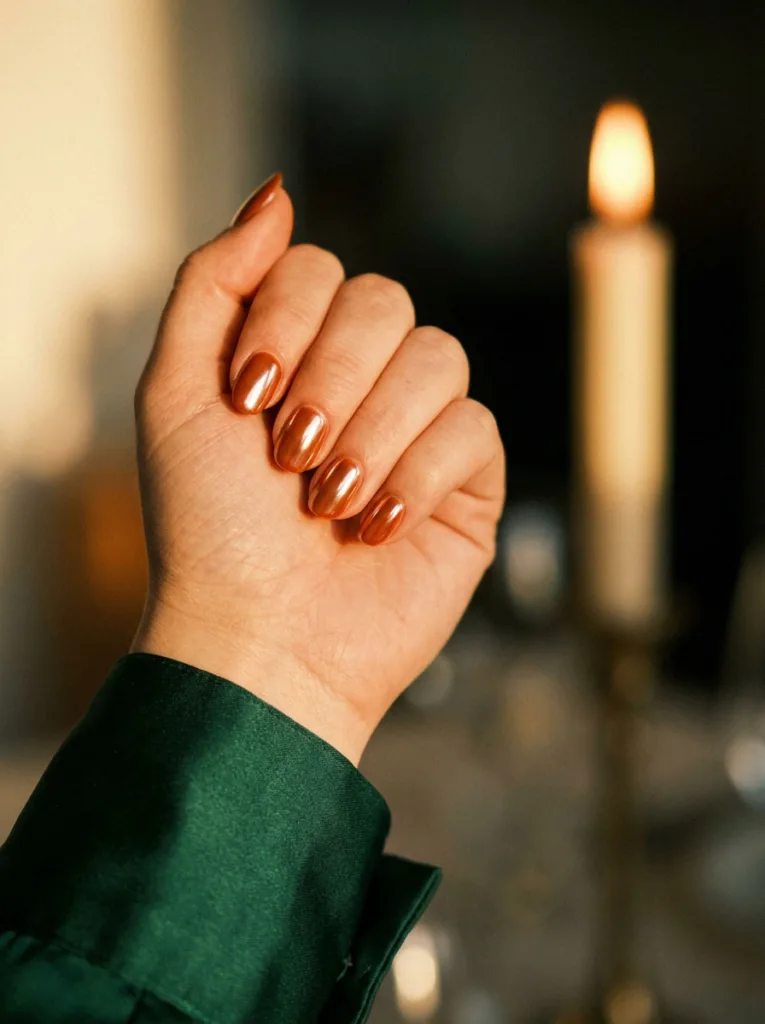
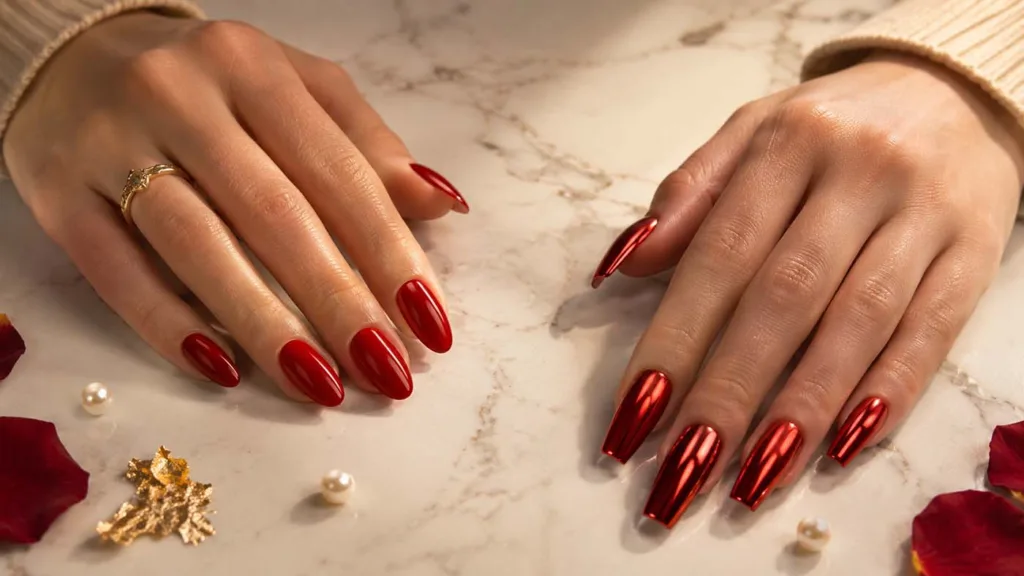
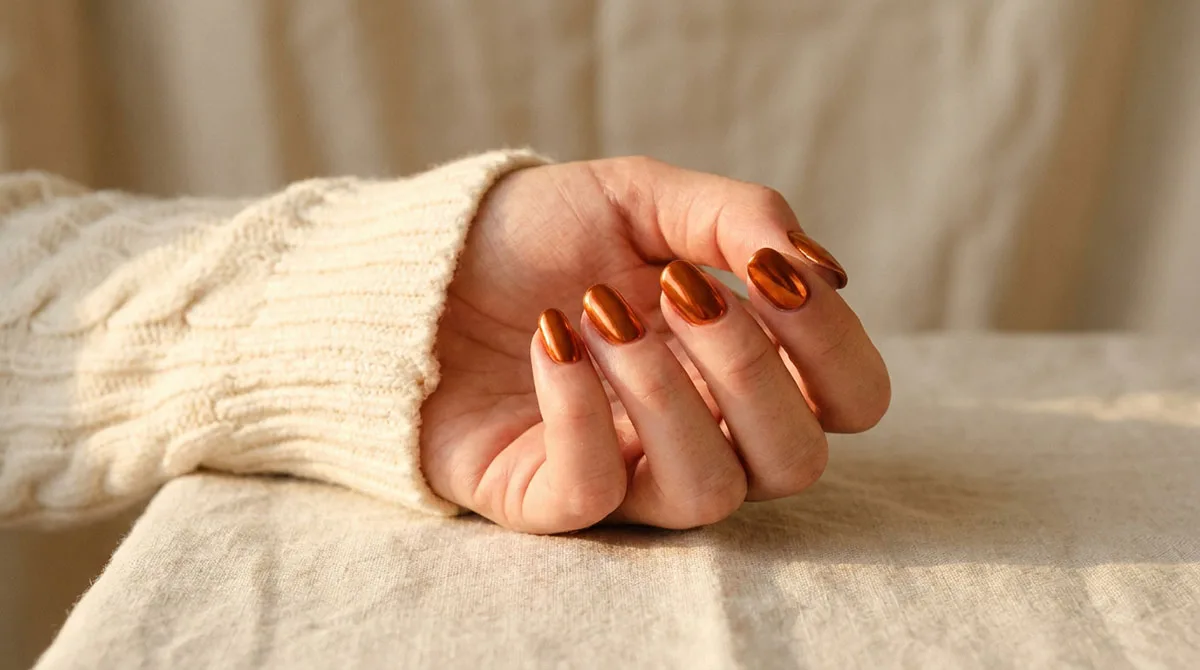
Paint a high-shine chrome powder over a burnt orange base for a metallic finish that glows under candlelight. This mirror layer needs a fully cured gel base underneath. Skip that step and the powder just won’t grip. Budget an extra 10 minutes beyond a standard gel manicure to buff it to a full mirror shine.
- How to get it: Cure a gel color coat, then buff chrome powder in with a foam applicator using small circular motions.
- Best for: evening dinners and photos under warm lighting.
2. Deep Cranberry Glass
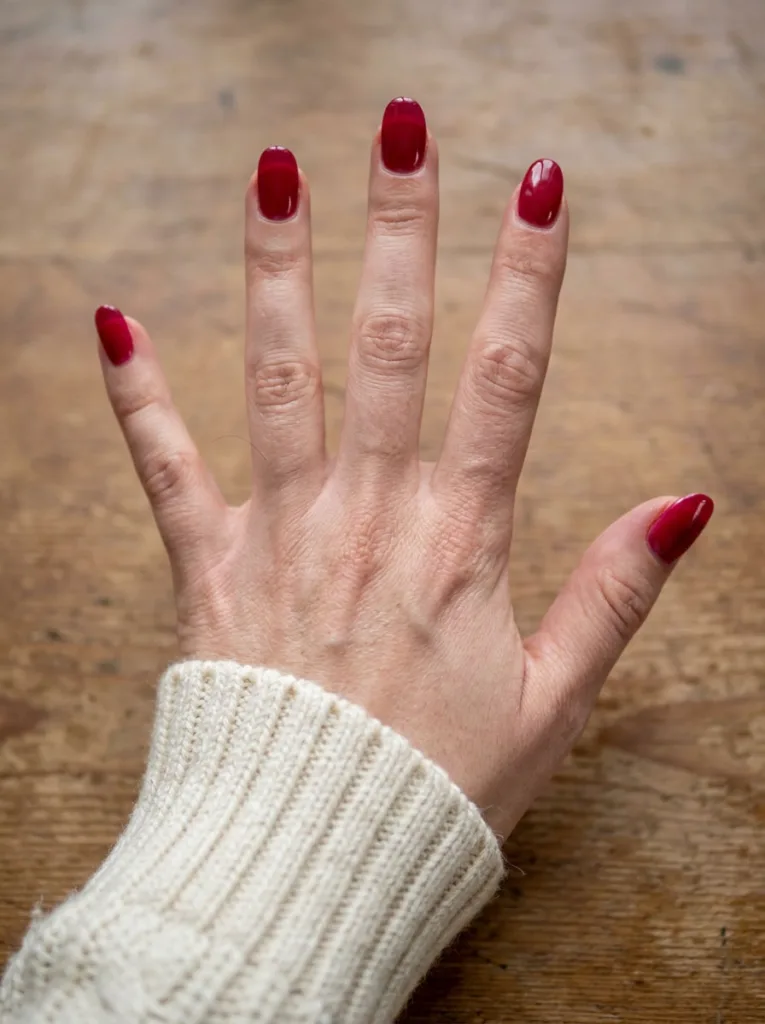
This jelly-textured red uses two to three thin, sheer layers to build a glossy, glass nail depth instead of one opaque coat. Thin layers let light pass through the color, which is what creates the glass-like look. Rushing to one thick coat instead of several thin ones is the most common reason this design turns out streaky.
- How to get it: Apply three sheer coats, letting each one dry to tacky before adding the next, then seal with high-gloss top coat.
- Best for: pairing with a cranberry sauce table setting.
3. Mustard Yellow French Tips
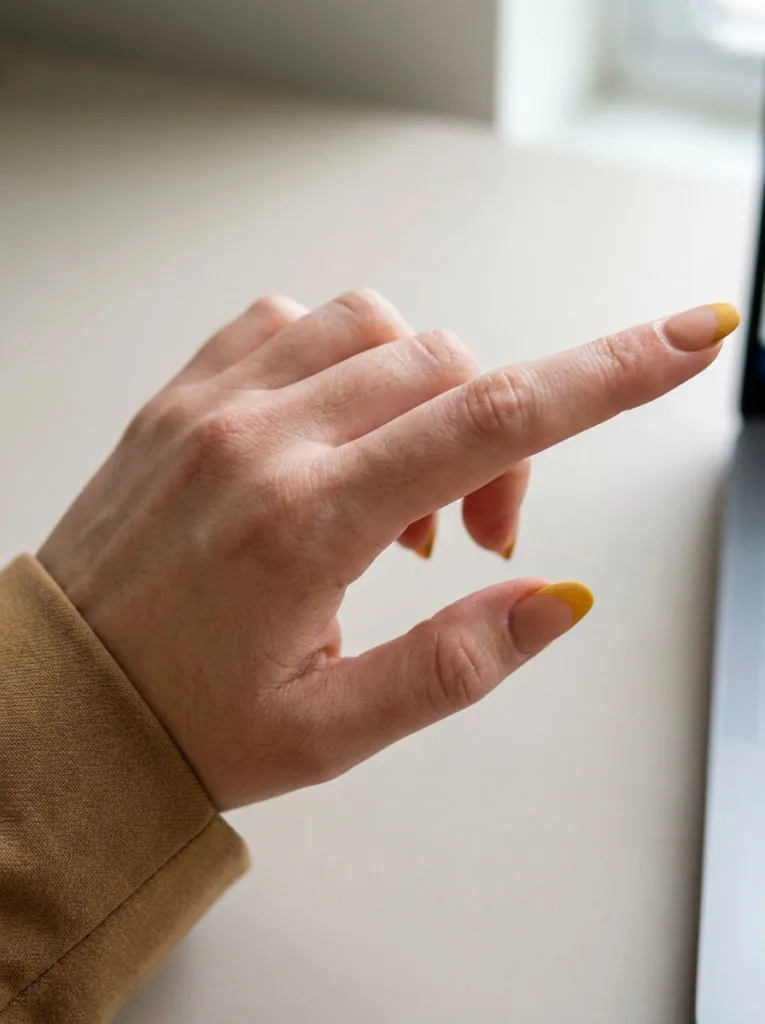
Swap the classic white tip for a matte mustard yellow over a warm nude base. Mustard can look sallow against very fair, cool-toned skin, so a thin white line under the yellow tip adds contrast and keeps the color from looking muddy. Use a thin striping brush to keep the tip line crisp and even.
- How to get it: Paint a nude base, add a hairline white guide, then layer mustard yellow over the tip.
- Best for: office-friendly looks during Thanksgiving week.
4. Espresso Brown Ombre
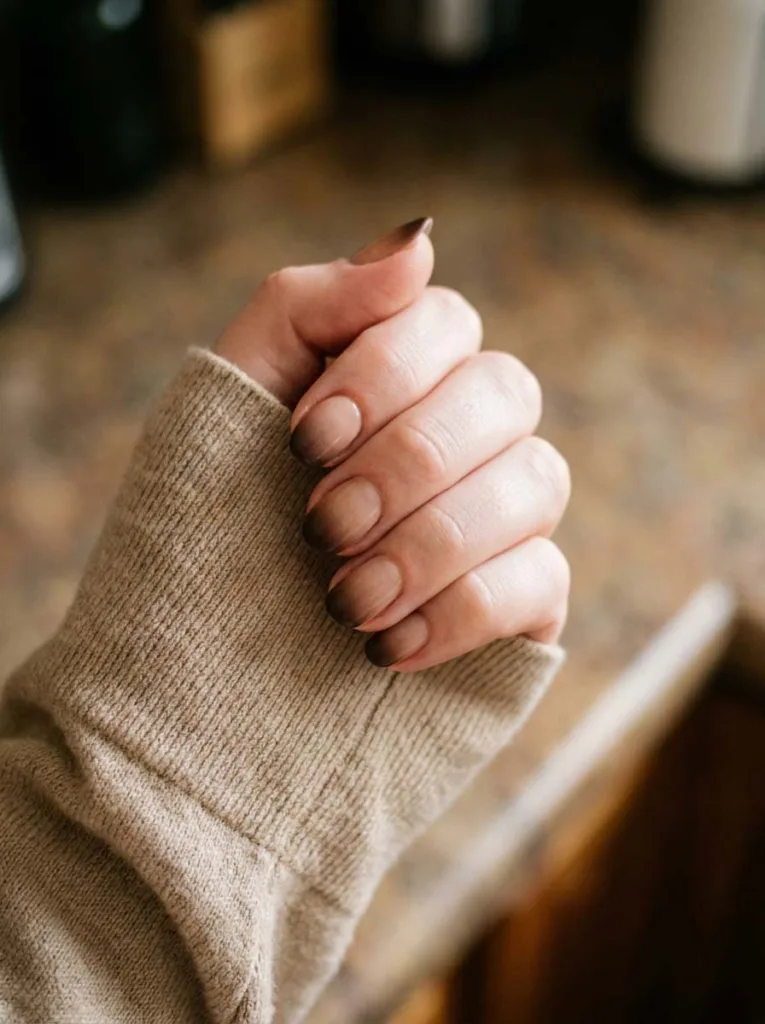
Blend a light tan base into a deep espresso brown at the tip using a makeup sponge. The fade should stay soft, with no visible line between shades, which takes two or three light dabs rather than one heavy press. Because the color deepens gradually, regrowth barely shows for two to three weeks.
- How to get it: Dab brown onto a sponge, press gently onto the tip, then blend the edge with a clean brush dipped in remover.
- Best for: anyone who wants low upkeep between salon visits.
5. Golden Olive Green
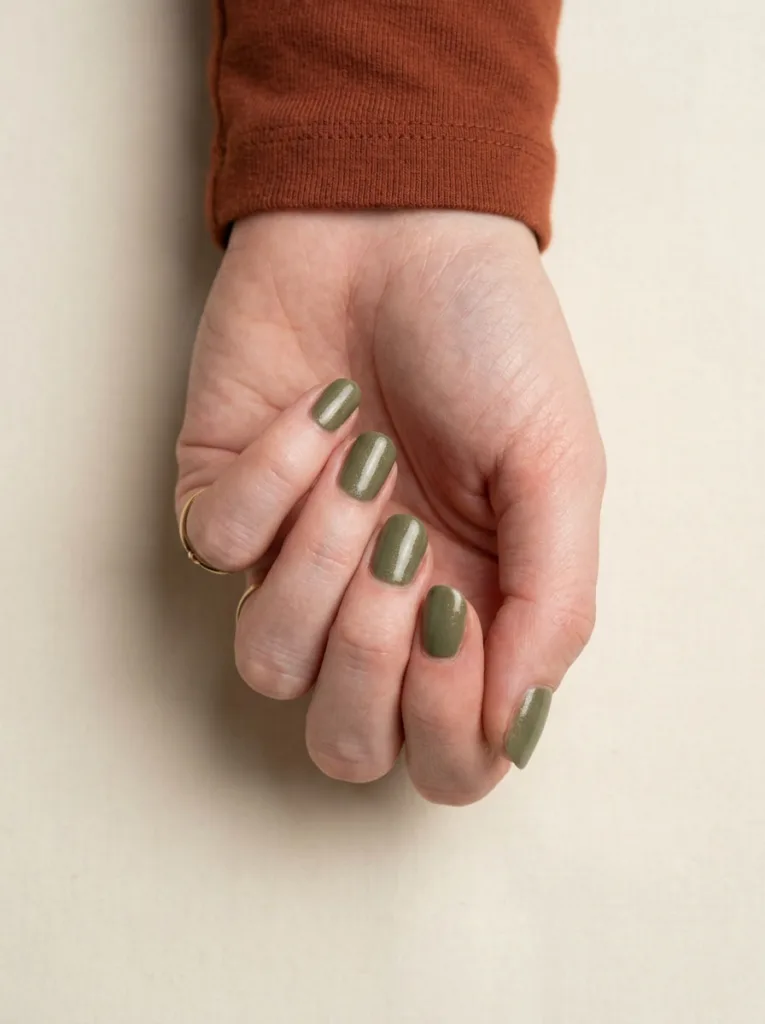
This muted, earthy green works as a flat color or a subtle shimmer finish, depending on the top coat you choose. It is the fall shade least likely to clash with gold jewelry, brass cutlery, or a warm-toned sweater at the table. A matte top coat keeps it understated, while gloss makes it read more formal.
- How to get it: Apply two coats of olive green, then finish with matte top coat for daytime or gloss for evening.
- Best for: readers who want a fall shade outside the usual orange-red range.
Turkey and Harvest Art
6. Hand-Painted Turkey Accent
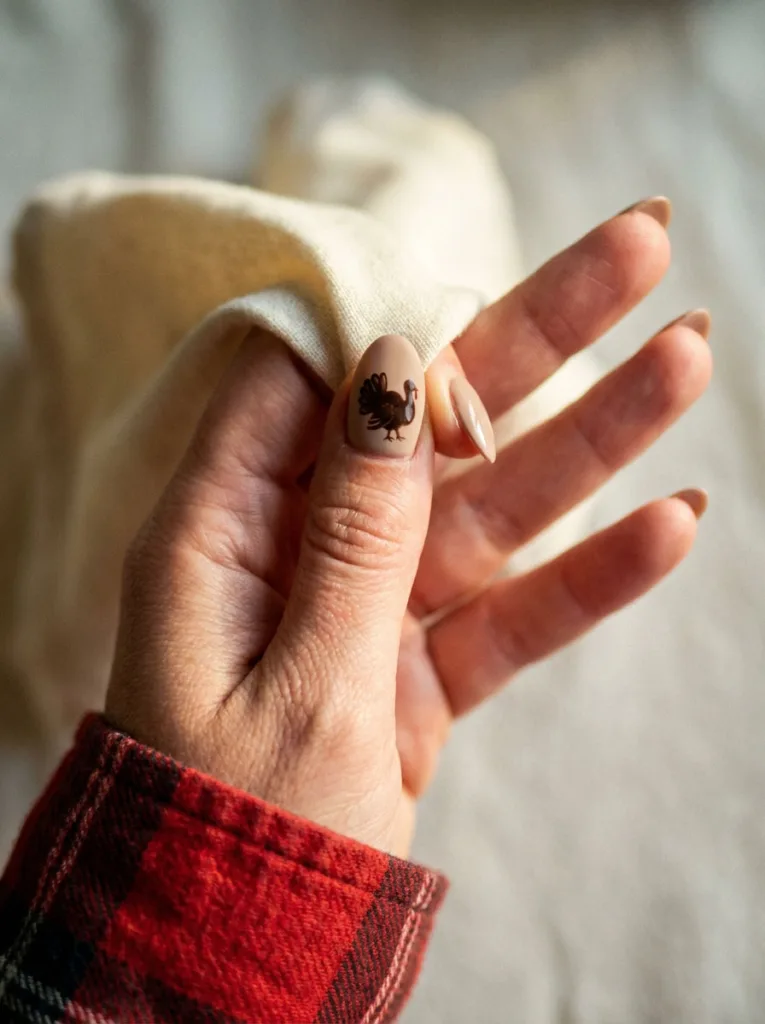
Paint one accent nail with a small turkey silhouette using a thin detail brush and two brown tones. Keep the rest in a solid neutral. That’s what stops the set from looking busy. Plan for 10 to 15 minutes on the accent nail; the rest of the set paints up fast.
- How to get it: Sketch the outline in light brown first, then add darker brown feather details on top once dry.
- Best for: a subtle nod to the holiday without a full novelty set.
7. Pumpkin Patch Nails
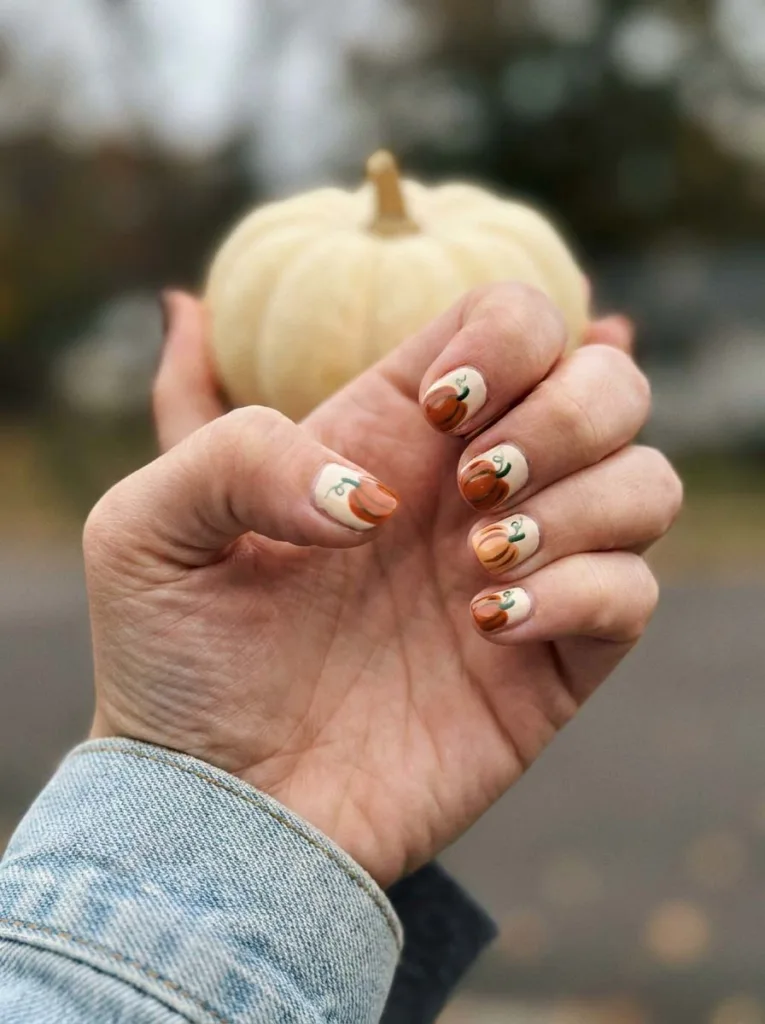
Dot small pumpkin shapes across a cream or burnt orange base using a nail art brush and a dotting tool. Add a thin green stem line for a realistic finish. Keep the pattern to three or four pumpkins per nail. Overcrowding the design is the fastest way to make it look cluttered instead of festive.
- How to get it: Dot orange circles first, add a small brown stem line, then finish with a tiny green leaf on each.
- Best for: beginners practicing simple nail art shapes.
8. Cornucopia Detail
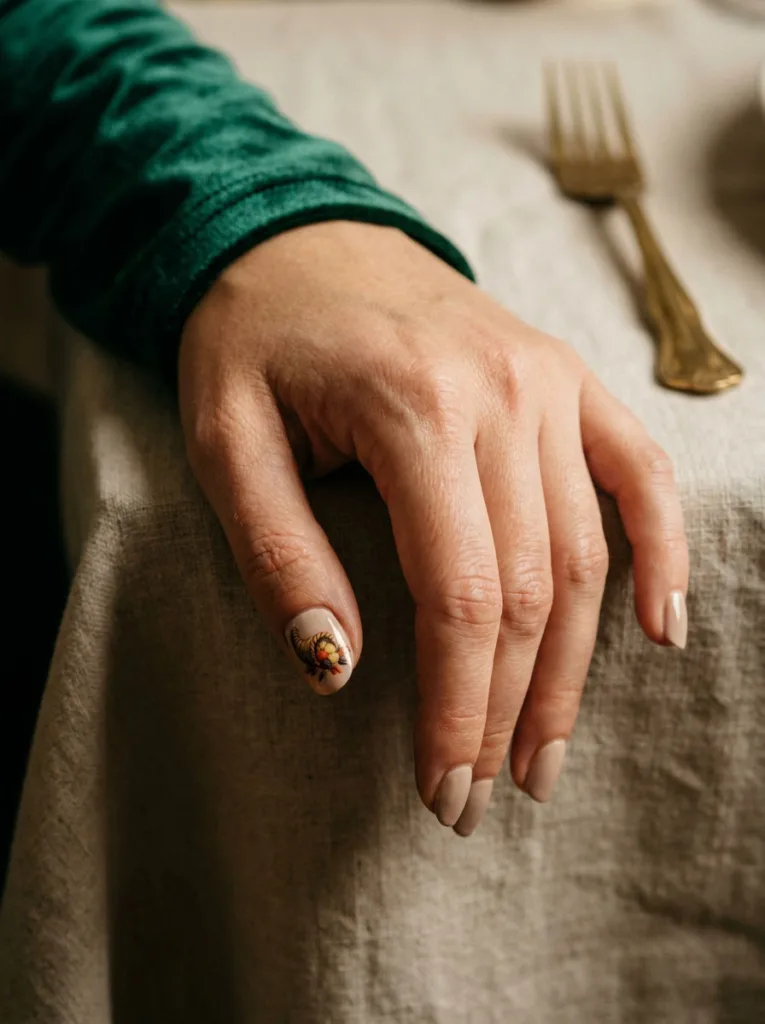
This design places a detailed cornucopia, spilling painted fruit and leaves, on a single accent nail. Plan for 30 to 45 minutes per set since the detail work takes longer than any other design on this list. If your Thanksgiving schedule is tight, this is the one design here worth booking at a salon instead of doing at home.
- How to get it: Outline the horn shape first, then fill in small painted fruits and leaves once the base color is fully dry.
- Best for: one statement nail on an otherwise plain manicure.
9. Acorn and Leaf Trio
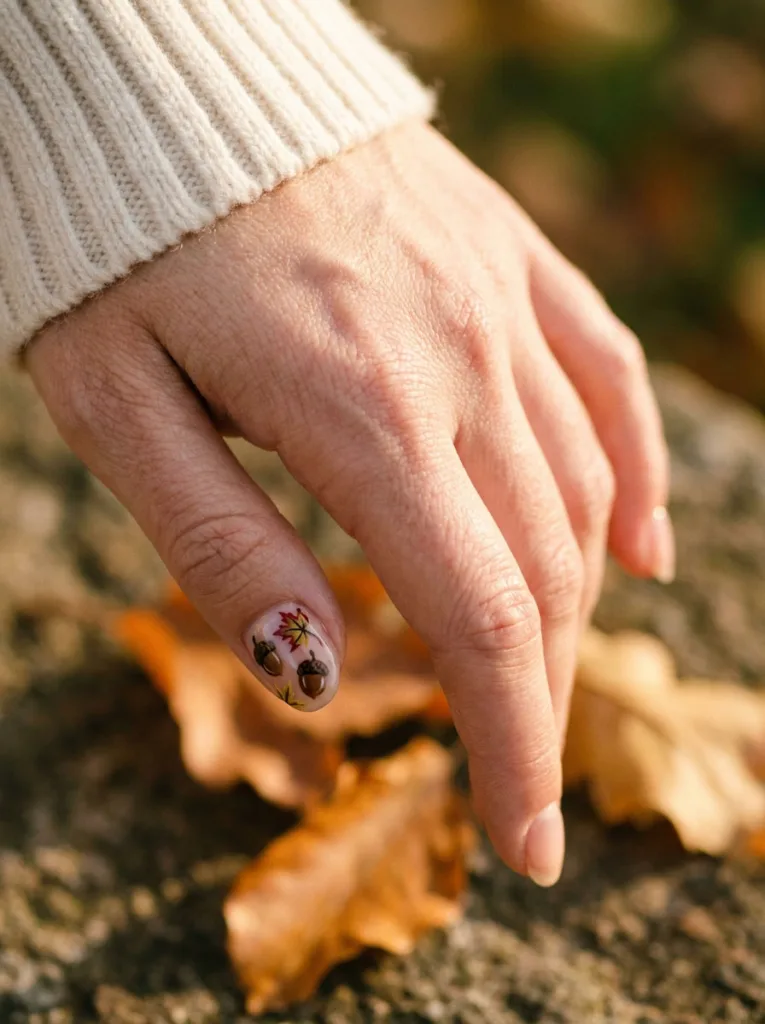
Scatter small acorns and maple leaves in brown, red, and gold across two or three nails. This reads organic rather than costume-like, unlike a full turkey design. A dotting tool shapes the acorn caps quickly, and a fine brush handles the leaf veins. Mistakes wipe away easily with a lint-free swab before you cure or seal the design.
- How to get it: Dot acorn caps in brown, paint leaf outlines in red and gold, then add thin vein lines with a detail brush.
- Best for: nature-inspired looks that skip the cartoon feel.
10. Plaid Sweater Nails
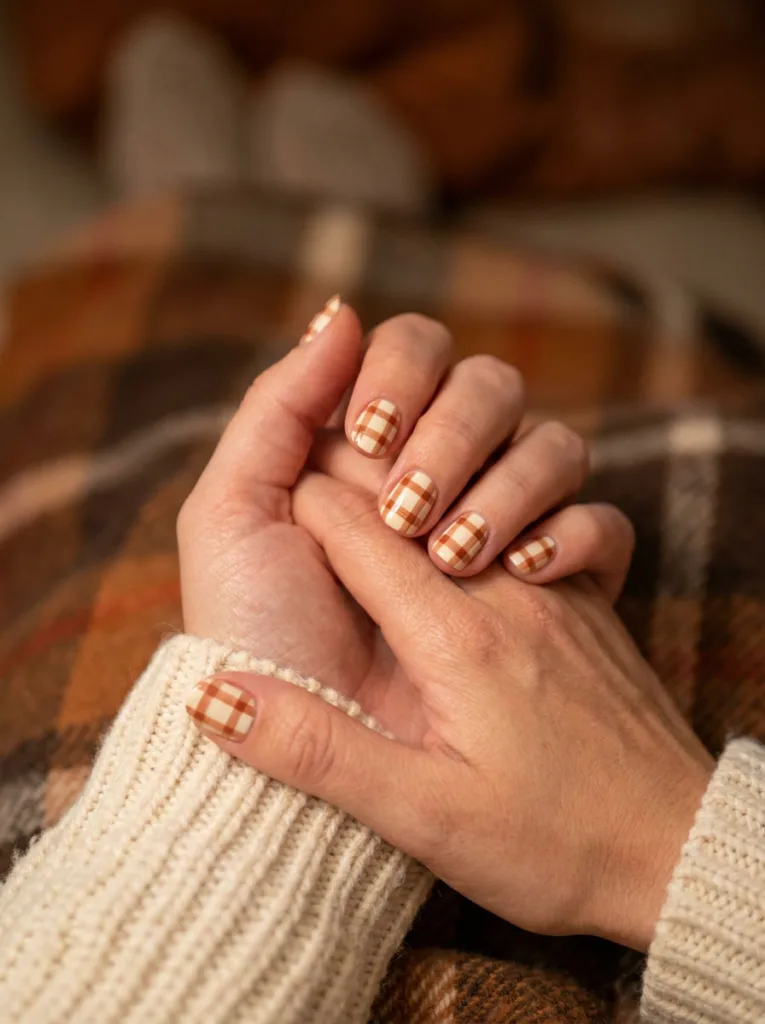
Cross thin cream and rust lines with a striping brush to mimic a woven plaid pattern. Keep the lines evenly spaced for a clean, grid-like look, and vary the line thickness slightly for a more woven, less printed appearance. This pattern shows up best on square or coffin shapes, since the flatter surface gives the lines more room.
- How to get it: Paint evenly spaced vertical lines first, let them dry, then cross with horizontal lines in a second shade.
- Best for: cozy manicures that carry over past Thanksgiving into December.
Elegant and Minimal
11. Nude with Gold Fleck
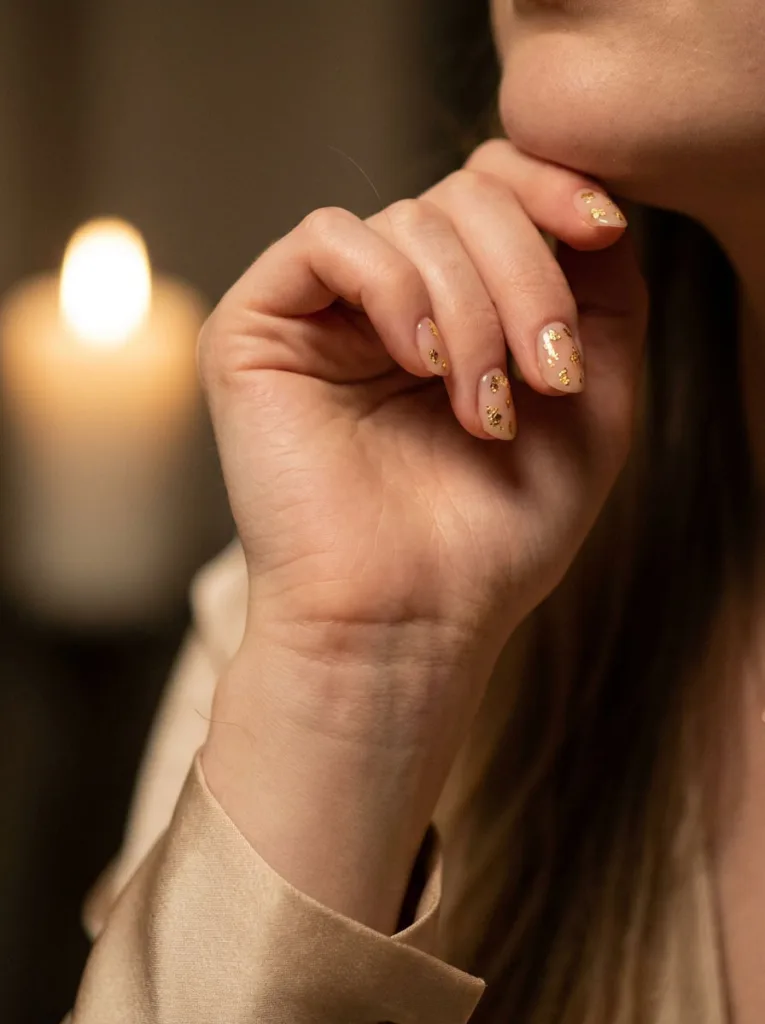
Apply a sheer nude polish, then flick gold leaf flakes onto wet top coat with a dotting tool. Scatter them randomly. Even spacing reads as fake. Thin gold leaf sheets look more realistic than chunky glitter here, and tweezers keep the flakes from clumping together.
- How to get it: Tear gold leaf into small pieces, press onto wet top coat with tweezers, then seal with a second top coat layer.
- Best for: formal Thanksgiving dinners or holiday parties the same week.
12. Negative Space Leaves
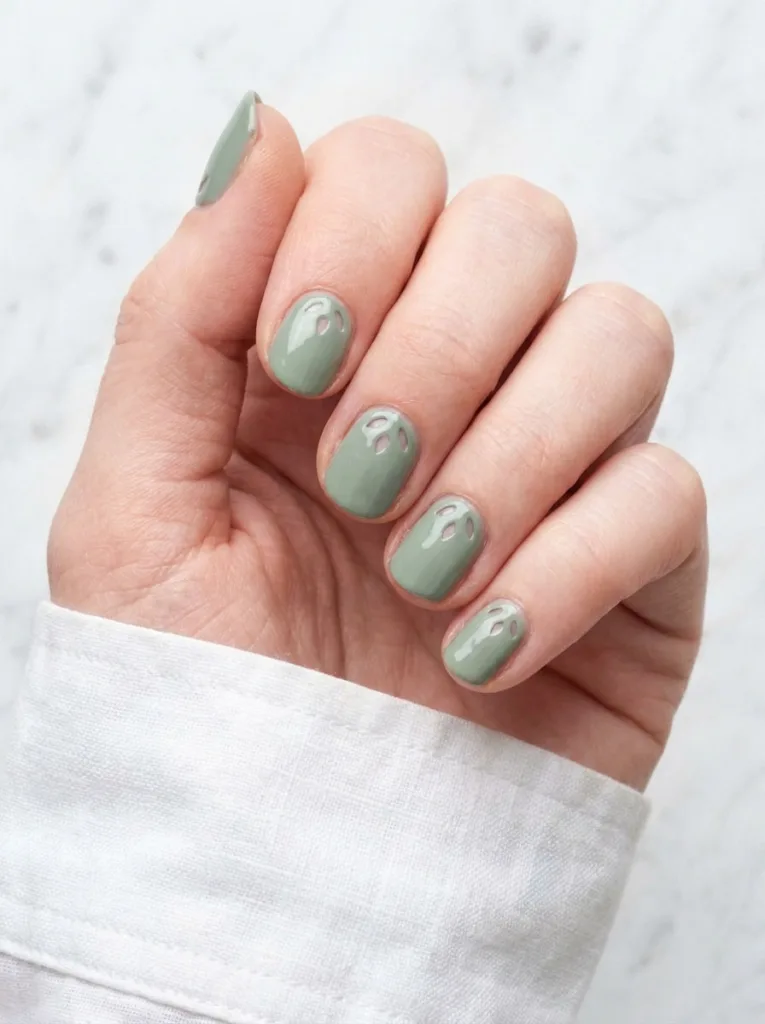
Paint a solid fall color, leaving small unpainted leaf-shaped gaps using nail vinyl stencils. The bare nail becomes part of the design instead of a mistake to hide. Pre-cut leaf vinyls peel off cleanly before the top coat goes on. Because the natural nail shows through, a clear ridge-filling base coat matters more here than in any other design.
- How to get it: Place leaf-shaped vinyl stickers, paint over them, then peel the stickers off before sealing with top coat.
- Best for: a modern, minimal look that photographs cleanly.
13. Single Line Art
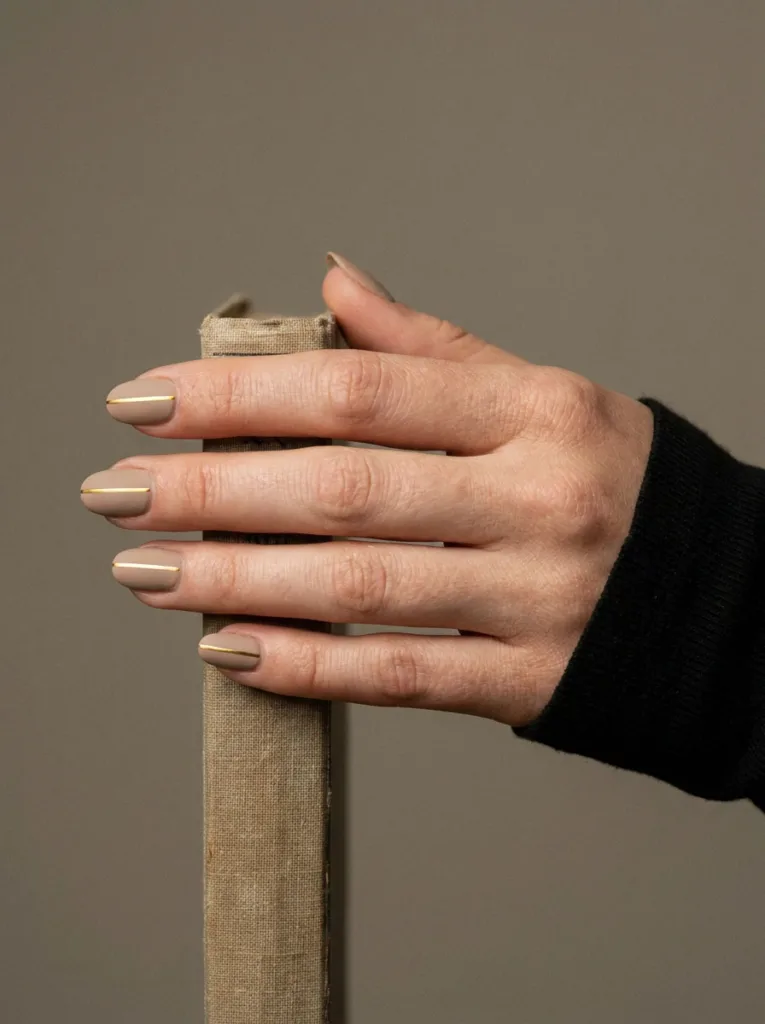
Draw one thin gold or black line across a matte base using a fine detail brush. This design works on every nail shape and length without adjustment. Striping tape gives beginners a straighter result than freehand brushwork. Since it skips turkeys and pumpkins entirely, it transitions easily from Thanksgiving into December without feeling out of season.
- How to get it: Lay a strip of striping tape across the dry base color, paint over the exposed gap, then peel the tape away.
- Best for: Thanksgiving nails without an obvious holiday theme.
14. Matte Terracotta
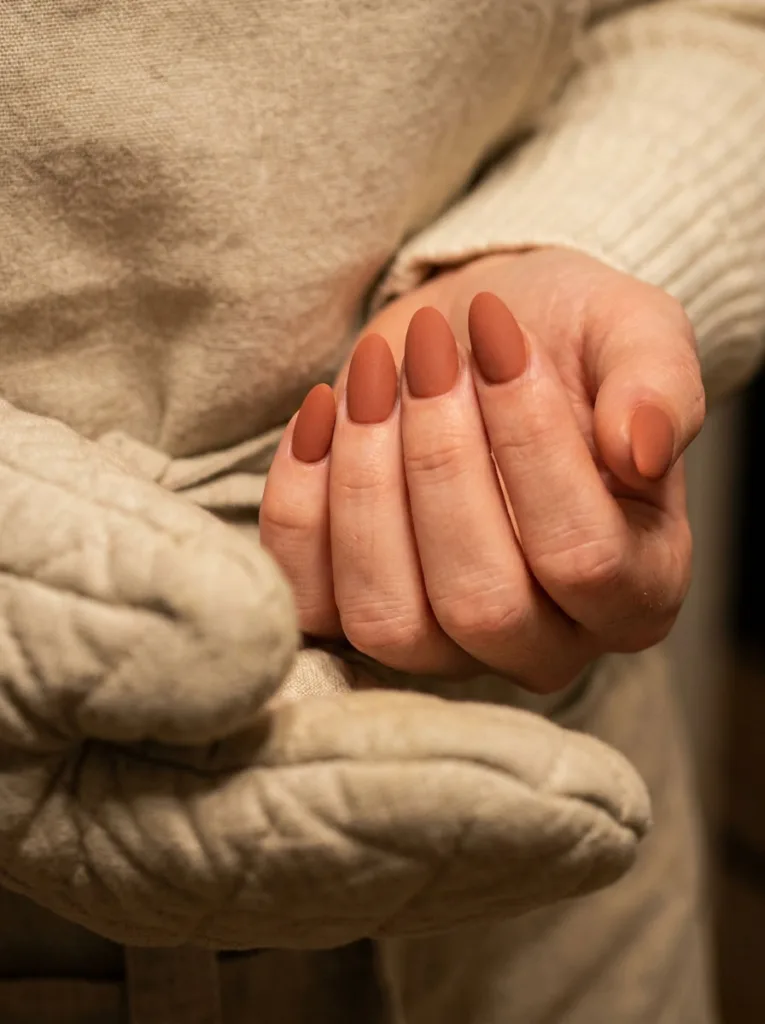
Use a matte top coat over a solid terracotta polish for a flat, velvet-like finish. Matte formulas show less shine but also fewer smudges from handling food. Most matte top coats need to go on within about 60 seconds of the color drying, or the flat texture will not set correctly.
- How to get it: Apply two coats of terracotta polish, wait until just tacky, then seal immediately with matte top coat.
- Best for: hosts who want color without high shine.
15. Cat Eye Amber
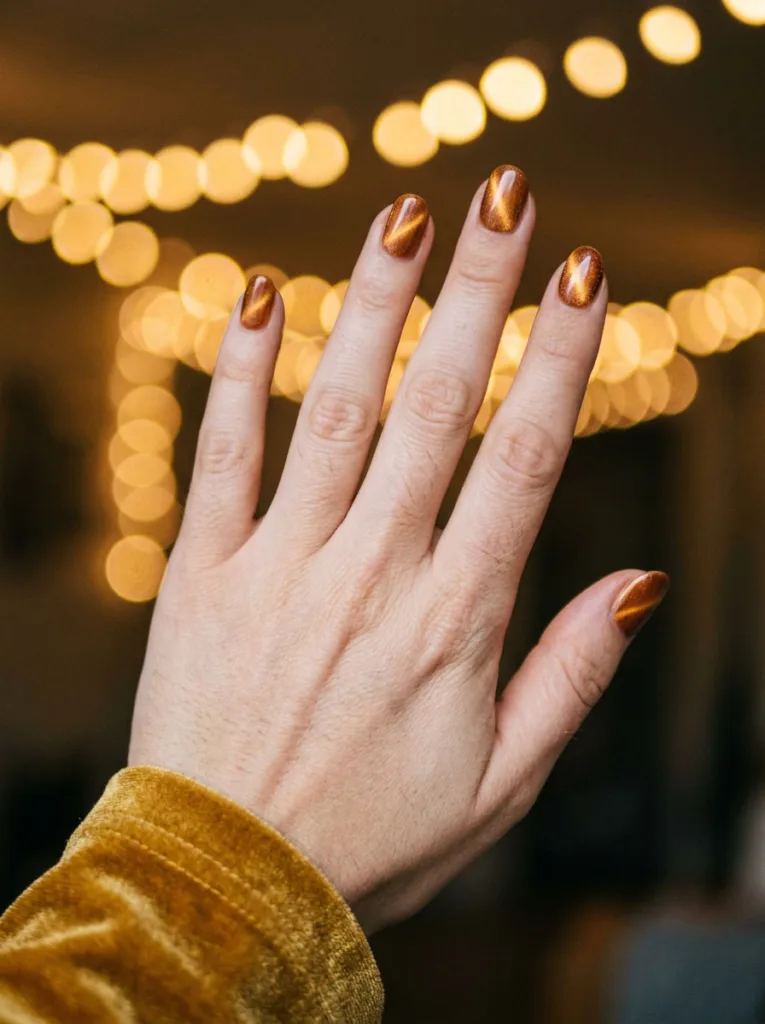
Apply a magnetic cat eye polish in amber, then hold a magnet over the wet polish before curing under UV light. The metallic line shifts as your hand moves. This effect only works with gel formulas, since regular polish dries too fast for the magnetic pigment to settle into place.
- How to get it: Paint on cat eye gel polish, hold the magnet above the nail for five seconds, then cure under UV light.
- Best for: gel manicure fans who want built-in shimmer.
Quick DIY and Short Nail Friendly
16. Short Square French with Fall Tips
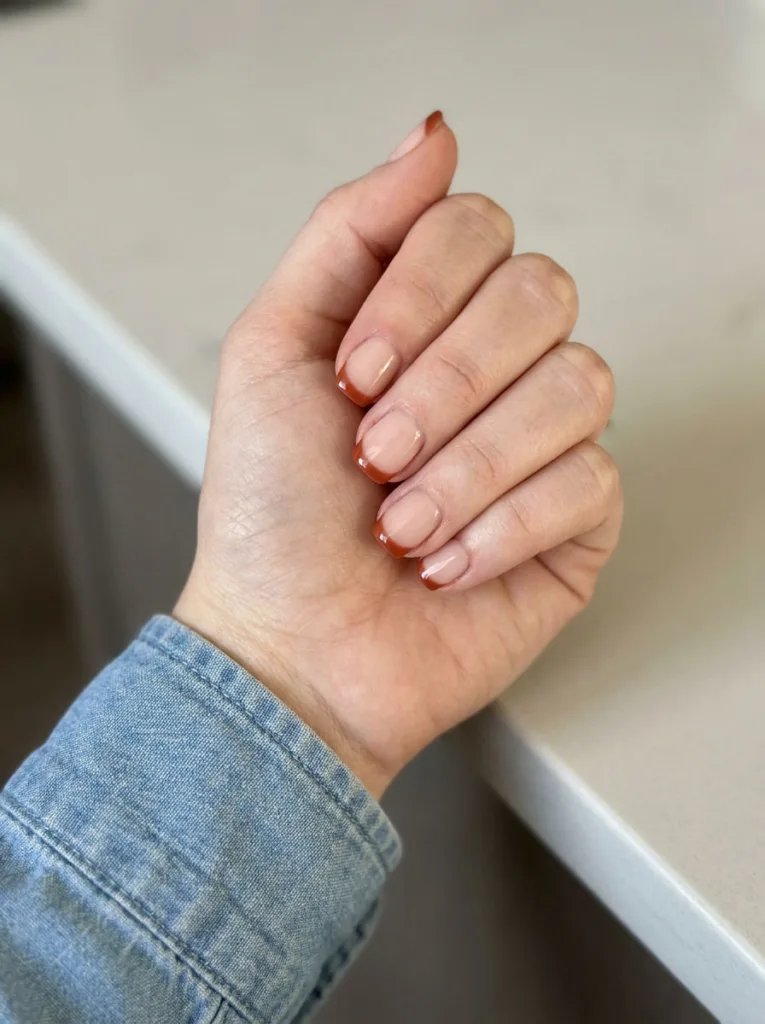
Paint a burnt sienna tip over a natural pink or nude base, using a French tip guide sticker for clean edges. This shape holds up best through repeated dishwashing. Guide stickers cost under $5 and get reused across several manicures, so the cost per set drops fast.
- How to get it: Apply a nude base, place a French tip guide sticker, then paint burnt sienna over the exposed tip.
- Best for: short-nail hosts who still want a manicure.
17. Two-Tone Dip
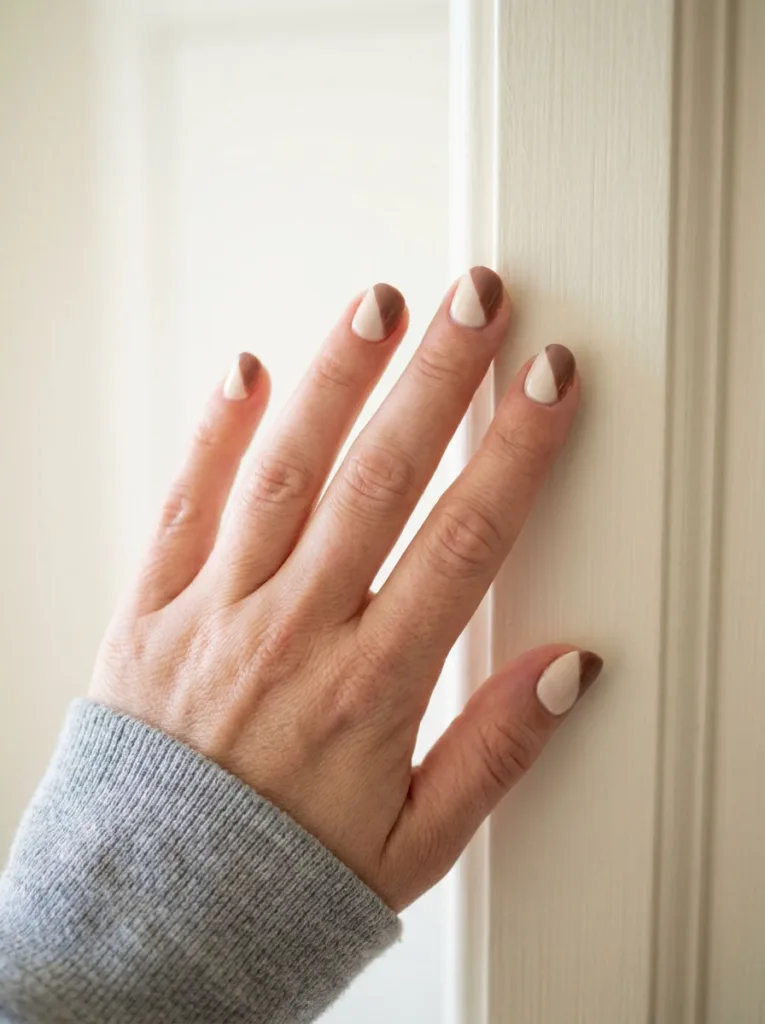
Dip half the nail in cream powder and half in brown, dividing the color on a diagonal. Dip powder sets the moment it touches the activator. No lamp needed. It also resists chipping for three to four weeks, compared to one to two weeks for regular polish.
- How to get it: Tape off a diagonal line, dip one half in cream powder, then dip the other half in brown.
- Best for: anyone short on time before guests arrive.
18. Stamped Leaf Pattern
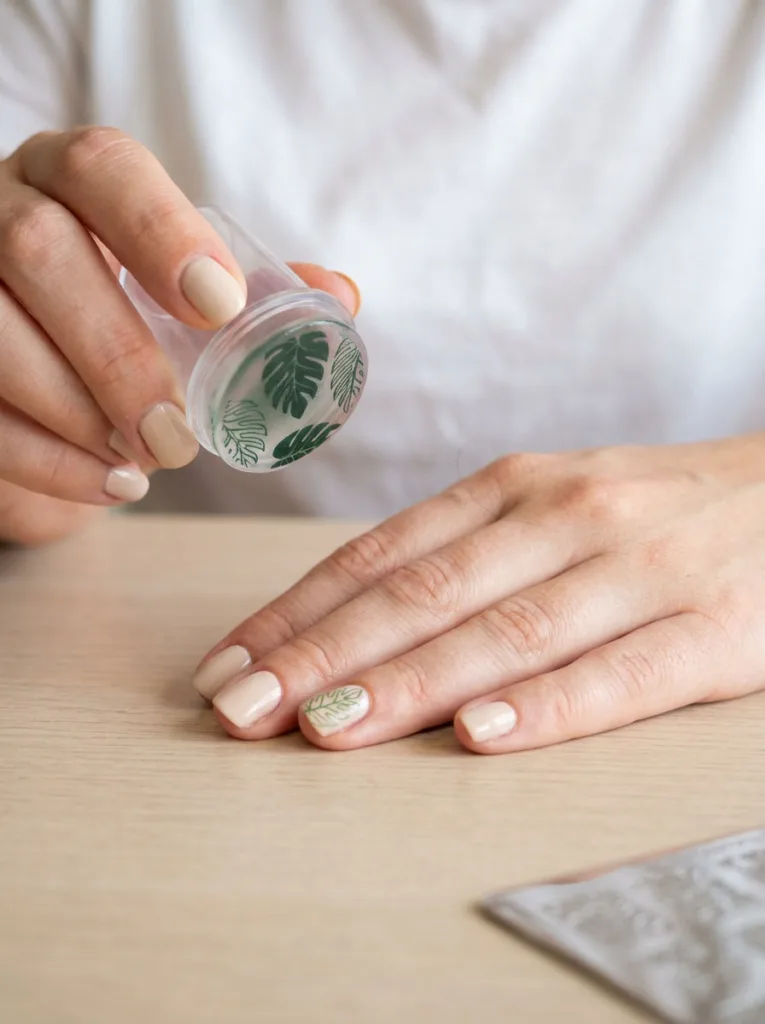
Press a leaf-patterned stamping plate into polish, then transfer the image to the nail with a stamper tool. This method gives salon-level detail without a steady hand. A scraper tool removes excess polish from the plate for a crisp transfer, and practicing the stamp on paper first prevents wasted attempts on your actual nails.
- How to get it: Scrape polish across the plate, pick up the image with a stamper, then roll it onto the nail.
- Best for: at-home manicures for nail art beginners.
19. Glitter Cuticle Line
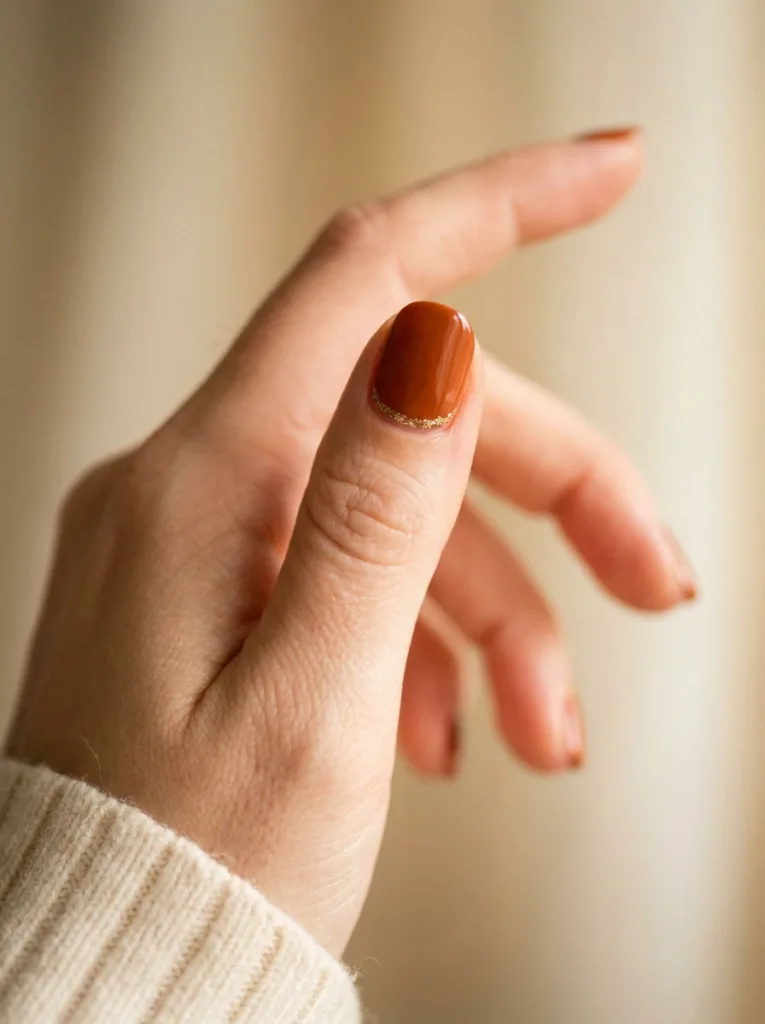
Paint a thin strip of gold glitter polish along the cuticle edge, leaving the rest of the nail in a solid fall color. This adds sparkle without covering the whole nail. Use a fine detail brush and wipe excess polish off the brush before applying, since a crooked line is simple to fix with a cotton swab while it is still wet.
- How to get it: Paint the base color first, then trace a thin glitter line along the cuticle with a detail brush.
- Best for: subtle sparkle that will not shed onto food.
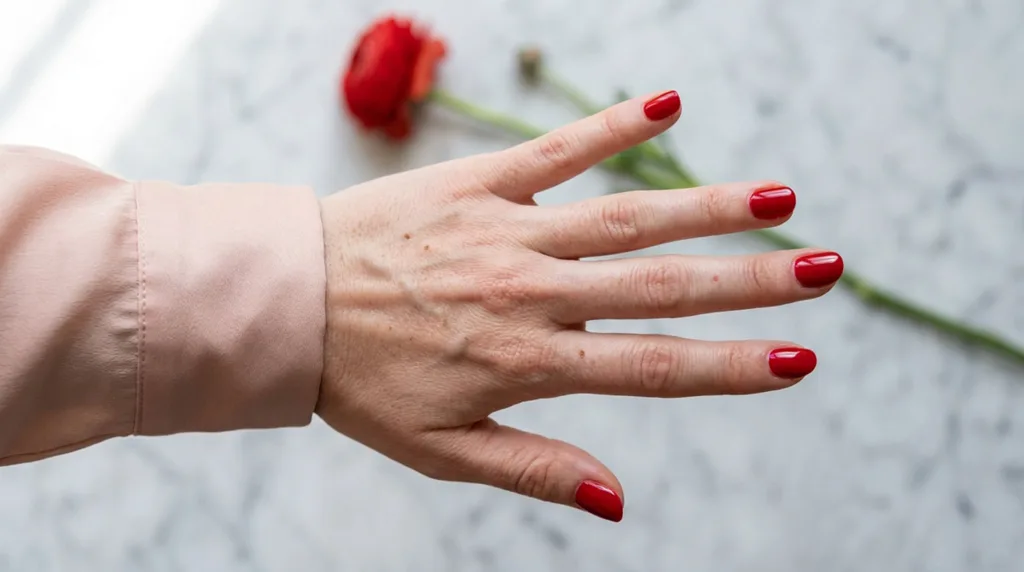
20. Solid Wine Red with Glossy Top Coat
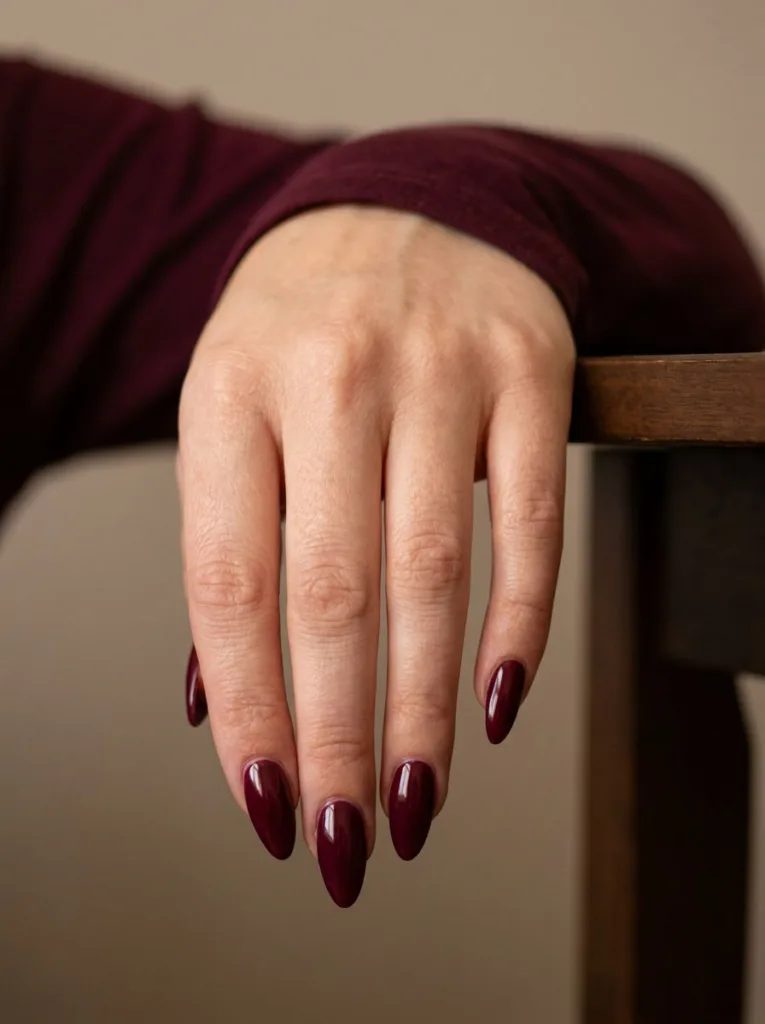
Apply two coats of a rich wine red, then seal with a high-gloss top coat. That’s it. This one takes under 10 minutes total, the fastest design on this list, and holds five to seven days of clean wear before tip growth shows.
- How to get it: Apply two coats of wine red polish, let dry fully, then finish with one layer of high-gloss top coat.
- Best for: anyone who wants a guaranteed, no-fail color.
How to Make Your Thanksgiving Manicure Last Through the Holiday
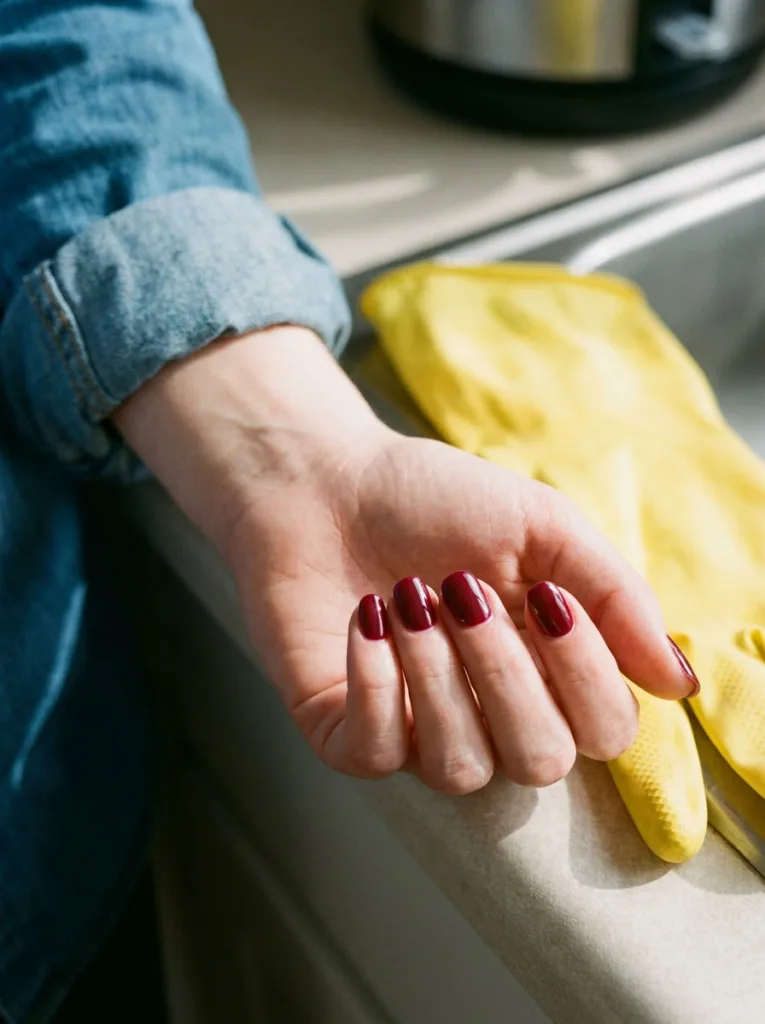
Hosting means hours of handwashing, chopping, and cleaning. Protect your manicure by applying a strengthening base coat before any color. This step alone reduces chipping by a noticeable margin.
Wear rubber gloves while washing dishes. Water exposure is one of the fastest ways to lift polish, especially near the edges. Reapply a quick-dry top coat the morning of the event to refresh shine and add a protective layer.
Keep a small bottle of your exact polish shade on hand for touch-ups. A tiny chip is easy to fix in seconds if you catch it early, before the whole tip peels.
DIY vs. Salon: What Fits Your Thanksgiving Budget
Cost usually comes down to two options: book a salon appointment, or do it yourself at home.
Salon Gel Manicure
A salon gel manicure typically runs $35 to $60 nationally, according to Zenoti’s 2026 nail salon pricing benchmark, though it can climb past $70 in cities like Manhattan. Nailart usually costs extra on top of that base price. This option suits anyone short on time before the holiday rush.
DIY and Press-On Options
DIY sets cost far less, often under $15 for polish and basic tools. Press-on nails offer a middle ground: salon-level design for $10 to $25, applied at home in under 30 minutes.
FAQ Section
1. What color nails are best for Thanksgiving?
Burnt orange, cranberry, and espresso brown are the most popular Thanksgiving nail colors. They match the season’s warm palette and work for most skin tones.
2. How do I keep my nails looking good while cooking on Thanksgiving?
Wear rubber gloves while washing dishes and apply a strengthening base coat before painting. This combination protects polish from water and chopping damage.
3. What nail shape is best for Thanksgiving hosting?
Short to medium almond or squoval shapes offer the best mix of style and ease of movement during meal prep.
4. How long does a Thanksgiving manicure take at home?
Most DIY designs in this guide take between 15 and 45 minutes, depending on detail level. Simple color blocks are fastest.
5. Can I do turkey or pumpkin nail art without experience?
Yes. Nail stamping plates and dotting tools make detailed designs like pumpkins and leaves accessible for beginners.
Conclusion
Thanksgiving nails should match three things: your undertone, your shape for hosting, and your budget. Warm shades like burnt orange work with warm undertones. Short square and almond shapes survive dishwashing better than stiletto. A gel manicure runs $35 to $60, DIY costs under $15, and press-ons split the difference.
Pick one of these 20 designs, apply a strengthening base coat first, and protect it with rubber gloves while you cook. Give your hands the same care you give your table this year.