How To Remove Gel Nails At Home: Gentle Soak-Off Guide
Is your gel polish lifting, but you’re worried removal will leave your nails thin and sore? Picking at an edge is tempting when a manicure starts catching on clothing. Before reaching for a file, find out exactly which product is on your nails.
Knowing how to remove gel nails starts with that distinction. This guide covers confirmed soak-off gel polish, rather than hard gel or an unidentified builder system. You’ll find a preparation checklist, a gentle removal sequence, and clear reasons to stop. Product instructions still matter, because different coatings need different handling.
There is no guaranteed twenty-minute shortcut or promise of damage-free nails. The aim is to avoid adding injury through scraping, repeated filing, or continued exposure when skin becomes irritated. Start by checking your salon record or the original product name.
Check Your Gel Type Before Starting
Ask the salon for the exact base, color, and any builder product used.
Look for removal instructions from the manufacturer rather than guessing from appearance. Bottle packaging, thickness, and nail length cannot reliably tell you whether a product dissolves in acetone. If the system is unknown, book removal instead of testing it with repeated soaks.
Soak-Off Polish And Other Systems
Soak-off gel polish is made for solvent removal. Hard gel generally requires professional filing. Builder products vary, so check their specific directions rather than treating all builders alike.
A gel color over extensions may need different handling from a color over natural nails. Tell the technician whether you want only the color removed or the entire enhancement.
Check Your Nails And Skin
Do not begin an acetone soak over broken or inflamed skin. Pain, swelling, or nail separation deserves assessment rather than another layer of polish. A technician can identify the applied system; a clinician should assess suspected infection or allergy.
What Gentle Removal Can And Cannot Do
Peeling and scraping can damage the nail surface. That does not mean every white patch or sore nail comes from removal. Avoid diagnosing the cause from appearance alone.
Gel manicures can also cause brittleness, peeling, and cracking. The AAD’s gel manicure precautions explain these risks and suggest breaks between manicures.
A careful removal method cannot reverse existing thinning or guarantee strong nails afterwards. Moisturizer can help dryness, but it does not replace nail material already lost. Persistent discomfort is a reason to seek advice.
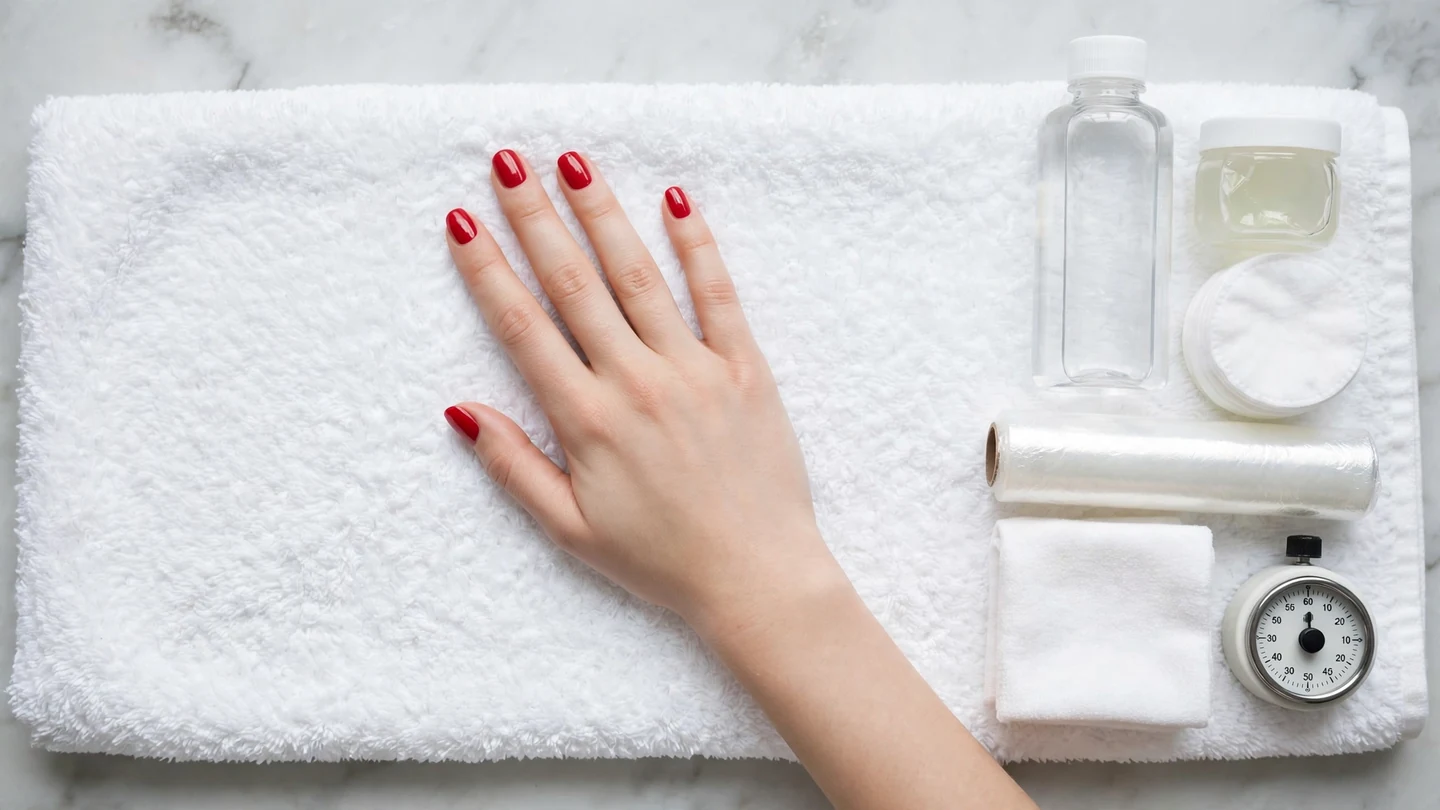
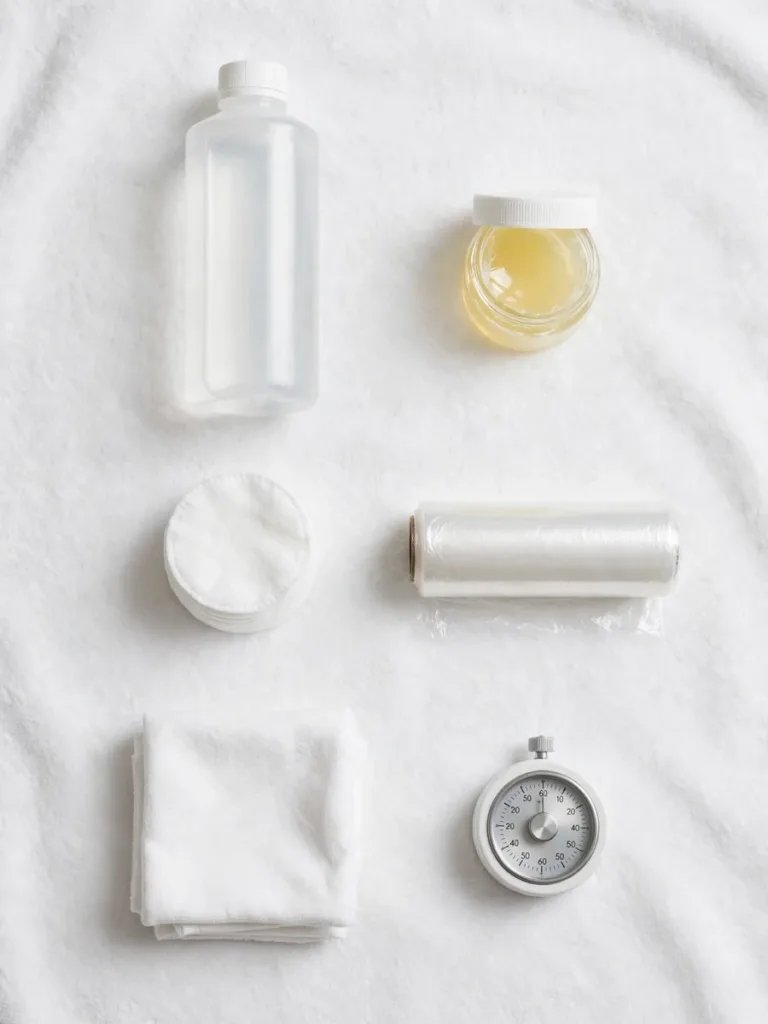
Gather Your Removal Supplies
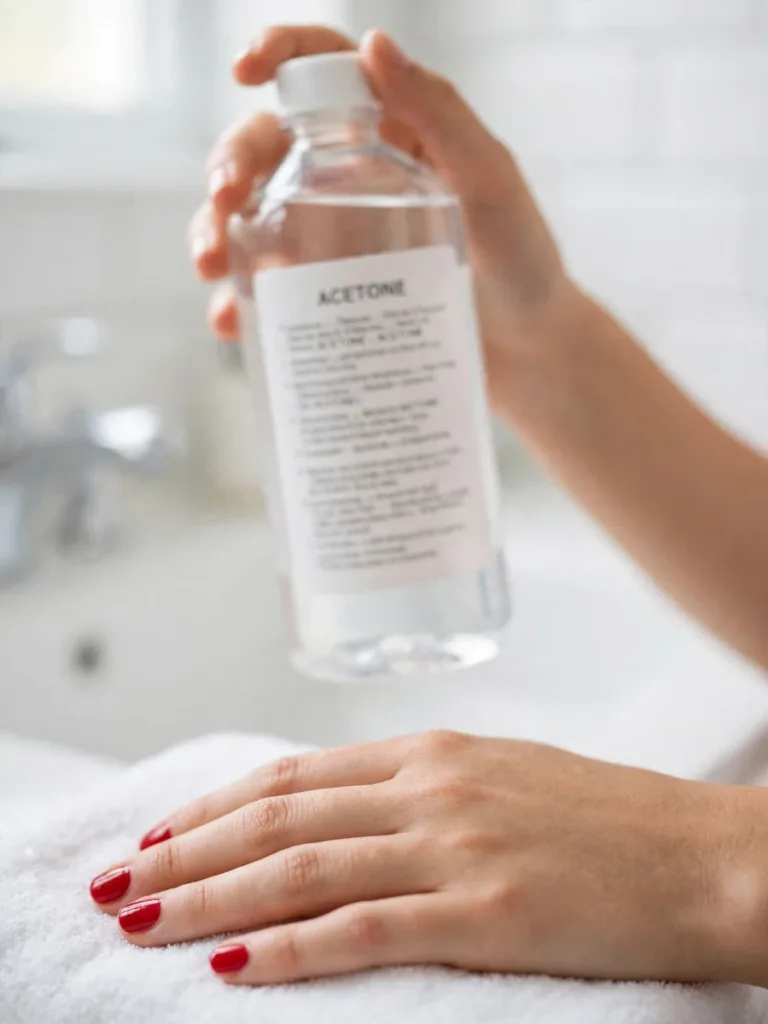
Check the acetone label before starting. Some nail polish removers contain acetone, while others are acetone-free or diluted. This method calls for a product labelled 100% acetone, suitable for nail removal.
Prepare enough materials for one hand at a time.
- 100% acetone suitable for nail removal
- Petroleum jelly
- Cotton balls or pads
- Scissors for cutting cotton and wrapping material
- Plastic food wrap
- A clean washcloth
- A thick towel and surface protection
- Gentle soap and moisturizer
- A timer
You do not need a scraping tool for the method below. Keep electric files and cuticle pushers out of the setup. If product directions require professional filing, choose a trained technician instead.
How To Remove Gel Nails: Seven Steps
The AAD’s home gel-polish removal method uses plastic wrap and a damp washcloth. The sequence below applies to confirmed soak-off polish with compatible removal instructions.
Step 1: Prepare A Ventilated Work Area
Choose a ventilated space away from flames, cigarettes, heaters, and hot surfaces. Acetone is flammable; do not warm it or use heating devices to speed removal. Keep children and pets away from the open bottle.
Protect the worktop against spills and cover the protected area with a thick towel. Avoid placing an open bottle near the table edge. Close it whenever you are not dispensing liquid.
Step 2: Check Surface Preparation Instructions
Read the directions for the exact system before filing. The AAD method does not require routine surface filing. Some manufacturers specify top-coat preparation, which should not become an invitation to thin the natural nail.
If you cannot distinguish coating from nail, leave filing to a professional. No file should abrade the surrounding skin.
Step 3: Protect Surrounding Skin
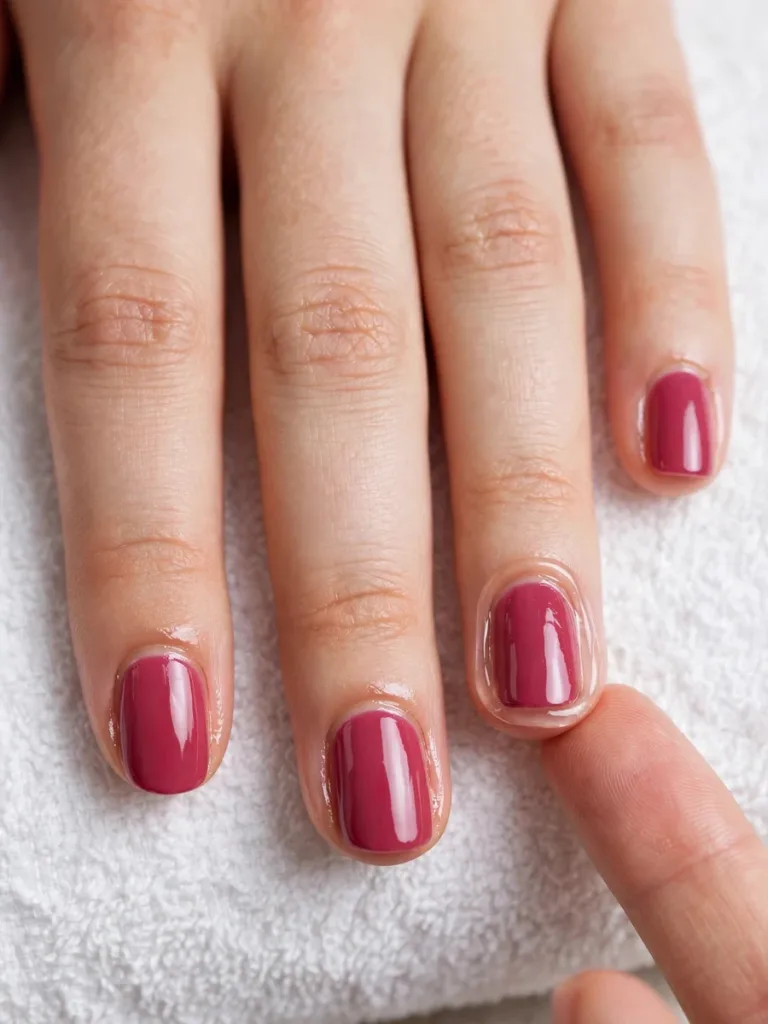
Spread a little petroleum jelly around each nail. Keep it on the surrounding skin rather than covering the polish. This helps limit acetone contact but does not make exposure harmless.
Do not treat stinging as proof that more jelly is needed. Stop and wash off acetone if burning, redness, or pain develops. Do not rewrap an irritated finger.
Step 4: Fit Cotton And Secure The Wrap
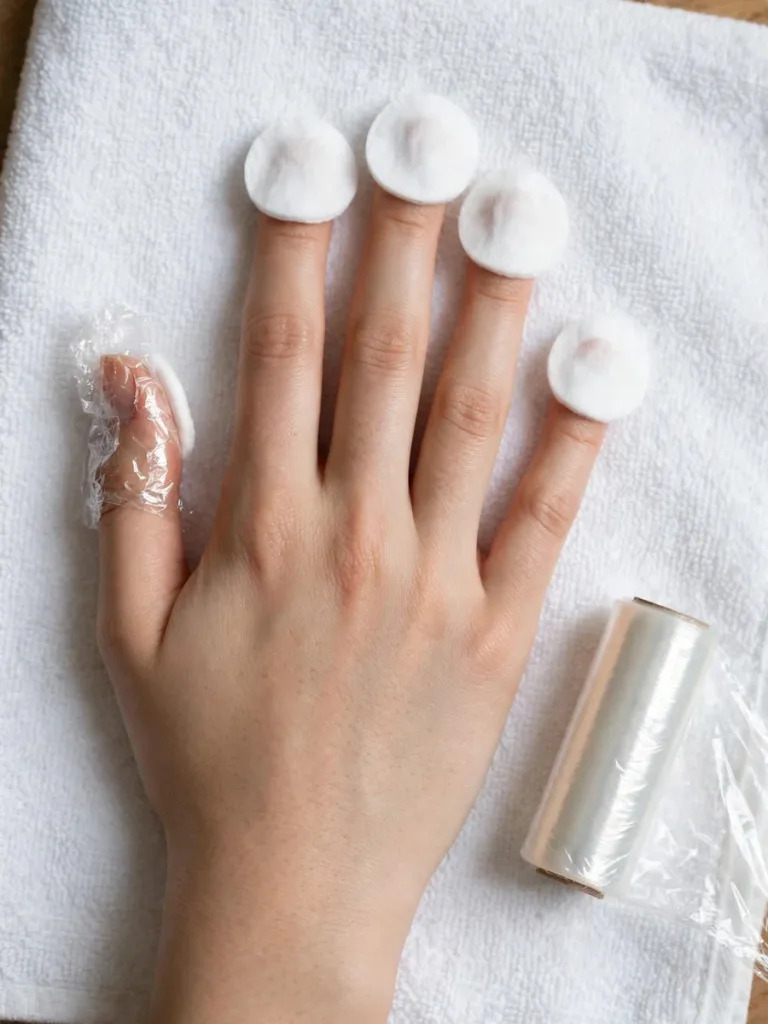
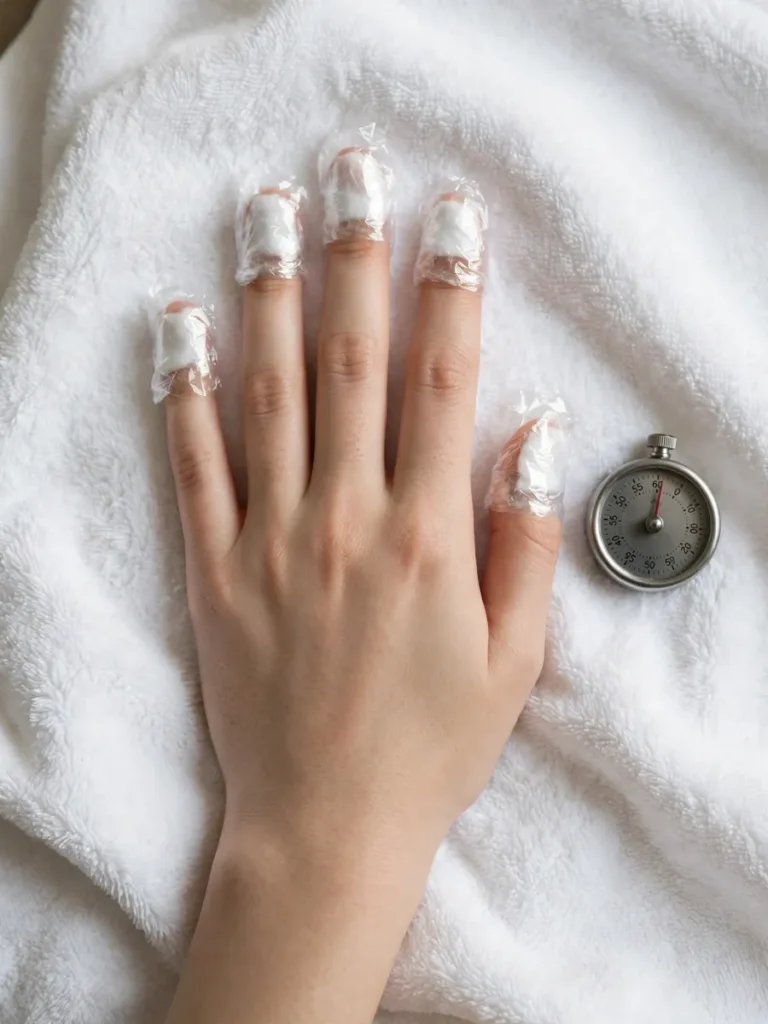
Trim cotton to each nail’s size, moisten it with acetone, and place it over the polish. Secure it with plastic food wrap without squeezing the finger. Nail-sized cotton limits unnecessary skin contact.
Work on one hand first if that is easier to manage. A secure wrap should stay in place without numbness or throbbing. Remove it immediately if it feels restrictive.
Step 5: Allow The Recommended Contact Time
The AAD method uses ten minutes. Follow the confirmed product’s directions where its removal requirements differ. Total appointment time also includes preparation, washing, and working on the other hand.
A timer helps you track exposure without guessing. Discomfort overrides the clock: remove the wrap and wash if irritation develops. Do not add heat or repeatedly extend soaking to meet a promised result.
Step 6: Gently Wipe Loosened Polish
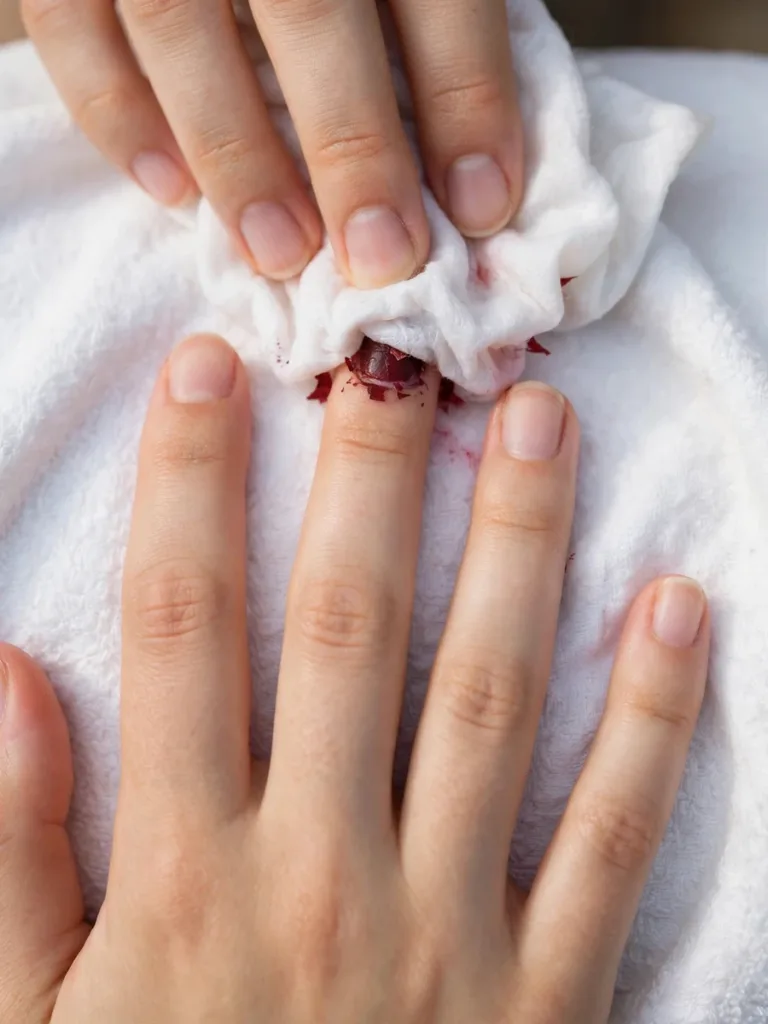
Unwrap and gently wipe remaining softened polish with a warm, damp washcloth. Keep rubbing light and confined to the nail. The washcloth is for wiping after the acetone wrap comes off, not heating acetone.
Leave firmly attached material alone. Do not lift it with wood, metal, another fingernail, or a buffer. If the polish remains attached after the instructed process, ask the salon how to proceed.
Step 7: Wash And Moisturize
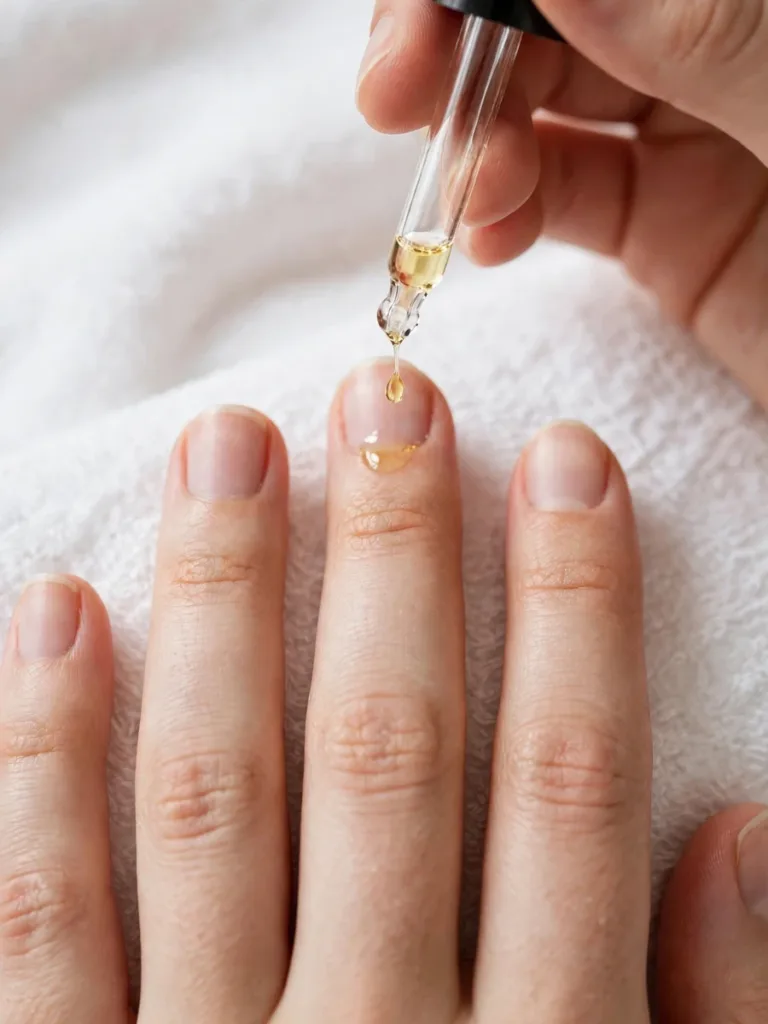
Wash away acetone with gentle soap and water, then dry your hands. Apply moisturizer around the nails. Petroleum jelly is a simple option for dry surrounding skin.
Do not buff bare nails to make them look glossy. Keep the finished nails free of additional abrasion.
Plastic Wrap, Foil, Or A Bowl?
Plastic wrap is the choice in the linked AAD method. Foil wraps appear in some manufacturers’ removal systems. The wrapping material should match a reliable method for the product you actually have.
A bowl soak exposes a larger area of skin and creates an open container of solvent. It is unnecessary for the sequence described here. Thick gel is not a reason to switch methods without identifying it.
Do not combine several tutorials into one treatment. A professional technique may assume training, a particular base coat, or specific tools.
If The Polish Does Not Release
Check the product name and removal directions before trying again. Remaining material could reflect a different system or a product-specific preparation requirement. Resistance alone does not identify the cause.
Ask the original salon what was applied underneath the color. A clear builder layer can be easy to overlook. Avoid increasing filing pressure or extending contact indefinitely while guessing.
If you have already tried the directed process, arrange professional removal. Tell the technician what you used and how long it contacted your nails. Mention any discomfort before they begin.
Five Removal Mistakes To Avoid
These mistakes can add unnecessary exposure or mechanical injury. The useful correction is a change in technique, rather than a promise of perfect nails.
Peeling A Lifted Edge
A lifted corner is not a pull tab. Keep it from catching while arranging appropriate removal. Do not attach fresh product over a lifting area to hide it.
Treating Every Gel Alike
Names such as “builder” or “strengthening base” do not provide complete removal instructions. Identify every layer involved. An unidentified system belongs with a technician, not a longer home soak.
Scraping Or Buffing Residue
A coating that resists gentle wiping should stay untouched until you have suitable advice. Scraping can remove nail material alongside polish. Buffing is not an automatic finishing step.
Adding Heat
Keep acetone away from heat sources throughout removal. Avoid microwaves, hairdryers, heating pads, and hot-water setups.
Ignoring Burning Or Redness
Stop exposure and wash the area rather than covering symptoms with more petroleum jelly. Seek medical advice if symptoms persist. Significant pain, swelling, or a suspected allergic reaction needs clinical assessment.
After Removal: Care Without Over-Filing
Moisturize regularly and keep rough free edges from catching. File only a snag at the edge if needed, without sanding the nail surface. Household cleaning gloves can reduce contact with detergents.
There is no universal 24-hour recovery point. The AAD suggests a polish break of one to two weeks or longer between manicures. Damaged or uncomfortable nails may need individual advice before another application.
Our simple nail-care routine offers everyday care ideas. Moisturizing supports comfort; it should not be described as instantly rebuilding nail strength.
Frequently Asked Questions
Removal time and technique depend on the actual nail system. These answers apply to soak-off polish, with product instructions checked first.
Can I Use Regular Nail Polish Remover?
Check its ingredients rather than the product name. The described method uses 100% acetone; acetone-free remover is not a substitute.
How Long Should I Soak My Nails?
The linked AAD method uses ten minutes for gel polish. Product instructions may differ, and discomfort is a reason to stop sooner.
Will Removal Damage My Nails?
Careful removal reduces avoidable scraping and filing injury but cannot guarantee damage-free nails. Existing damage and reactions may still need professional assessment.
What If My Gel Will Not Budge?
Do not force it or keep filing. Confirm the applied system with the salon and arrange removal if the instructed process has not worked.
Is Acetone Suitable For Home Use?
Use nail-removal acetone according to its label, with ventilation and no nearby heat or flames. Stop and wash if irritation occurs.
Can I File The Whole Set Off?
Do not file down to natural nails as a home fallback. Hard gel and systems requiring extensive filing are better handled by a trained technician.
When Can I Get Another Manicure?
Avoid covering painful, inflamed, or damaged nails with another set. Allow a polish break and seek advice if nail changes persist.
Before Your Next Removal
Gentle gel removal starts with identifying the coating and respecting the product’s limits. Acetone is for confirmed soak-off systems, and stubborn polish is a reason to reassess. Neither a smooth finish nor a fast appointment proves that nails are undamaged.
Save the exact product names and removal instructions from your salon before your next manicure change. That information makes the next removal decision much clearer.