DIY Body Scrub: Gentle Homemade Recipes That Work Well
Does a DIY body scrub leave your skin feeling sore instead of smooth? Start by deciding whether your skin needs exfoliation at all, then choose one simple mixture if appropriate. A lighter touch cannot make an unsuitable ingredient or coarse particle comfortable for everyone.
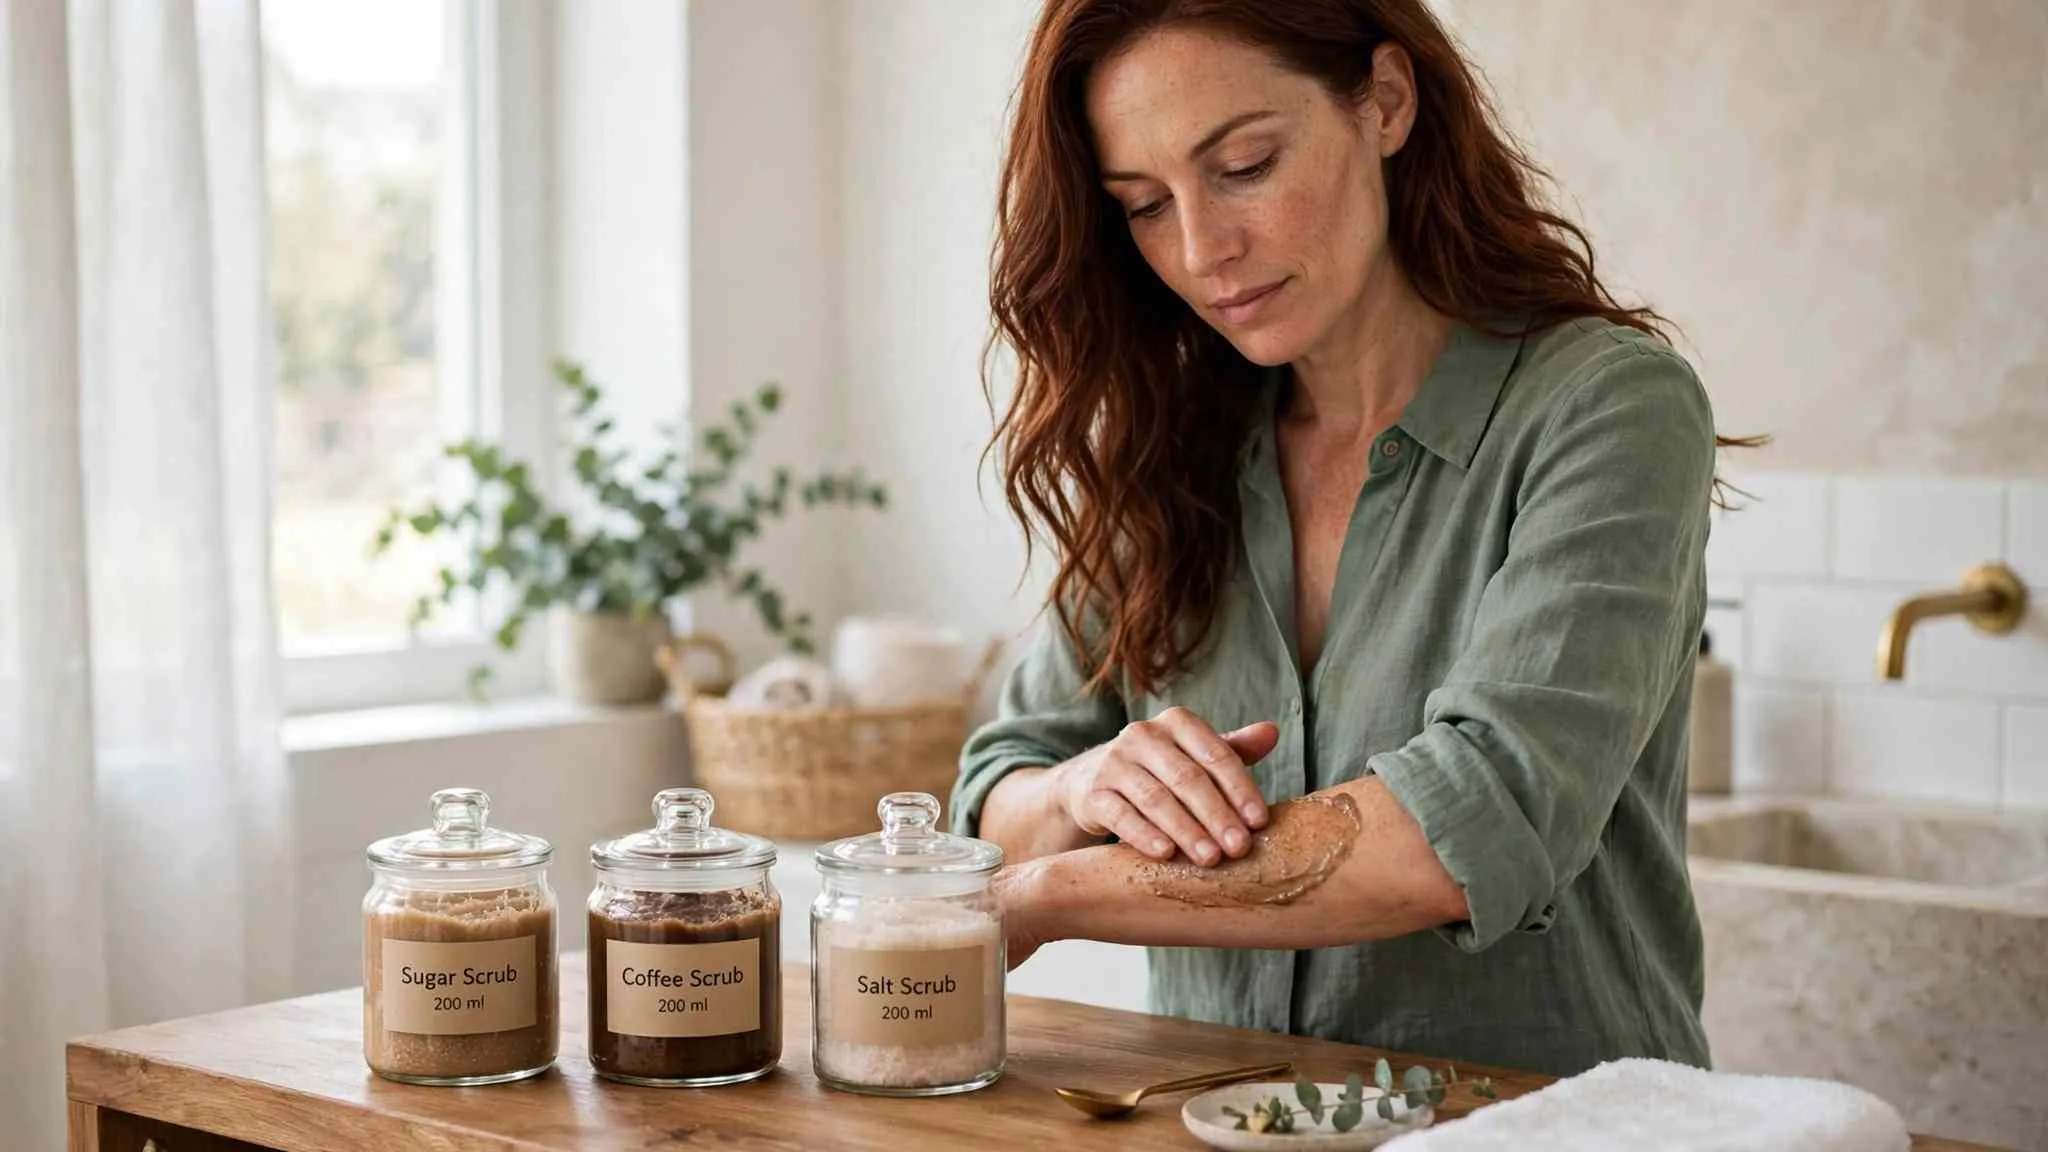
Sugar, coffee, and salt offer different textures, but none is automatically the gentlest choice. Grain size and shape matter alongside the area you treat. You do not need to make all three recipes or use them in one shower. They are alternatives, followed by the same basic application and aftercare.
The recipes below are small mixing examples, not clinically tested formulas. They are intended for limited use on intact body skin. Keep them away from your face and irritated areas. You will also find clear guidance on leftovers, shaving days, and when to skip the scrub.
Decide Whether Exfoliation Fits Your Routine
A physical scrub removes some loose cells from the outer skin surface. It may leave an area feeling smoother, but results vary. It cannot diagnose bumps or replace treatment for a skin condition.
The American Academy of Dermatology’s home exfoliation guidance explains that mechanical exfoliation can irritate some skin types. It also cautions about exfoliating alongside retinol or benzoyl peroxide. Review your existing products before adding another exfoliating step.
Start With The Condition Of Your Skin
Skip scrubbing over soreness, sunburn, cuts, or an active rash. Dryness alone does not mean you need more exfoliation. A tolerated moisturiser and gentler washing may be more comfortable.
If you tend to develop dark marks after irritation, be cautious with abrasive methods. Ask a dermatologist about persistent bumps or uncertain patches. Do not switch to a rough cloth because a scrub feels unsuitable.
Check What You Already Use
Avoid combining a homemade scrub with another exfoliant while learning what your skin tolerates. Our body care routine guide covers the daily steps around occasional exfoliation. Keep those basics in place rather than treating a scrub as essential.
Prepare One Small Mixing Portion
Use a clean, dry bowl, measuring spoon, and mixing spoon. Begin with one teaspoon of the chosen dry ingredient and half a teaspoon of oil. This makes a small portion for a limited body area.
These measurements describe texture, not a tested safety ratio or full-body dose. Do not scale up before deciding whether the mixture suits you. A small amount also leaves less material to discard.
Choose The Oil With Care
Plain, fragrance-free sunflower oil is one possible mixing oil if you already tolerate it on your skin. Avoid an ingredient you know causes reactions. Food-grade status does not establish skincare suitability.
Leave out perfume and essential oils from these examples. Adding scent is unnecessary for the scrub’s physical action. It also adds another ingredient to consider if irritation develops.
Measure Before Taking The Bowl To The Bathroom
Use level measuring spoons so the example quantities remain consistent. Place the bowl on a stable surface and mix before turning on the shower. Keep the remaining ingredients in their original containers.
Choose a portion small enough for the area you intend to try. Write down the ingredient names if you need to discuss a reaction later. Do not add extra particles because the mixture looks sparse on your skin.
Sugar Scrub: An Optional Fine-Grain Mix
Choose finely textured sugar without large crystals or hard lumps. Brown and white sugar vary by product, so their names do not establish gentleness. Look at the actual particles before mixing.
Sugar can dissolve as it meets water, but that does not guarantee a comfortable scrub. Keep the mixture off thin, sore, or damaged areas. Do not use sugar as a fallback for skin that already rejects exfoliation.
Mix A Small Portion
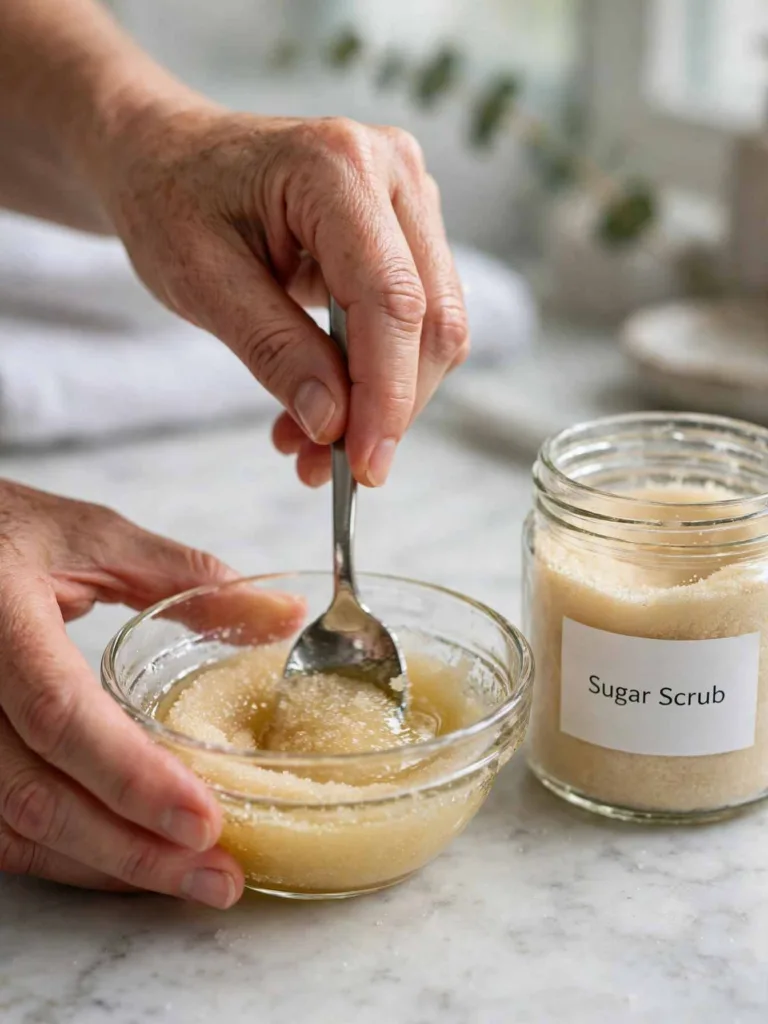
Combine one teaspoon of fine sugar with half a teaspoon of your tolerated oil. Stir to distribute the particles. The mixture should be easy to spread without pressing hard clumps against your skin.
If it feels sharp or unpleasant, discard it. More oil does not turn a coarse ingredient into a validated gentle formula. Choose to skip the scrub rather than repeatedly adjusting it on your skin.
Coffee Scrub: A Separate Texture Option
Use fine, dry, unbrewed coffee grounds for this mixing example. Do not substitute cooled used grounds and then store the mixture. Particle size still varies, so coffee cannot be ranked as uniformly coarser or milder than sugar.
Coffee grounds remain as particles rather than dissolving like sugar. That makes light pressure especially important. If the texture catches or feels scratchy, stop instead of continuing toward a smoother result.
Mix Only What You Intend To Use
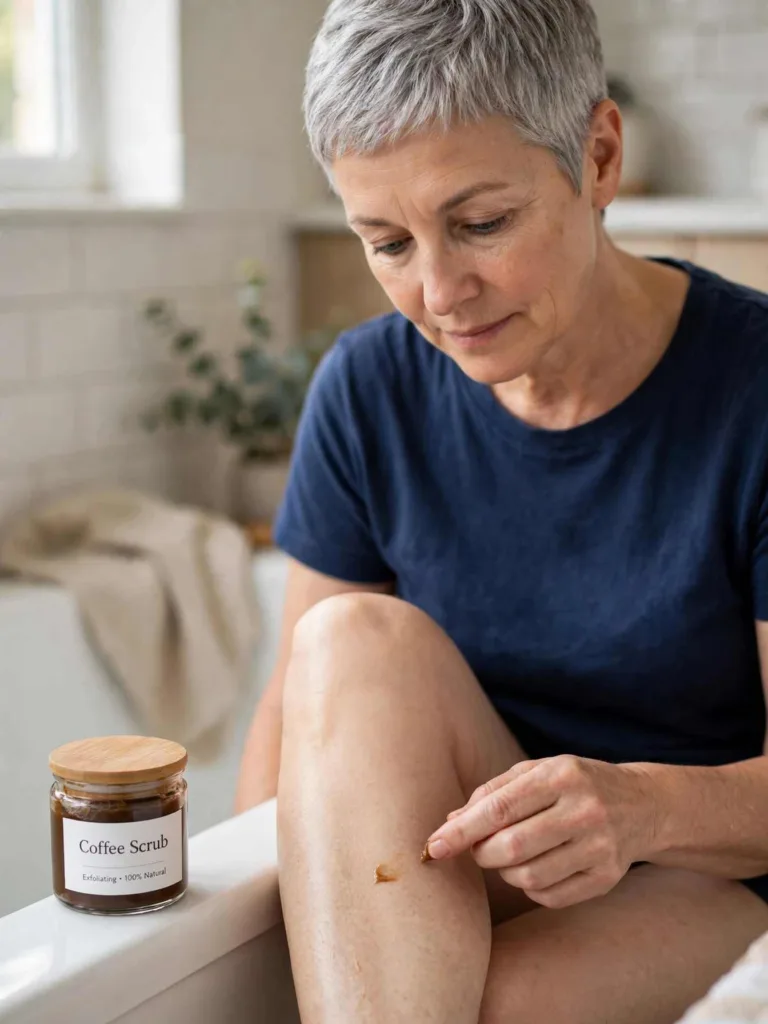
Stir one teaspoon of fine dry grounds into half a teaspoon of your tolerated oil. Keep the bowl away from running water. Use a small amount on an appropriate area rather than coating your whole leg.
Do not expect a homemade coffee scrub to treat cellulite or improve circulation. These recipes have not established those benefits. Decide whether the physical texture is worth using, without relying on caffeine-related promises.
Salt Scrub: Optional On Intact Skin
Salt is another abrasive option, not a proven best choice for heels. Use fine particles and avoid cracked, bleeding, or sore areas. A coarse salt mix can remain uncomfortable even on thicker skin.
You can leave this recipe out entirely. Persistent roughness or painful heel cracks deserve advice rather than harder scrubbing. Replacing salt with sugar does not solve that underlying concern.
Keep The Example Plain
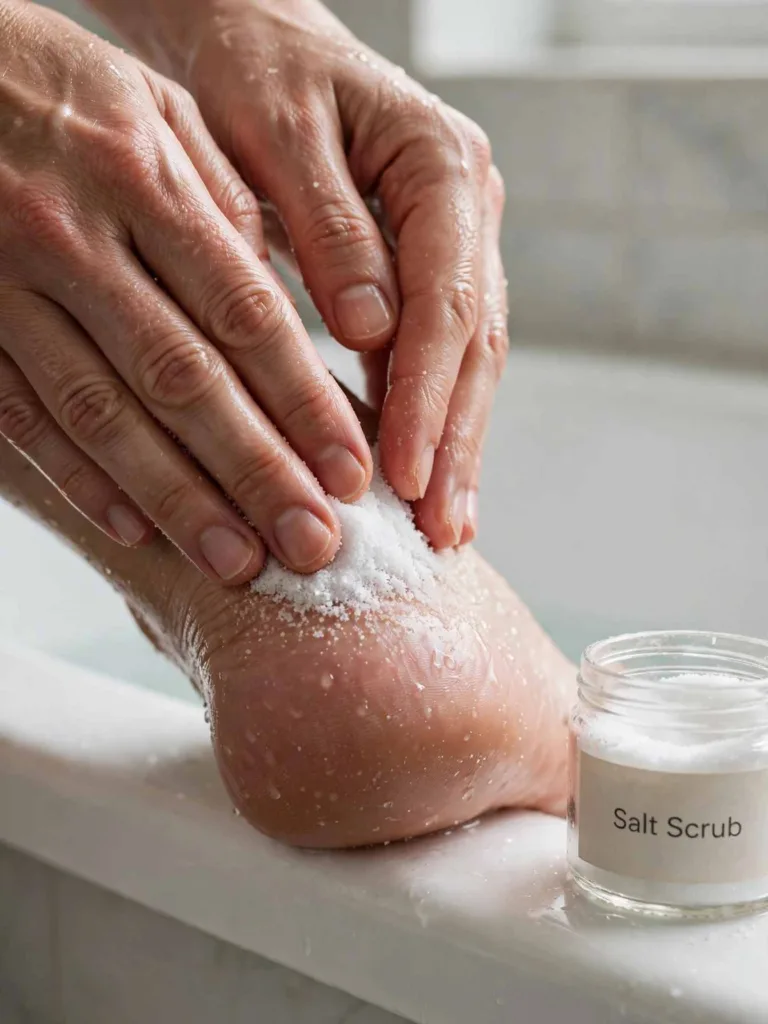
Mix one teaspoon of fine salt with half a teaspoon of your tolerated oil. Leave out lavender, fragrance, and other additions. Use the mixture only if its texture feels comfortable without firm pressure.
Stinging is a reason to rinse it away. Do not interpret it as evidence of deeper cleaning. Discard the mixture if you are uncertain about the area you intended to treat.
Apply Your Chosen Scrub With A Light Touch
Choose only one of the mixtures for a session. Before wider use, seek suitable small-area testing advice if you have a history of reactions. A home trial cannot rule out allergy or guarantee tolerance elsewhere.
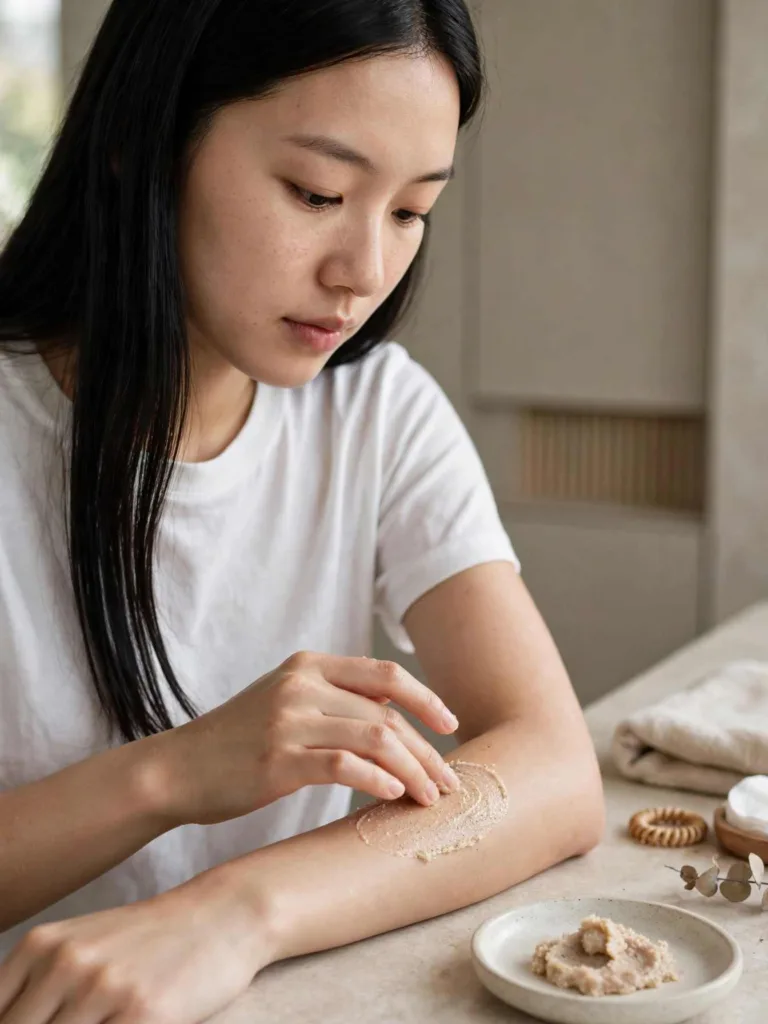
Wet the intended area with lukewarm water and use a small amount. Avoid pressing particles into the skin or adding a brush. You should not need force to spread the mixture.
Keep Contact Brief
The AAD suggests gentle circular application for about 30 seconds when using a scrub. Treat that as general guidance rather than a minimum or a timer for each body zone. Rinse sooner if discomfort develops.
Stop for burning, stinging, or tenderness. Repeated passes are unnecessary just because you can still feel texture. Skin does not need to feel polished or squeaky before you finish.
Keep Your Footing Secure
Oil can make the tub, shower floor, and your feet slippery. Avoid standing on one foot while reaching for a heel. Keep your position stable and rinse residue from surfaces before stepping away.
Do not spread coffee grounds around the shower unnecessarily. Collect excess material for disposal rather than pushing a large quantity down the drain. Clean the area after use.
Rinse And Moisturise Afterward
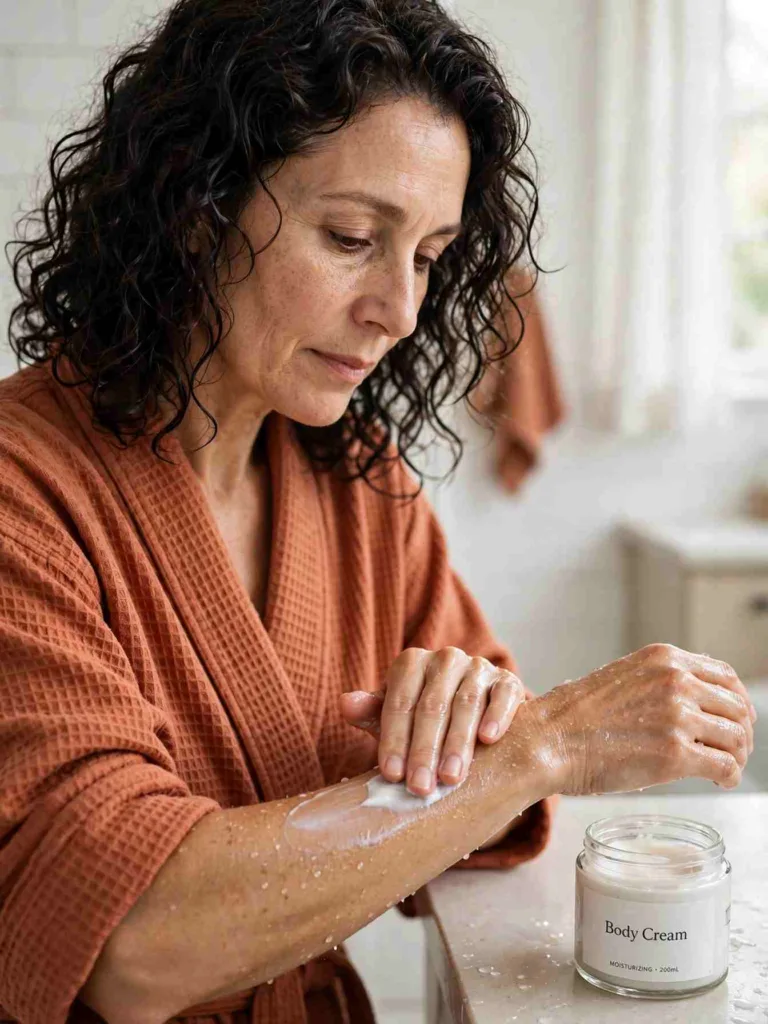
Rinse away particles with lukewarm water, then pat with a soft towel. Apply a moisturiser you tolerate. Avoid rubbing again with the towel to remove every trace of oil.
Leave out another exfoliating product afterward. If the area feels sore, review the mixture and technique before considering another session. Persistent irritation needs advice rather than a stronger recipe.
Discard Leftovers Instead Of Assigning A Shelf Life
Prepare only a small portion and discard what remains after the session. This is a precaution to limit storage and repeated handling. It does not guarantee that an untested homemade mixture is safe.
FDA’s cosmetic contamination guidance identifies ingredients, water, containers, and consumer handling as possible contamination routes. Dipping fingers into a jar can introduce microorganisms. A dry spoon cannot establish a homemade product’s shelf life.
Do Not Judge Safety By Smell Alone
Changes in smell or appearance mean a mixture should be discarded, but normal appearance does not prove safety. Do not keep leftovers until they smell unusual. Refrigeration is not a substitute for validated preservation.
Wash and dry the utensils after use. Keep homemade mixtures separate from food and out of children’s reach. Avoid gifting a stored batch with an invented expiry date.
Space Exfoliation Around Other Care
There is no fixed schedule that makes a DIY body scrub suitable for everyone. Wait to see how the area responds before considering further use. Skip another session when skin remains uncomfortable.
Keep exfoliation separate from shaving when building a cautious routine. Our smooth legs routine explains that broader care schedule. Do not scrub freshly irritated skin to prepare it for another razor pass.
Protect Exposed Skin Outdoors
Use broad-spectrum sunscreen with SPF 30 or higher and suitable water resistance on exposed areas. Follow its directions for application and reapplication. Shade and clothing add protection without requiring another cosmetic layer.
During outdoor exposure, reapply as directed, generally every two hours and after swimming or sweating. Sun protection remains useful whether or not you exfoliate. Avoid treating it as a scrub-only habit.
Frequently Asked Questions
These answers address the recipe choices and their limits. A DIY mixture cannot replace advice for a skin condition.
Which DIY Body Scrub Is Gentlest?
No ingredient name guarantees gentleness. Particle characteristics, formulation, pressure, and skin tolerance all matter. Skip mechanical exfoliation if it irritates your skin.
Can I Use These Recipes On My Face?
No. These examples are intended for intact body skin only. Do not transfer them to your face, eyelids, or other sensitive areas.
Can I Save Leftover Scrub?
The precautionary approach here is to discard leftovers after one session. These mixtures have no validated preservation system or established shelf life.
Should I Use Used Coffee Grounds?
Use fine, dry, unbrewed grounds for this example. Do not keep a mixture made with wet used grounds for later showers.
Should I Scrub Before Shaving?
Keep scrubbing and shaving on separate days when starting a cautious routine. Avoid either activity on sore skin. There is no universally suitable waiting period.
Can A Homemade Scrub Treat Rough Bumps?
A scrub may remove loose surface flakes, but it cannot identify or treat every cause of bumps. Ask about persistent, painful, or spreading changes.
Final Thoughts
A DIY body scrub is optional, and results depend on the mixture and your skin. You can leave it out when ordinary washing and moisturising feel comfortable. Homemade ingredients deserve the same attention to comfort, handling, and aftercare as other cosmetic choices.
Before mixing, check that your intended area is intact and your utensils are clean. Choose a stable place for application.