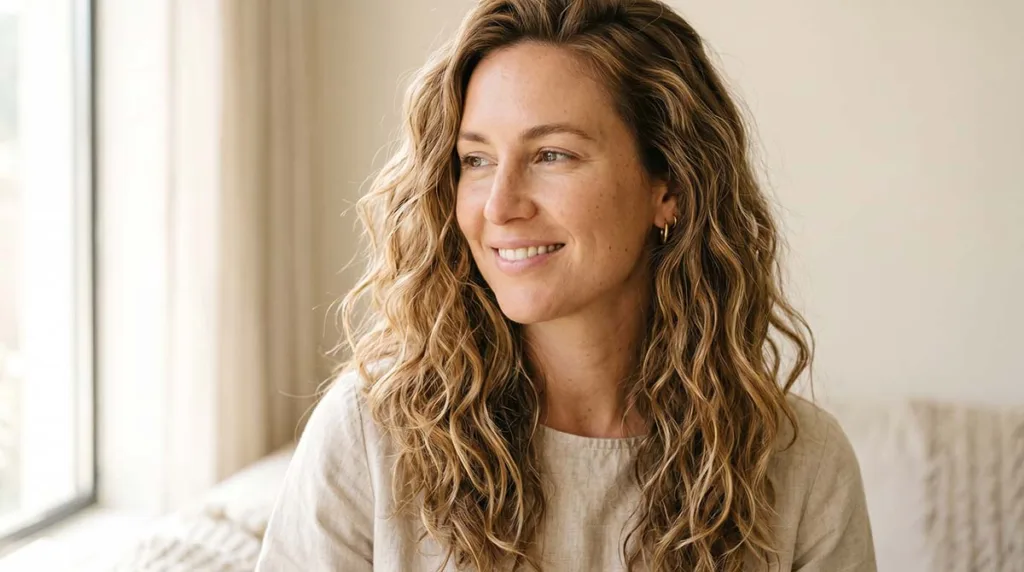
21 Best Braided Bun Hairstyles for Every Hair Length
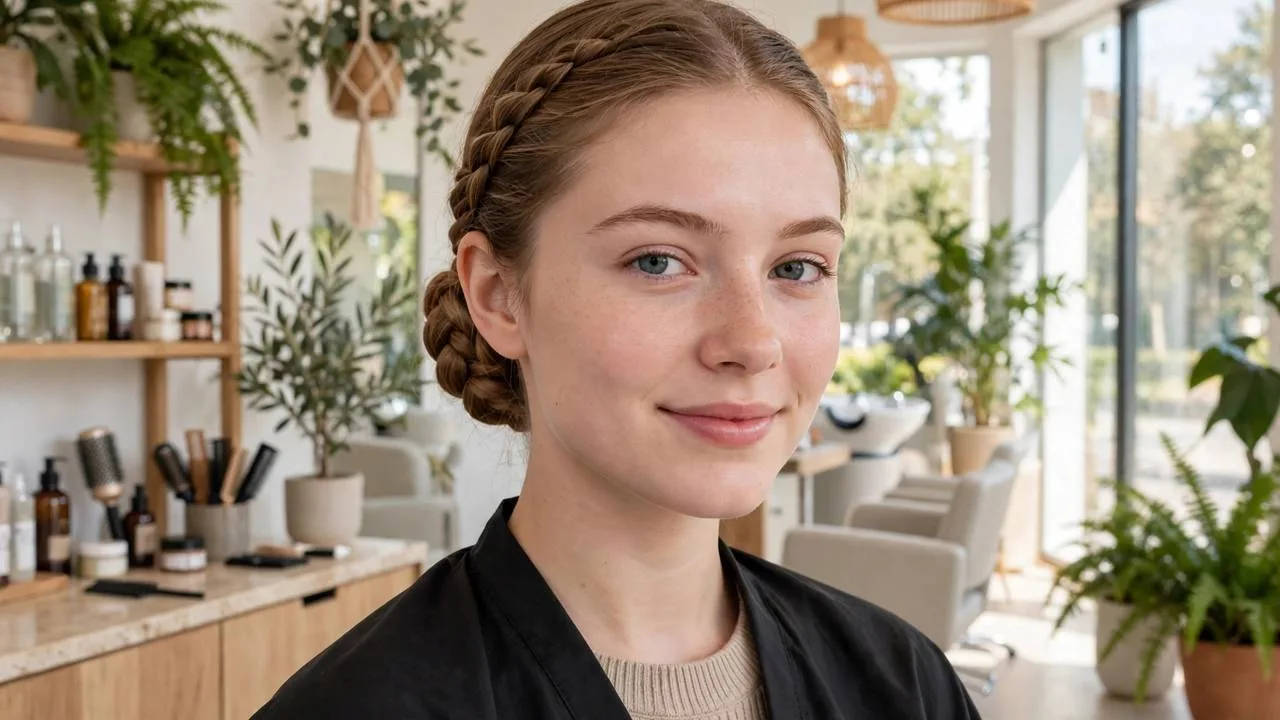
A braided bun hairstyles search ends here, with 21 secure styles for every length. Each version braids first, then coils the braid into a bun. That order adds texture, grip, and detail that a plain bun lacks.
TRESemmé Global Stylist Justine Marjan builds a braided bun in a BravoTV tutorial. She starts with a center French braid running toward the crown. She then gathers the hair and twists it into a bun. Her method shows why braid first styling holds so well.
Below, each style names its braid type, placement, and best use. Save two or three favorites before your next event or salon visit. Your stylist can adjust placement for your length and texture. The list covers fine, thick, curly, and short hair in one place.
Braided bun hairstyles braid the hair first, then coil that braid into a secure bun.
1. Classic Braided Low Bun

A single three strand braid wraps around a low ponytail base at the nape. This braided low bun sits flat, smooth, and close to the head. Smooth the crown first, then braid the ponytail fully before coiling it.
Pancake the braid gently before wrapping it for extra width. Pin the end underneath so no elastic shows. A light smoothing cream keeps the surface neat for hours.
Best for: Low set buns and fine to medium hair that needs a tidy finish.
Ask your stylist for: A classic braided low bun, smoothed at the crown and pinned underneath.
2. Braided Top Knot
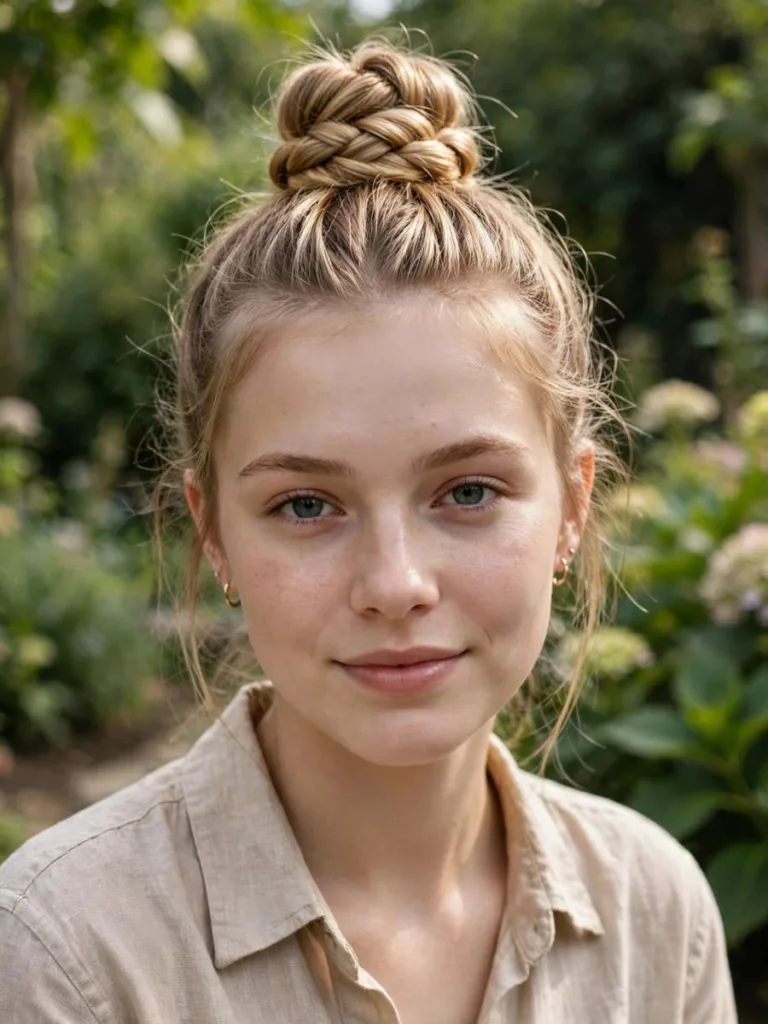
Hair gathers high at the crown and braids before it coils into a knot. This braided top knot lifts the face and clears the neck fully. Keep the sides smooth so the knot stays the clear focal point.
Braid upward from the nape for a cleaner underside on photos. Cross two bobby pins at the base for stronger hold. Leave the knot compact if your hair feels heavy on top.
Best for: High placement fans and medium to long hair with good length.
Ask your stylist for: A high braided top knot with smooth sides and crossed pins at the base.
3. French Braid Into a Bun

A French braid starts at the front hairline and feeds into a low bun. Each new section adds hair, so the braid hugs the scalp closely. The bun can sit low for softness or high for lift.
Keep tension even so one side never pulls tighter than the other. Finish the braid past the nape, then coil the remaining length. Tuck the tail under the bun and pin it flat. Among braided bun hairstyles, this one rewards slow and even sectioning most.
Best for: Straight and wavy hair that holds a scalp braid well.
Ask your stylist for: A French braid from the hairline into a low bun, tail tucked under.
4. Dutch Braid Bun With Raised Texture
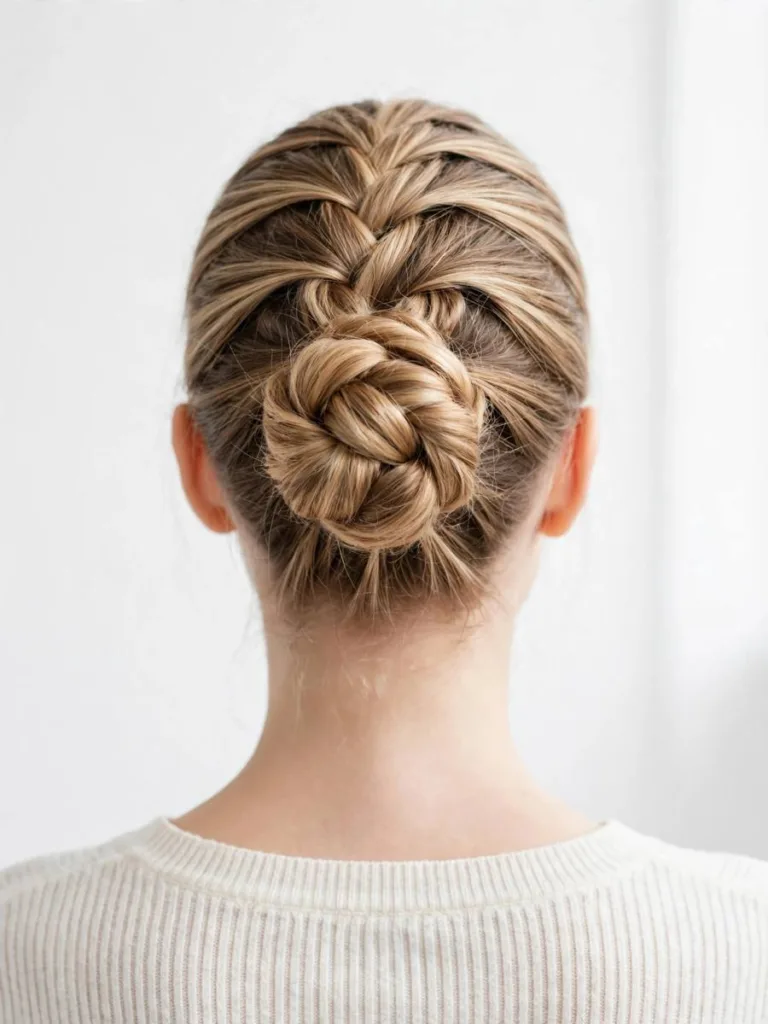
A Dutch braid crosses sections under instead of over, so it stands raised. That raised line stays visible in photos and in darker hair. The braid ends in a coiled bun at the back.
Use small, even sections to keep the raised ridge uniform. Widen the outer edges slightly after braiding for fuller texture. Set the ridge with a light mist, not a heavy spray.
Best for: Anyone who wants the braid pattern clearly visible from every angle.
Ask your stylist for: A raised Dutch braid into a back bun, edges widened slightly.
5. Fishtail Braided Bun
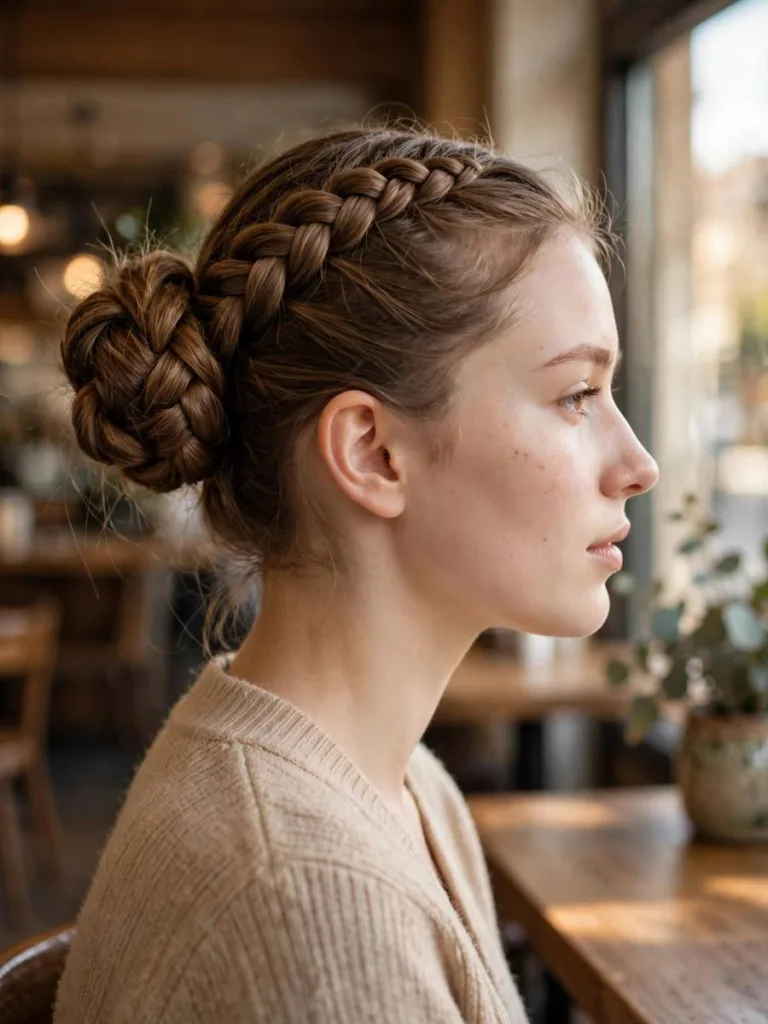
A fishtail braid uses two sections and tiny crossed strands for fine texture. Coiled into a bun, it reads detailed without extra accessories. The pattern suits both a low bun and a higher knot.
Keep the crossed strands small for a tighter, clearer pattern. Loosen the braid before coiling if you want a softer bun. Pin in a circle, following the coil direction. Few braided bun hairstyles show texture this clearly in close-up photos.
Best for: Medium to long hair and anyone who likes fine, detailed texture.
Ask your stylist for: A fishtail braid coiled into a bun, pinned following the coil.
6. Double Braided Space Buns
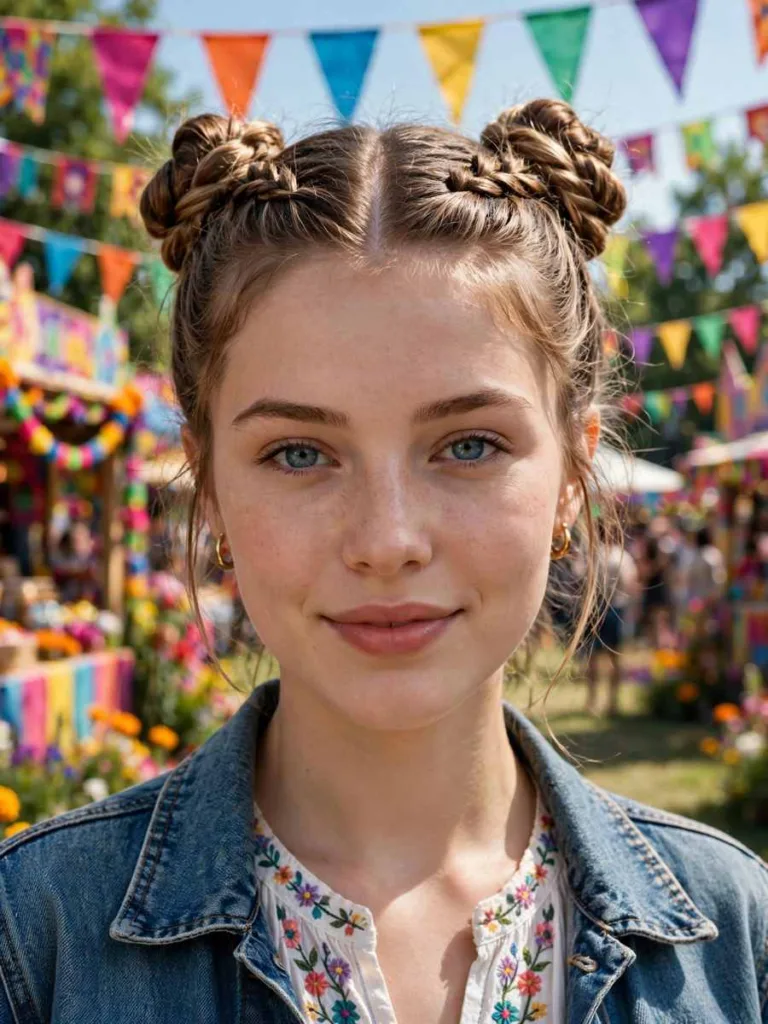
Two braids coil into matching buns on either side of a center part. The paired shape feels playful, balanced, and easy to photograph. Each side braids first, then wraps around its own base.
Match braid size on both sides before you start coiling. Check both buns in a mirror from the front and back. Smaller buns suit shorter hair and keep the weight even.
Best for: Playful looks, festivals, and medium hair that splits evenly.
Ask your stylist for: Two braided space buns on a center part, matched in size.
7. Braided Crown Bun
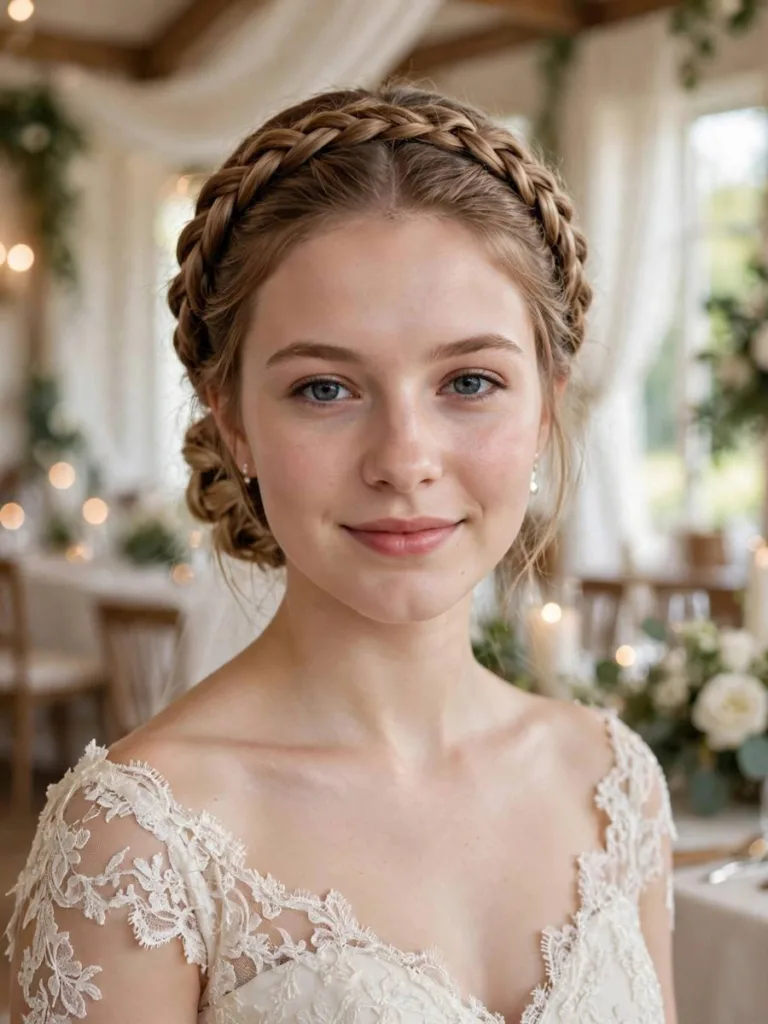
A braid travels around the head like a halo braid, then ends in a bun. The circle frames the face while the bun anchors the back. This shape photographs well from the front, side, and back.
Start behind one ear so the join hides near the bun. Keep the braid at one height as it circles the head. Pin the join first, then shape the bun around it.
Best for: Weddings, formal events, and long hair with even length.
Ask your stylist for: A halo braid circling the head and ending in a back bun.
8. Side Braided Low Bun
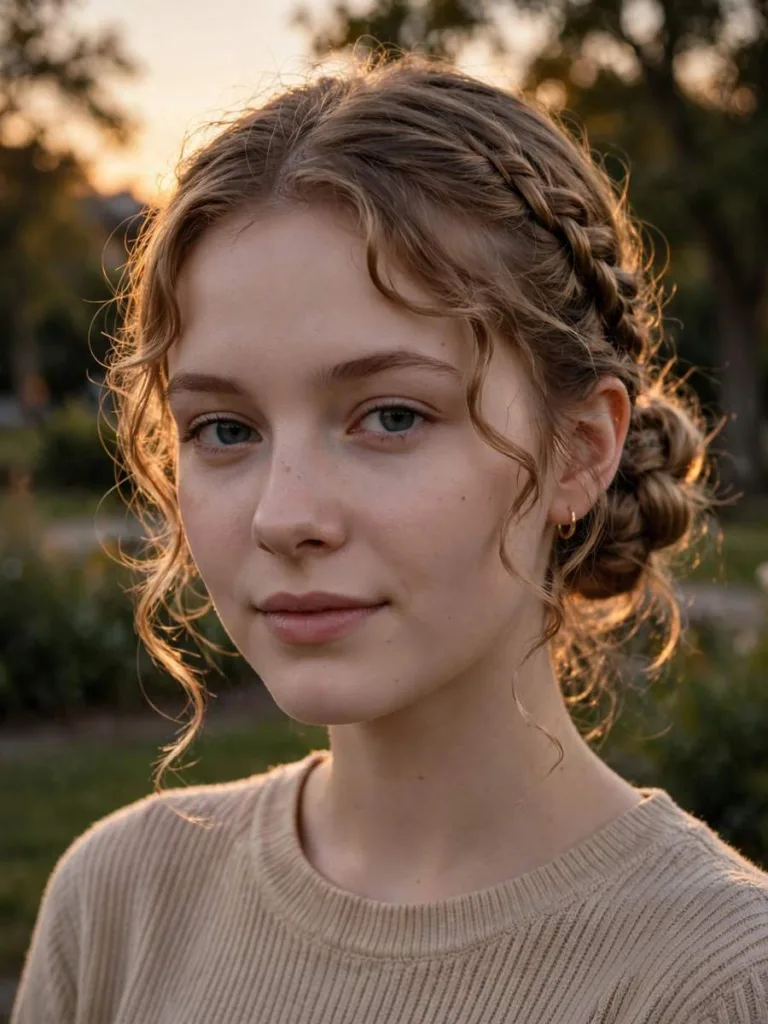
A deep side part sends the braid diagonally toward one shoulder. Hair then coils into a low bun behind the opposite ear. The offset line softens the face and suits soft makeup.
Curl two loose front strands after pinning the bun in place. Keep the diagonal braid loose near the ear for comfort. Use a small clear elastic so the finish stays clean.
Best for: Date nights, weddings, and anyone who prefers an offset line.
Ask your stylist for: A side braid into a low bun behind one ear, front strands curled.
9. Messy Braided Bun With Loose Strands

Loose braiding and soft pinning give this bun a relaxed, undone finish. Strands pull out at the crown and around the face on purpose. Texture matters more here than a smooth, polished surface.
Braid on second day hair or add texture spray for grip. Pull the braid apart gently before you coil it into place. Leave two face strands out before you start pinning. This entry suits readers who rank braided bun hairstyles by comfort first.
Best for: Casual days, wavy hair, and anyone who dislikes stiff styles.
Ask your stylist for: A loose, messy braided bun with face strands left out intentionally.
10. Sleek Braided Bun With Smooth Crown
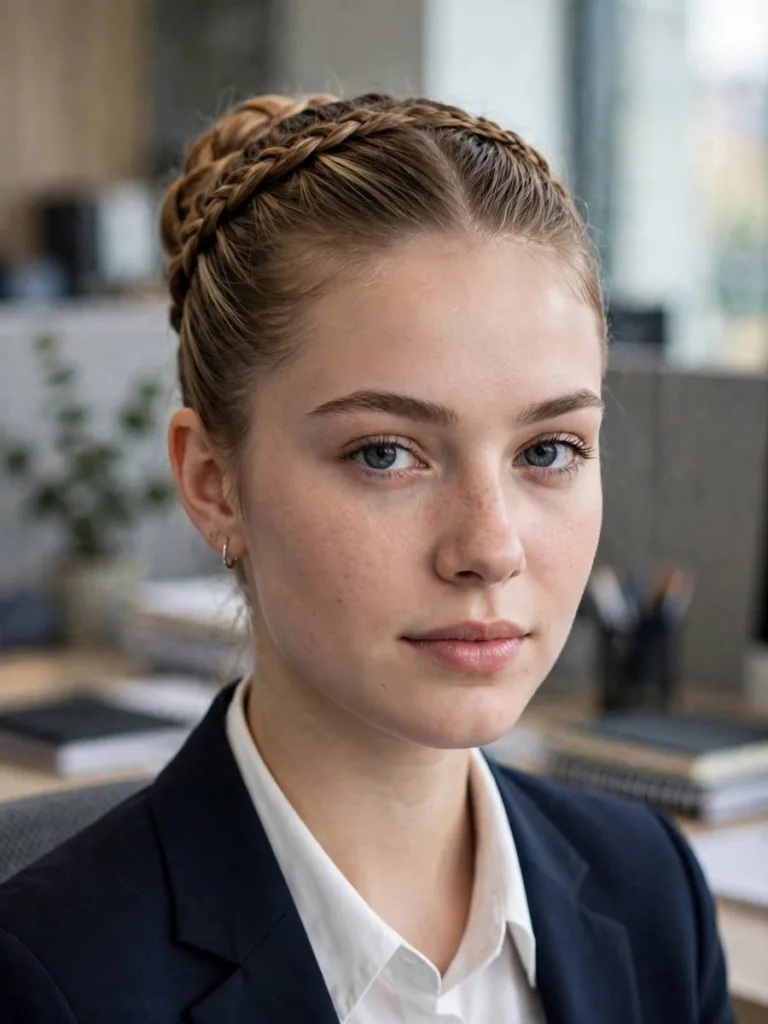
A smooth crown and a tight braid give this version a polished line. Hair brushes flat before braiding, with no loose strands at the front. The bun sits low or mid height with a clean edge.
Use a boar bristle brush to smooth the crown in sections. Apply gel sparingly at the hairline only, never through the braid. Wrap the braid tightly so the coil holds its round shape.
Best for: Work settings, formal events, and straight hair that smooths easily.
Ask your stylist for: A sleek braided bun with a smooth crown and a tight coil.
11. Goddess Braided Bun With Loose Curls

Braids gather into a bun while loose curls fall at the front and nape. The mix of neat braiding and soft curls feels romantic and full. Keep the bun secure so the curls stay an accent, not cover.
Define loose curls with curl cream before you pin anything. Braid the main sections first, leaving the curly pieces out last. Pin the bun firmly, since soft pieces add visual weight.
Best for: Romantic events and curly or wavy hair worn partly loose.
Ask your stylist for: A goddess braided bun with defined loose curls at the front.
12. Cornrow Braided Bun
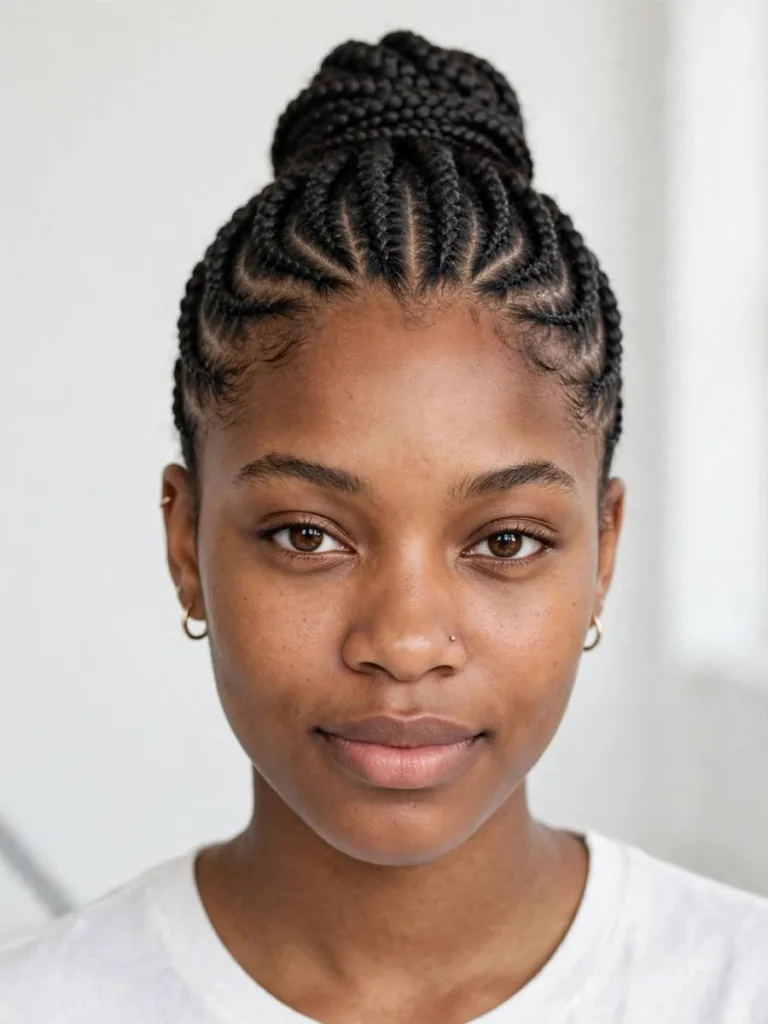
Cornrows braid close to the scalp and feed into one gathered bun. The rows can run straight back or curve into a pattern. All loose hair tucks away, so the finish stays neat for days.
Keep row tension even and comfortable, never tight at the hairline. Feed rows into a single ponytail point before coiling the bun. Cover the bun at night to protect the row edges.
Best for: Protective styling fans and anyone wanting a neat, lasting updo.
Ask your stylist for: Cornrows feeding into one bun, with even and comfortable tension.
13. Knotless Braids Gathered Into a Bun
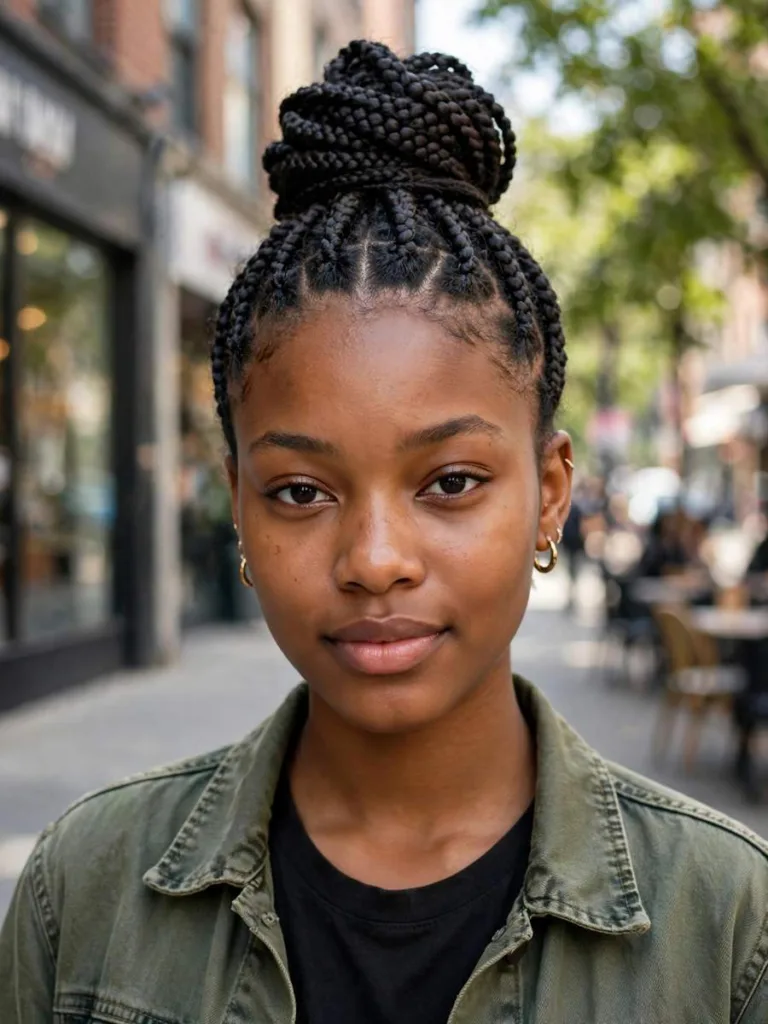
Knotless braids start with natural hair and add length gradually at the root. Gathered into a bun, they give fullness without a heavy knot line. The bun can sit high for lift or low for comfort.
Gather braids loosely first, then tighten the bun in stages. Avoid pulling the front braids straight back at full tension. Wrap extra braids around the base to hide the elastic. Braided bun hairstyles like this one protect ends by tucking them away.
Best for: Protective styles and anyone who prefers a softer root finish.
Ask your stylist for: Knotless braids gathered into a bun, tightened in gentle stages.
14. Box Braids High Bun
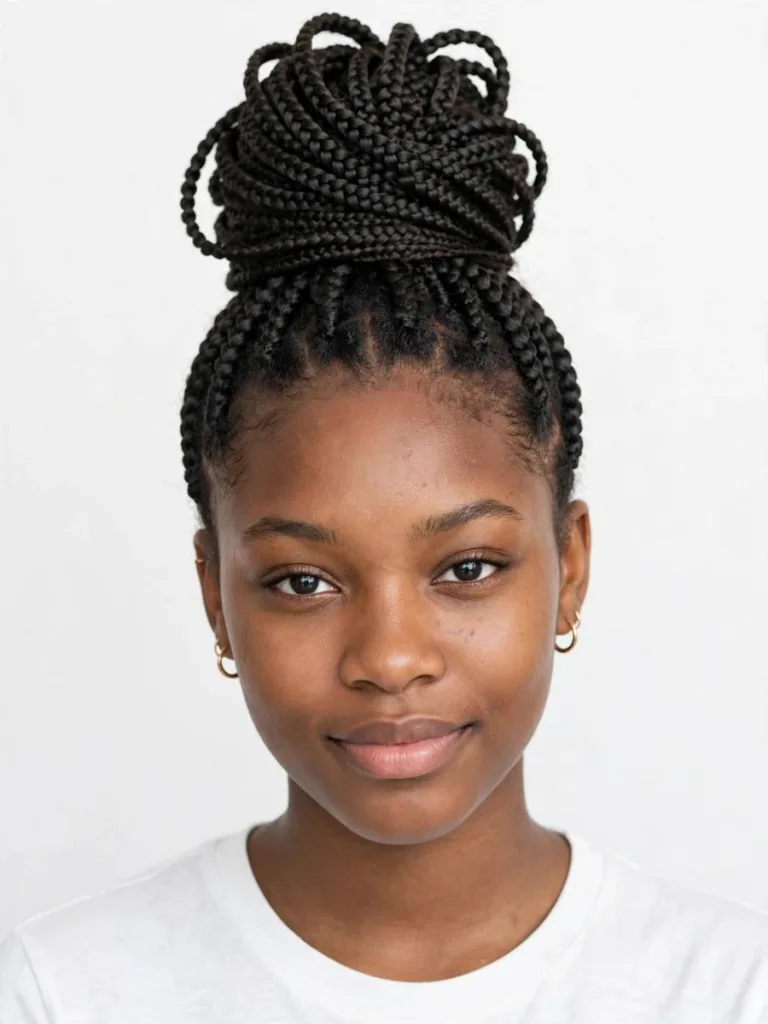
Box braids gather upward into a full, high bun with strong presence. The square parts stay visible at the sides and crown when smoothed. Height at the top balances the weight of longer braids.
Build the bun in two steps: ponytail first, then wrap and pin. Spread braids around the base so no side looks thinner. Rest the bun slightly forward if the back feels heavy.
Best for: Long protective braids and anyone who likes a high, full bun.
Ask your stylist for: A high box braids bun, built from a ponytail and wrapped evenly.
15. Waterfall Braid Into a Low Bun
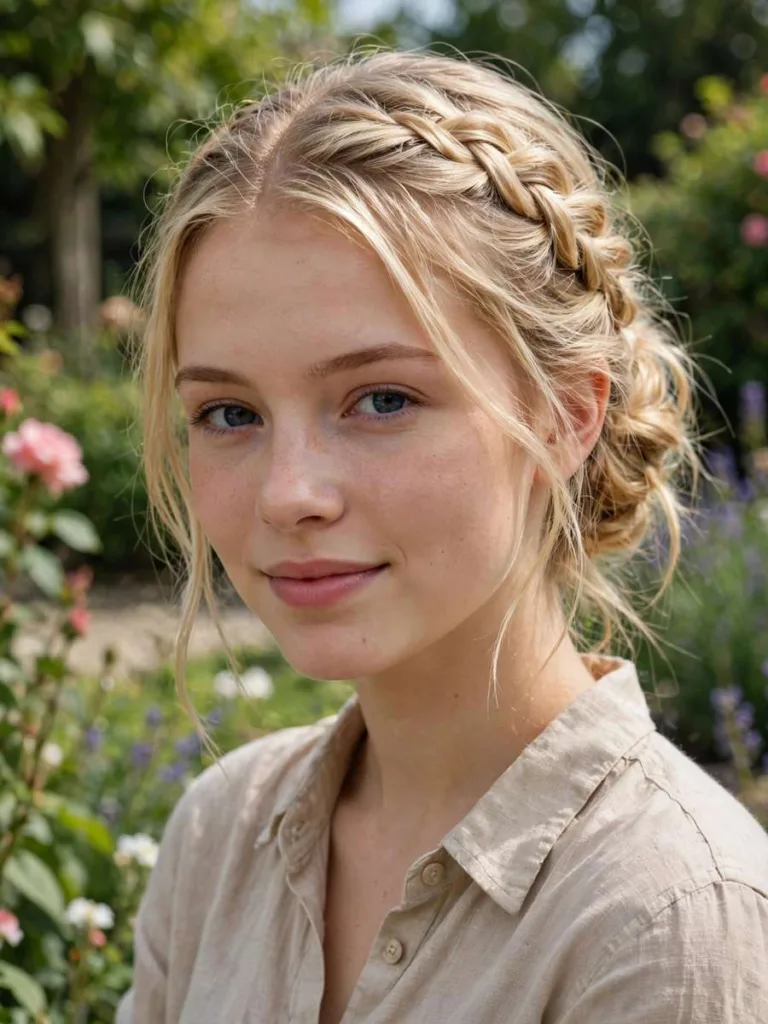
A waterfall braid lets strands drop through as it crosses the head. Those dropped strands then gather into a soft braided low bun. The open braid pattern suits lighter, finer hair especially well.
Keep dropped strands even in size along the whole braid. Comb the dropped pieces together before forming the low bun. Pin the bun loosely to keep the soft pattern visible.
Best for: Fine hair, soft looks, and half formal daytime events.
Ask your stylist for: A waterfall braid with dropped strands gathered into a low bun.
16. Milkmaid Braided Bun

Two braids cross over the crown and meet in a small bun at the back. The milkmaid braid line sits like a headband made of hair. It suits medium hair that cannot circle the head fully.
Braid both sides to equal length before crossing them over. Cross the braids flat, then coil any extra length into the bun. Pin where the braids cross for the strongest anchor point.
Best for: Medium hair and anyone who wants a crown line without accessories.
Ask your stylist for: Two milkmaid braids crossed over the crown into a back bun.
17. Braided Bun With Face Framing Bangs
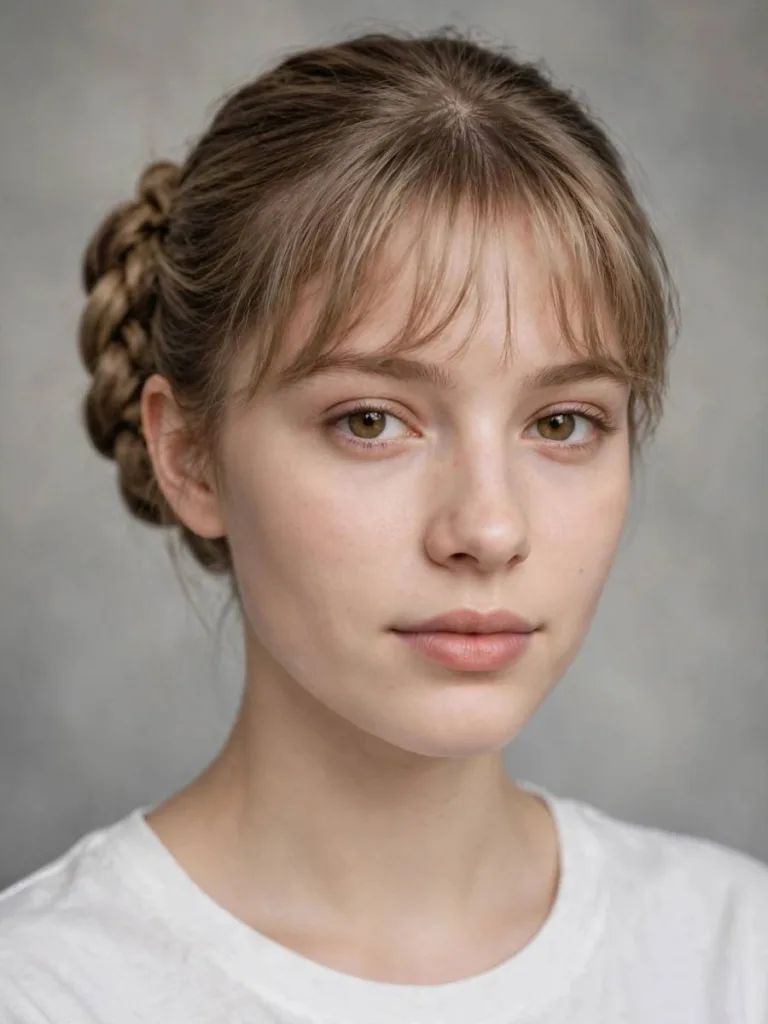
A bun sits at the back while soft bangs stay loose at the front. The braid can run along one side or wrap the bun itself. Front softness keeps the updo from feeling severe or pulled back.
Cut or pin the fringe before you judge the bun height. Keep side braids away from the fringe so lines stay separate. A higher bun balances a fuller fringe especially well.
Best for: Fringe wearers who want an updo without a bare forehead look.
Ask your stylist for: A braided bun with soft bangs left loose at the front.
18. Braided Bun With a Wrap Around Braid
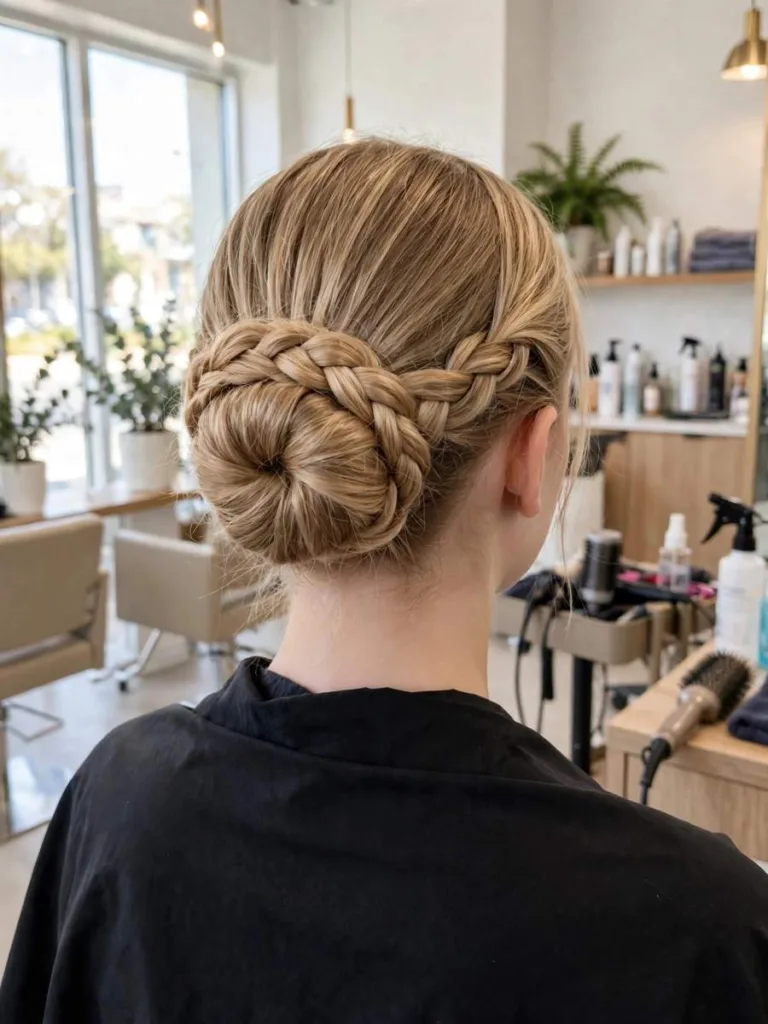
A plain bun forms first, then a separate braid wraps around its base. The wrap hides pins and elastics while adding clear braid detail. This two step build suits beginners who braid slowly.
Secure the plain bun fully before you start the wrap braid. Braid a side section, then circle it around the bun base. Tuck and pin the braid end under the bun itself. Beginners often start their braided bun hairstyles journey with this build.
Best for: Beginners and anyone who wants detail without complex braiding.
Ask your stylist for: A plain bun finished with a braid wrapped around its base.
19. Rope Braid Bun
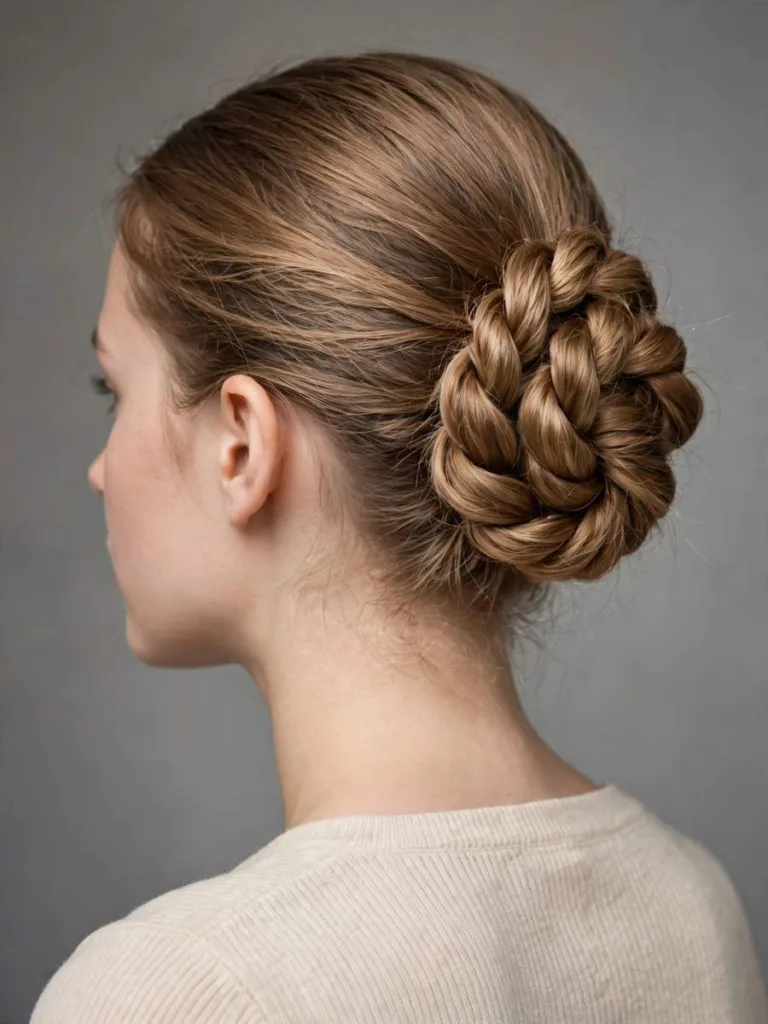
A rope braid twists two sections around each other into a cord. Coiled, it gives the bun a swirled, sculpted surface pattern. The twist holds best on hair with some natural grip.
Twist each section the same way, then wrap them opposite. Keep tension steady so the cord never unwinds while coiling. Pin the coil at four points for even, lasting hold.
Best for: Anyone who wants a sculpted bun without a three strand braid.
Ask your stylist for: A rope braid coiled into a bun and pinned at four points.
20. Braided Bun for Short Hair

Short hair braids in small sections along the sides toward the back. The short lengths then twist and pin into a small, neat bun. Pancaking each small braid helps the bun look fuller than it is.
Work in small sections and pin each braid as you finish it. Use small elastics that match your hair color closely. A few loose front strands stop the bun looking too tight. Short hair readers gain a realistic option among braided bun hairstyles here.
Best for: Short hair above the shoulders that still braids in sections.
Ask your stylist for: Small side braids pinned into a neat bun for short hair.
21. Braided Bun With Pearl Pins for Weddings

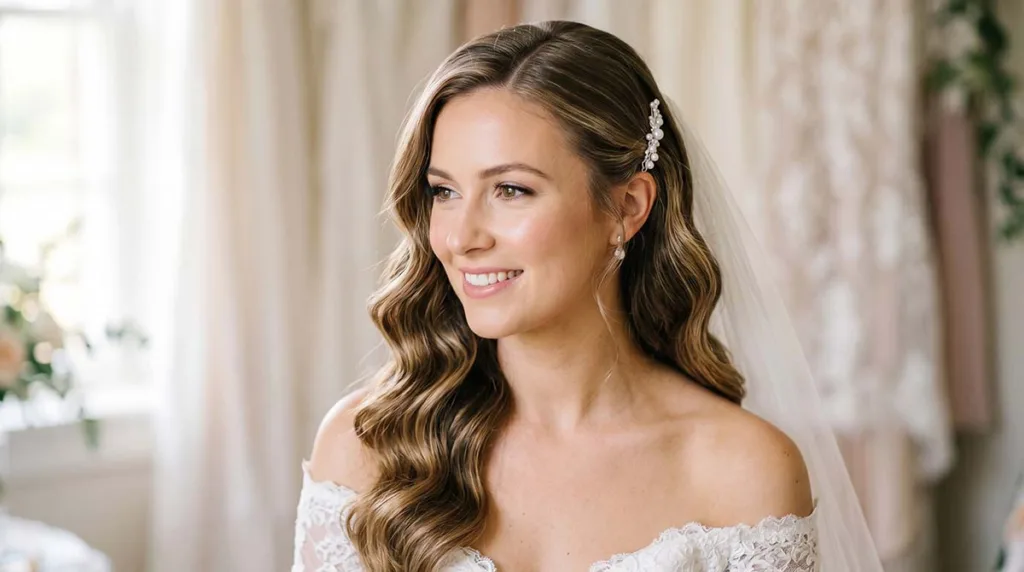
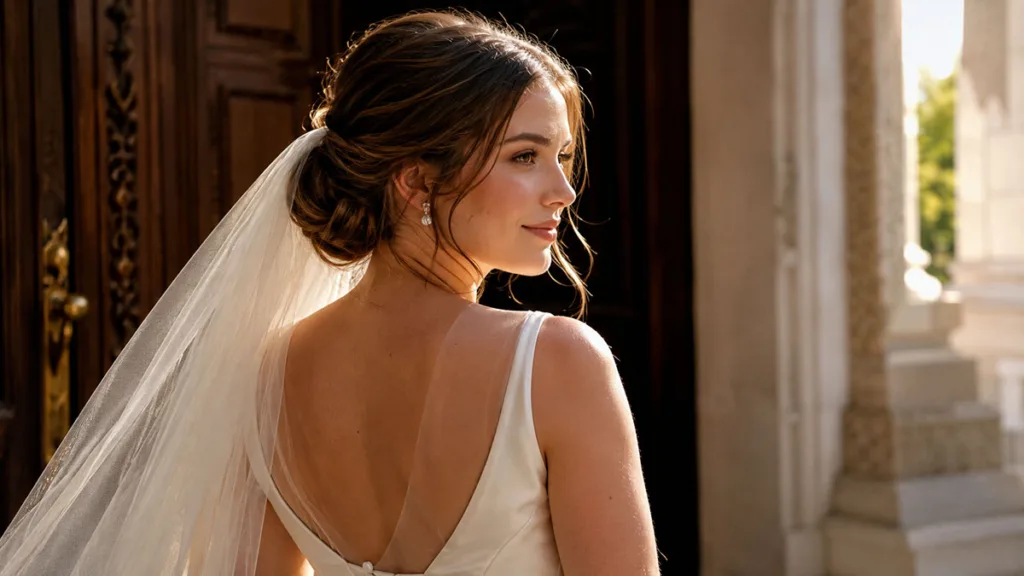
A smooth braided bun gains a formal finish from pearl pins placed along the coil. The pins follow the braid line instead of scattering at random. This detail suits veils, since pins sit flat under a comb.
Place pins after the bun passes a gentle shake test first. Space three to five pins evenly along the visible braid. Keep spare pins nearby for quick fixes during photos.
Best for: Weddings, formal photos, and anyone adding a flat accessory.
Ask your stylist for: A smooth braided bun with pearl pins spaced along the coil.
Low Bun, Top Knot, or Crown Bun: Which Placement Suits You?
Placement changes how braided bun hairstyles feel and photograph each day. A braided low bun sits near the nape and feels calm and formal. A braided top knot lifts the face and clears the neck fully.
| Placement | Best Braid Type | Hold Feel | Best Use |
| Low bun | French or fishtail | Flat and close | Work and weddings |
| Top knot | Three strand or rope | High and lifted | Warm days and photos |
| Crown bun | Halo or milkmaid | Even around head | Formal events |
Long events favor a low bun, since weight sits near the neck. Short events and photos often favor height at the crown. Try both placements at home before you commit to one.
How To Make a Braided Bun Last All Day
Start on dry hair, since wet braids slip and stretch while drying. Add texture spray if clean hair feels too soft to grip. Braid fully first, secure the end, then coil and pin.
Cross two pins at the bun base for the strongest anchor point. Readers who love protective updos can compare boho braids hairstyles with loose curls for a softer finish. For a fuller protective base, see box braids hairstyles in many lengths before your appointment.
Stylists share the braid first method in this braided bun tutorial from BravoTV with clear placement steps. Wedding planners also show placement choices in this guide to wedding bun hairstyles for formal trials.
FAQs
How Long Do Braided Bun Hairstyles Take To Do?
Most braided bun hairstyles take ten to thirty minutes at home. Simple three strand versions sit near ten minutes. Cornrow and halo versions take longer due to scalp braiding.
Do Braided Bun Hairstyles Work on Fine Hair?
Yes, fine hair suits braided bun hairstyles with gentle pancaking before coiling. Widening the braid adds visible fullness without extra hair. Avoid pulling tight, since fine strands break more easily.
What Is the Difference Between a Braided Low Bun and a Top Knot?
A braided low bun sits near the nape with a flat, calm finish. A braided top knot sits high at the crown for lift. Placement, not braid type, creates the main difference.
How Do I Keep a Braided Bun From Slipping?
Braid fully first, then coil and cross two pins at the base. Texture spray adds grip on clean, slippery hair. A small elastic at the braid end prevents unraveling.
Can Short Hair Wear a Braided Bun?
Yes, short hair can wear a braided bun in small side sections. Each braid pins toward the back into one small bun. Pancaking helps the finished bun look fuller.
Are Braided Buns Good for Weddings?
Yes, a braided bun holds well through ceremonies, photos, and dancing. A braided low bun suits veils and formal dresses especially well. Trial the exact placement before the wedding day.
Final Thoughts
That practice run shows which placement holds comfortably all day. It also prevents last minute fixes before photos and events. Pick the braided bun hairstyles version that matches your length, event, and braid skill today. Start with the classic low bun if you feel new to braiding. Save photos of two favorites and practice the pinning once at home. Book your stylist trial this week with those saved photos ready.