20 Sweet Nails for 12 Year Olds That Feel Fun to Wear
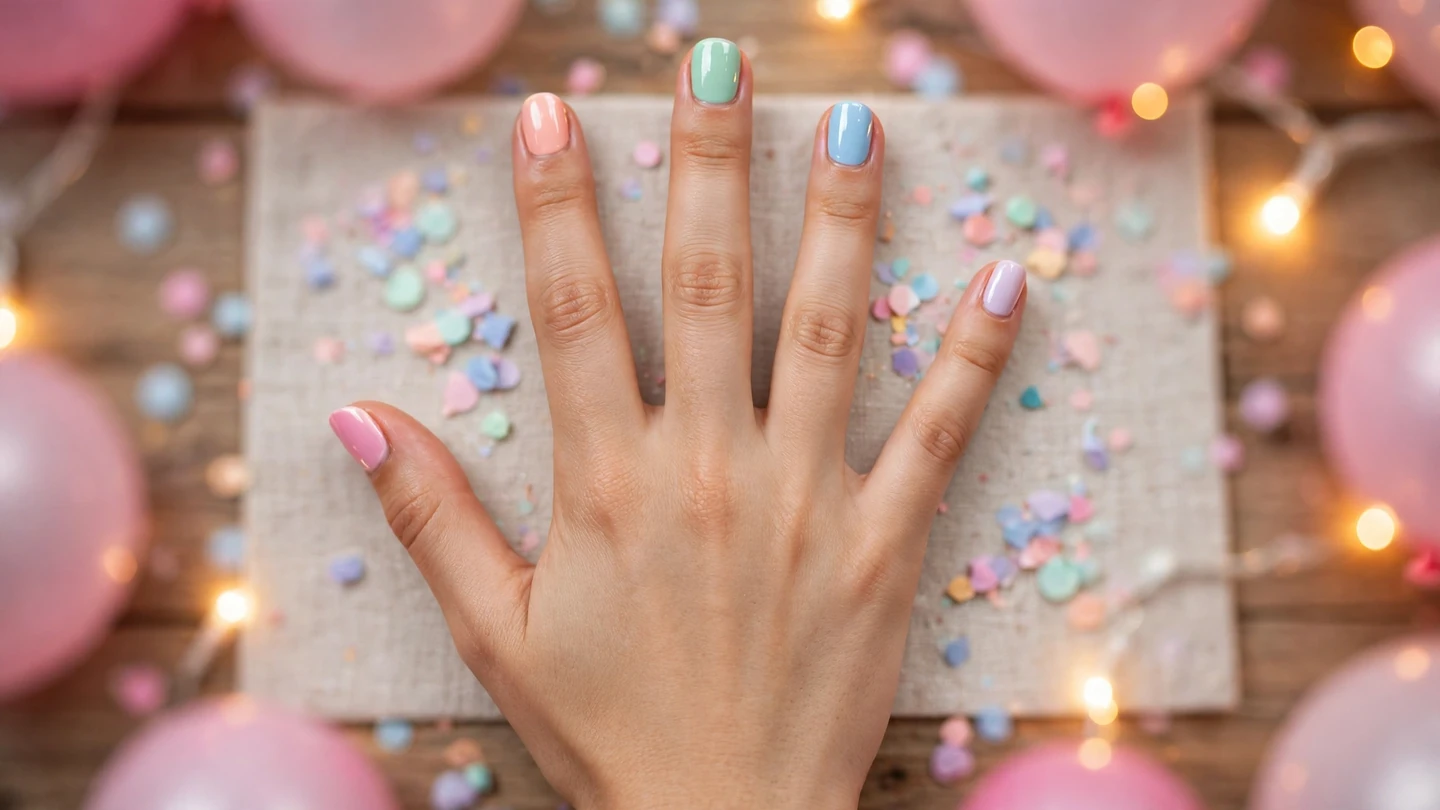
Looking for nail ideas your 12-year-old can enjoy without long extensions or complicated tools? These 20 nail ideas for 12 year olds include pastels, tiny flowers, and simple dots. Each idea has a regular-polish option, with caregiver help for application and removal where needed.
Some designs need only solid color, while detailed patterns take practice. Decals can simplify butterflies, stars, or miniature fruit. The photos show the finished looks; the descriptions explain how to adapt them to short natural nails. Drying time depends on the polish, so leave enough time without promising a quick finish.
Salon requests below mean regular polish on natural nails, without gel or extensions. Check school and sports rules before choosing a design. For another celebration theme, our birthday nail ideas offer more color combinations to adapt.
1. Pastel Rainbow Mismatch
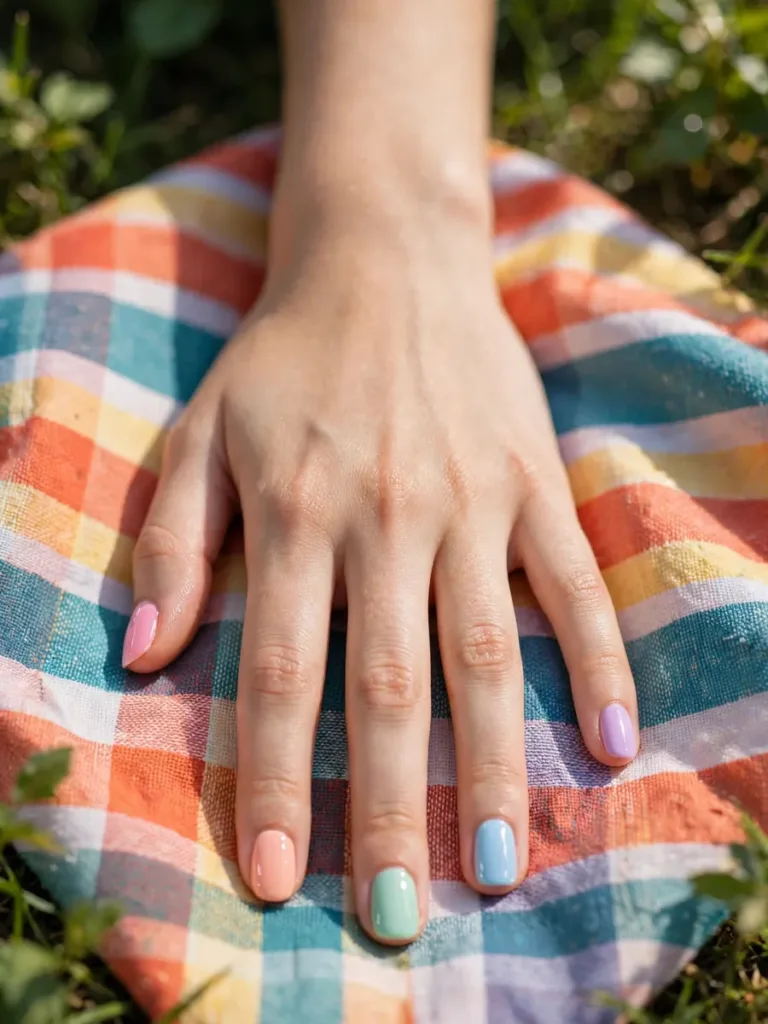
Paint each nail a different pastel, choosing shades with similar lightness. Pink, peach, mint, blue, and lilac make a soft rainbow.
This beginner option needs no drawing or decals. Follow the polish directions for base coat and drying time. Add a compatible topcoat when the color is ready for it.
Best for: a first manicure.
Ask your nail tech for: five pastels, one per short nail.
2. Classic White French Tips

A thin white edge leaves most of the nail sheer. Rounded or squoval tips give you space for a narrow curved line.
French guides can help beginners, but apply them over a dry base. Follow the guide manufacturer’s timing instructions when painting and removing them to avoid lifting the color underneath.
Best for: a fine white edge.
Ask your nail tech for: thin white French tips.
3. Polka Dot Pop
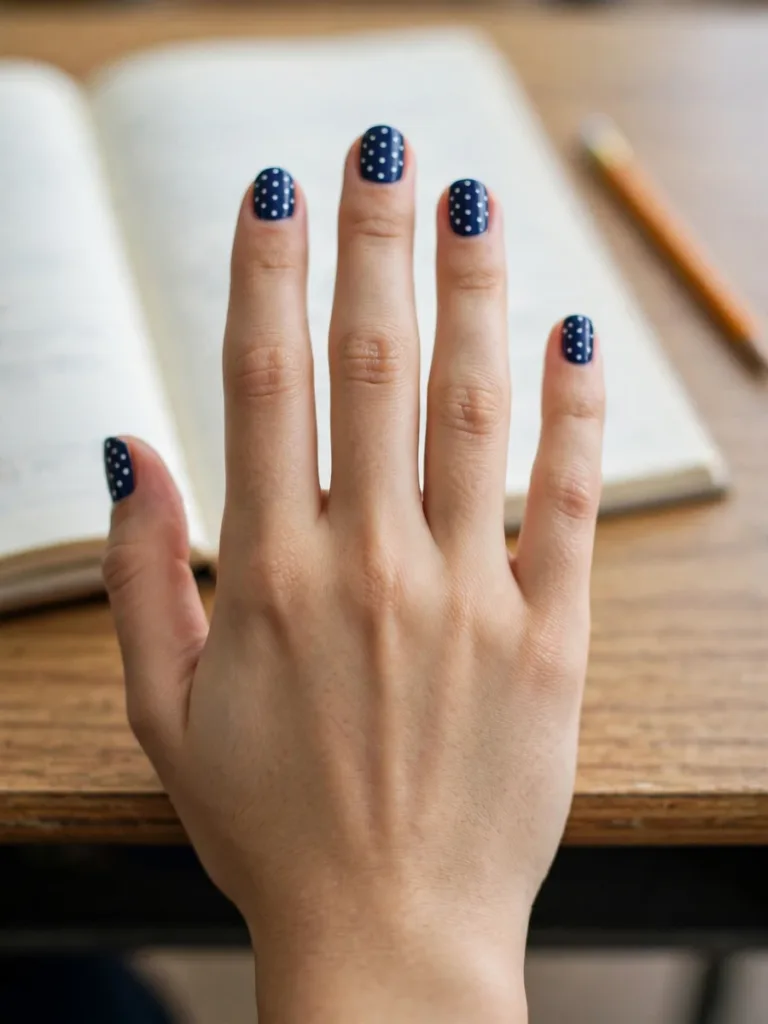
White dots stand out against the pictured navy base. Let the base dry before adding the pattern with a small dotting tool.
Press the rounded end straight down, then lift it without dragging. Practice on paper first to judge dot size, and leave clear gaps so the pattern stays easy to see.
Best for: beginner dotting practice.
Ask your nail tech for: white dots on navy polish.
4. Single Glitter Accent Nail
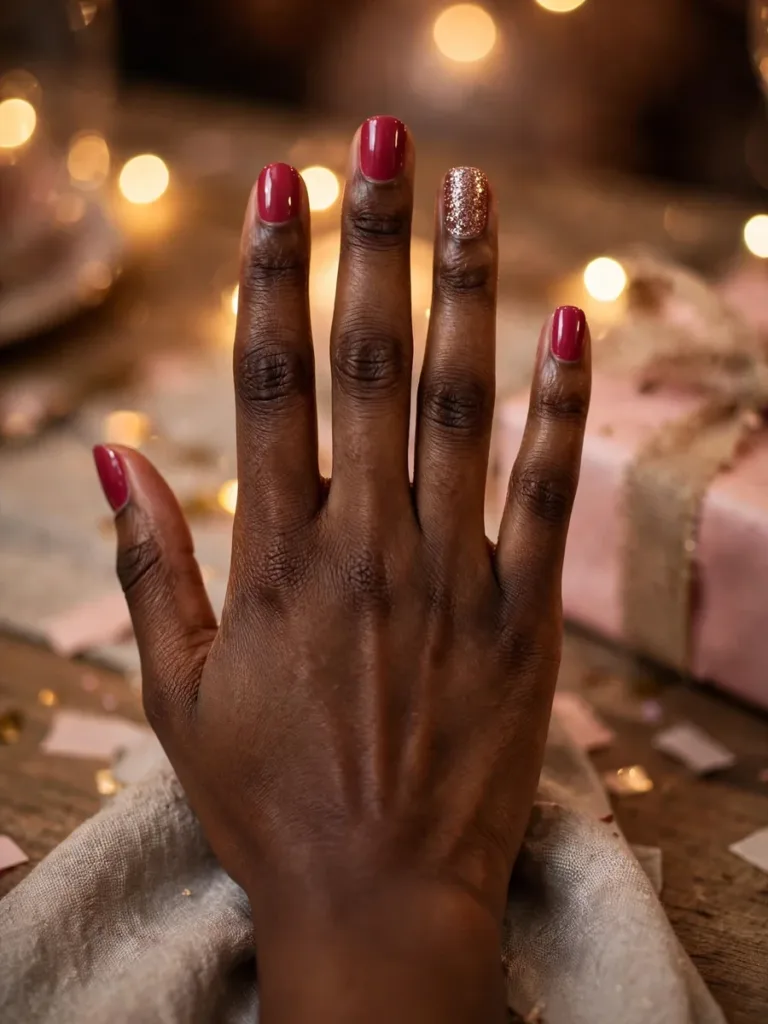
The pictured set combines deep pink polish with one rose gold glitter nail. Choose glitter nail polish instead of craft glitter for this version.
Use the ring finger as the accent, leaving the remaining nails plain. Apply according to the product directions, including the recommended coat thickness and drying time between layers.
Best for: one sparkling accent.
Ask your nail tech for: deep pink with a glitter ring finger.
5. Daisy Chain Dots
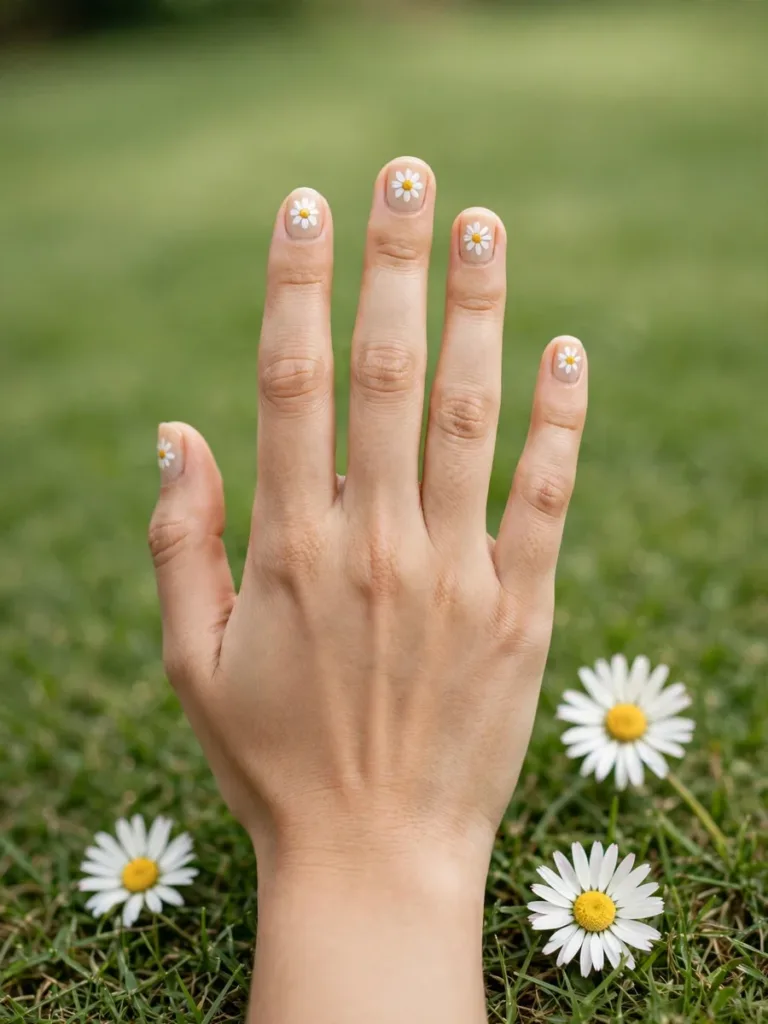
Small white daisies sit over a sheer nude base in this photo. A circle of dots forms the petals, with a yellow dot in the center.
Try one flower on a practice tip before painting nails. If spacing the petals proves difficult, small flower decals offer another way to copy the design.
Best for: simple flower details.
Ask your nail tech for: white daisies with yellow centers.
6. Strawberry Sweethearts
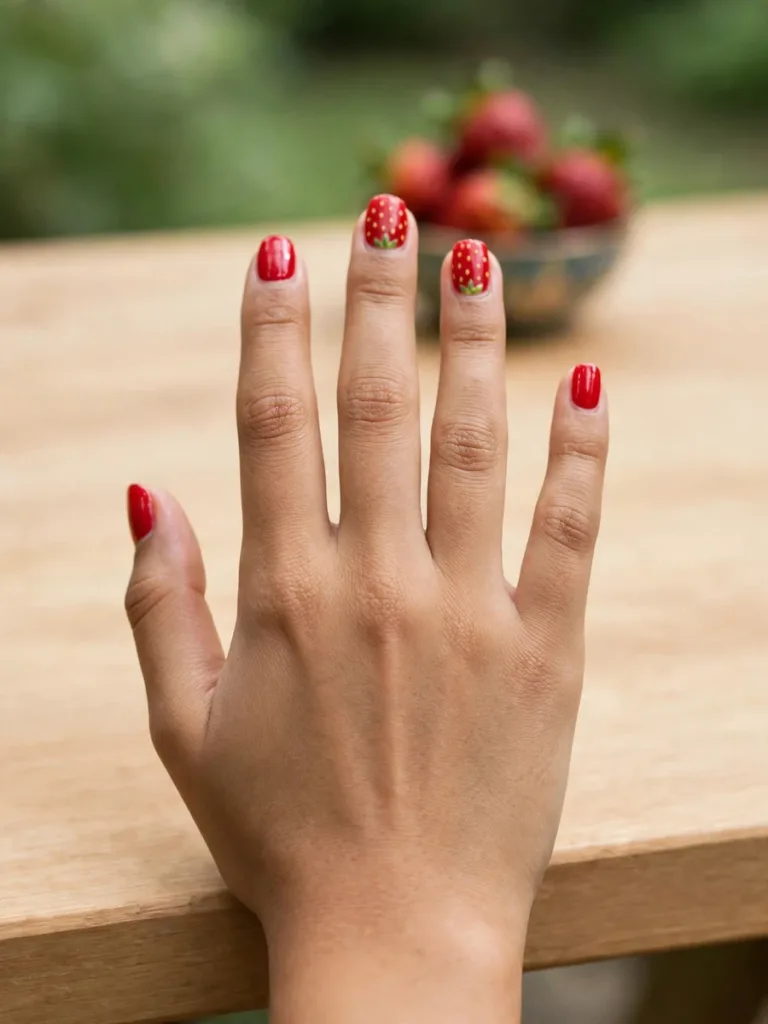
Red polish and tiny pale seed dots create the strawberry effect. Add green leaves near the base of selected nails, keeping polish off the surrounding skin.
The leaf shapes need a small brush and some practice. For a simpler version, use strawberry decals on two nails and leave the others red.
Best for: fruit themed accents.
Ask your nail tech for: red nails with strawberry accents.
7. Happy Smiley Faces
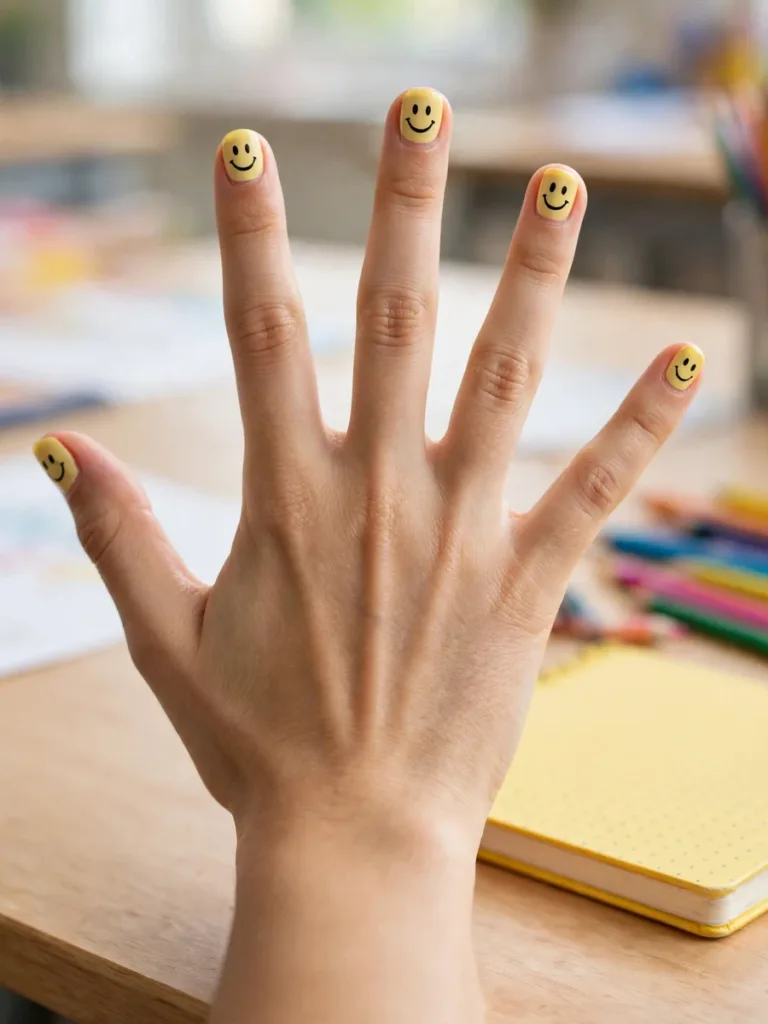
The photo shows black smiley faces on pale yellow nails across the set. Two dots form the eyes, while a fine curved line makes the mouth.
A striping brush offers more control than a pointed household tool. Beginners can try one accent face or use flat nail stickers over the yellow base.
Best for: yellow smiley nail art.
Ask your nail tech for: black smileys on pale yellow.
8. Tiny Heart Tips
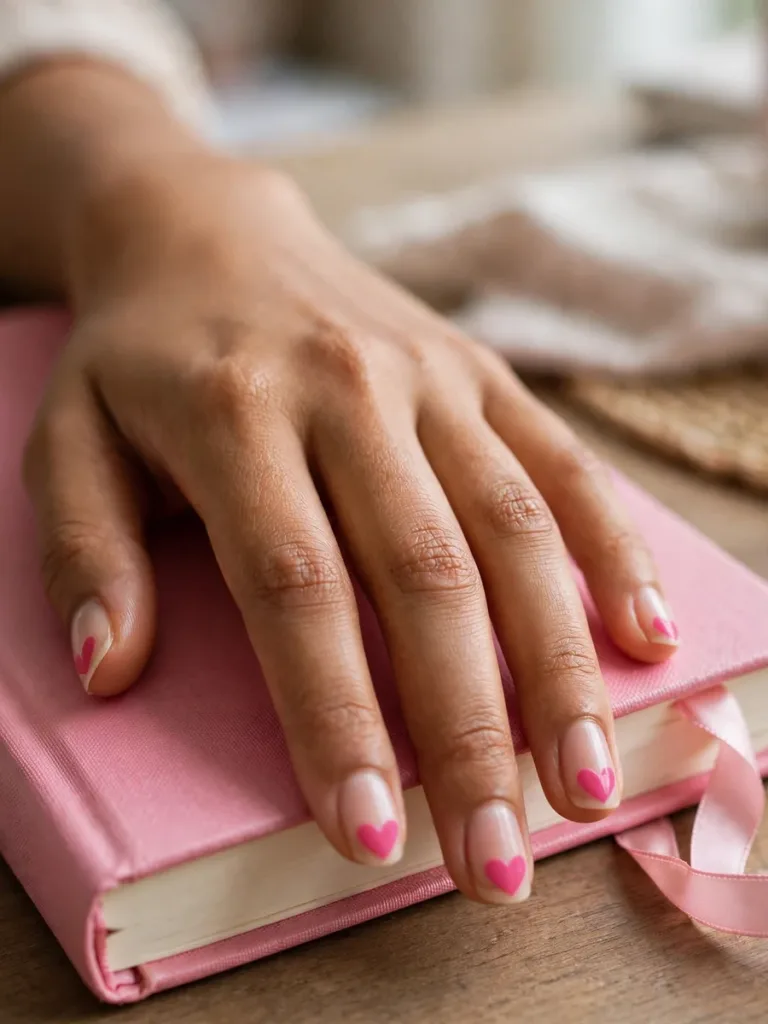
Small pink hearts sit near the free edges of these sheer nails. They decorate the tips without forming a complete French border.
Make two small adjoining dots, then draw the color down to a point with a fine brush. Practice the shape first, or choose small heart stickers for a simpler approach.
Best for: small pink hearts.
Ask your nail tech for: pink hearts near sheer nail tips.
9. Starry Night Accents
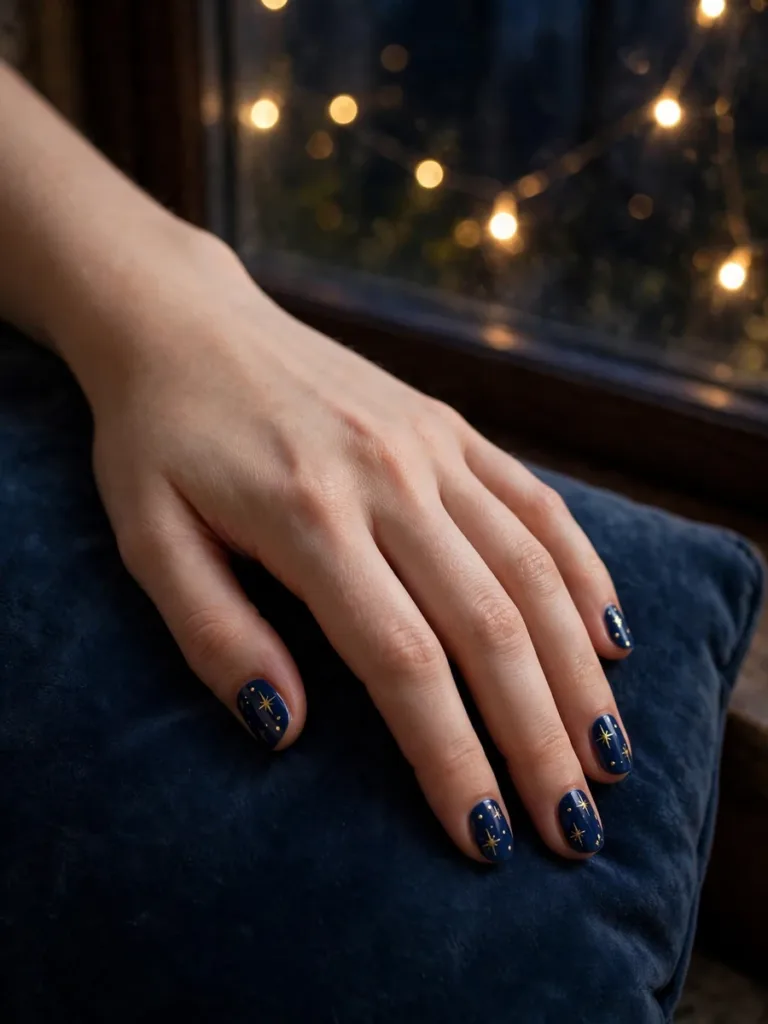
Gold stars and small dots stand out against navy polish in this example. The pattern appears across several nails, but one accent finger can simplify the project.
Drawing tiny star points needs practice with a fine brush. Flat star decals are an alternative when you want clear shapes without painting each point.
Best for: a navy and gold pattern.
Ask your nail tech for: gold stars over navy.
10. Checkerboard Accent
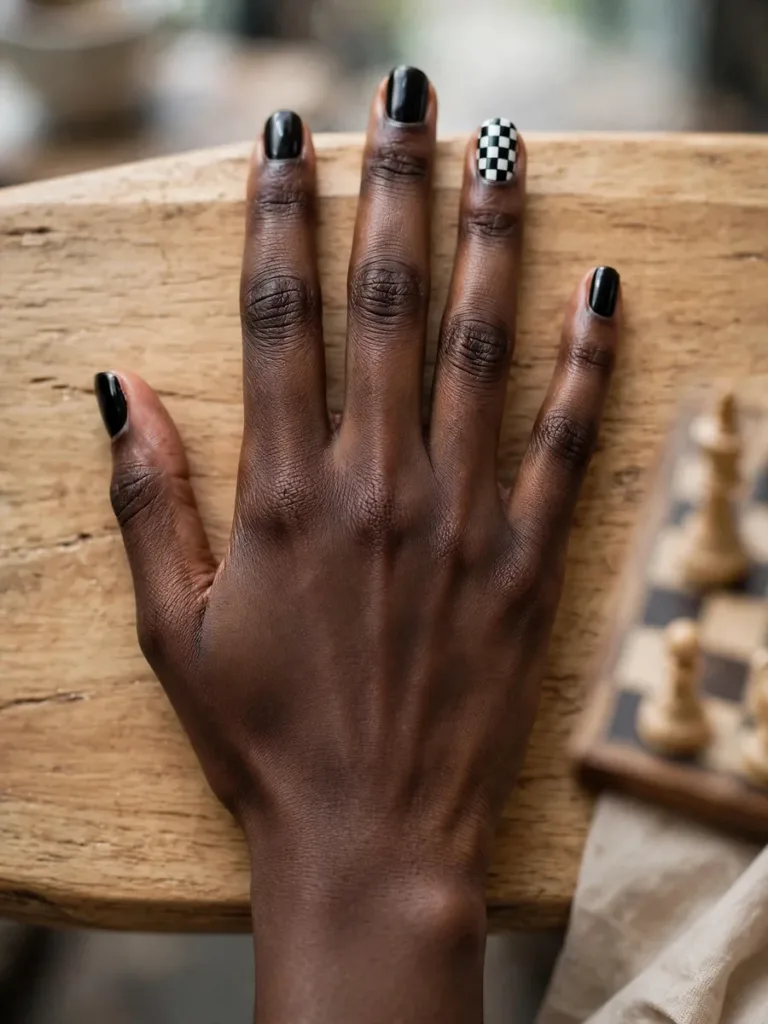
One black and white checkerboard nail contrasts with the plain black nails around it. This intermediate design requires a steady grid and careful filling of alternate squares.
Try a few larger squares on short nails to reduce the detail. A checkerboard decal can replace brushwork if the lines prove hard to control.
Best for: intermediate geometric art.
Ask your nail tech for: one checkerboard accent nail.
11. Tie-Dye Swirls
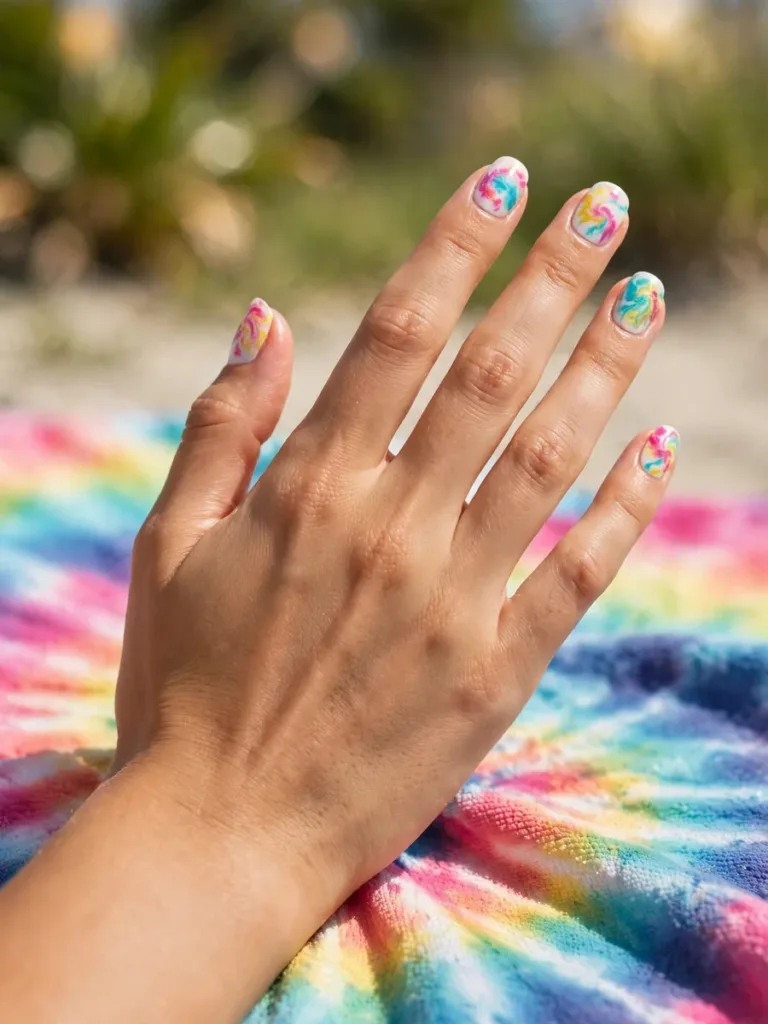
Bright swirls overlap a white base in this colorful example. For a DIY variation, add small polish drops to a wet color layer. Swirl with a fine nail-art tool.
Work on one nail at a time before it sets. The pictured pattern takes practice; irregular blends can still make an interesting design.
Best for: color mixing practice.
Ask your nail tech for: bright swirls over white.
12. Butterfly Stickers
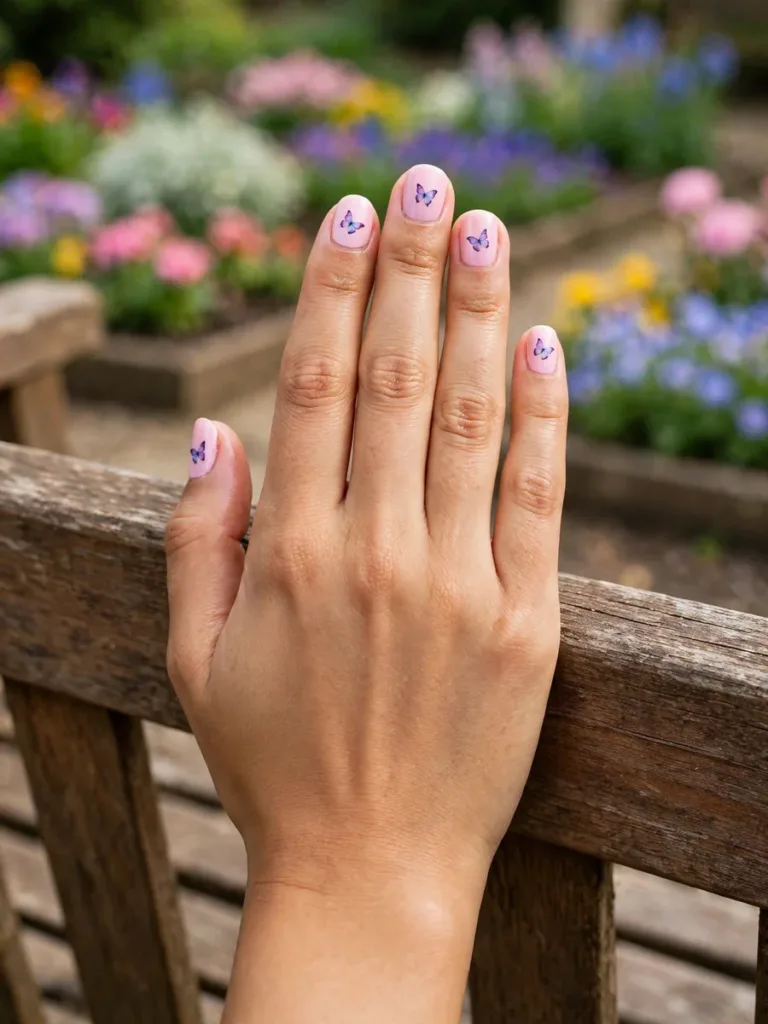
Purple butterfly details sit on pastel pink nails in the photo. Choose flat nail stickers or water decals intended for nail use.
These products have different preparation instructions, so check the packet before starting. Position the butterflies with caregiver help if needed, then use a compatible topcoat according to the decal directions.
Best for: detailed art without drawing.
Ask your nail tech for: butterfly decals on pastel pink.
13. Ice Cream Pastels
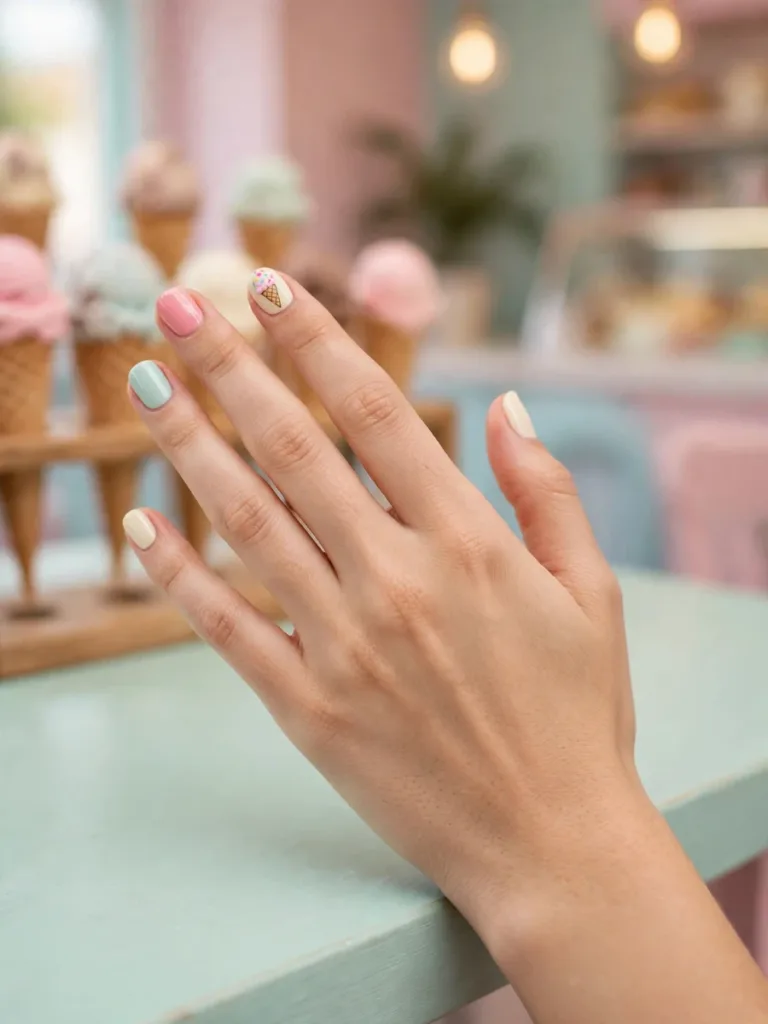
Pastel colors cover the plain nails while a small ice cream cone decorates one finger. A tan triangle forms the cone, with a contrasting scoop above it.
Painting the tiny shapes is an intermediate task rather than a quick beginner project. Use a cone decal if you prefer to focus on the colors.
Best for: one ice cream accent.
Ask your nail tech for: pastels with an ice cream cone.
14. Watermelon Slices
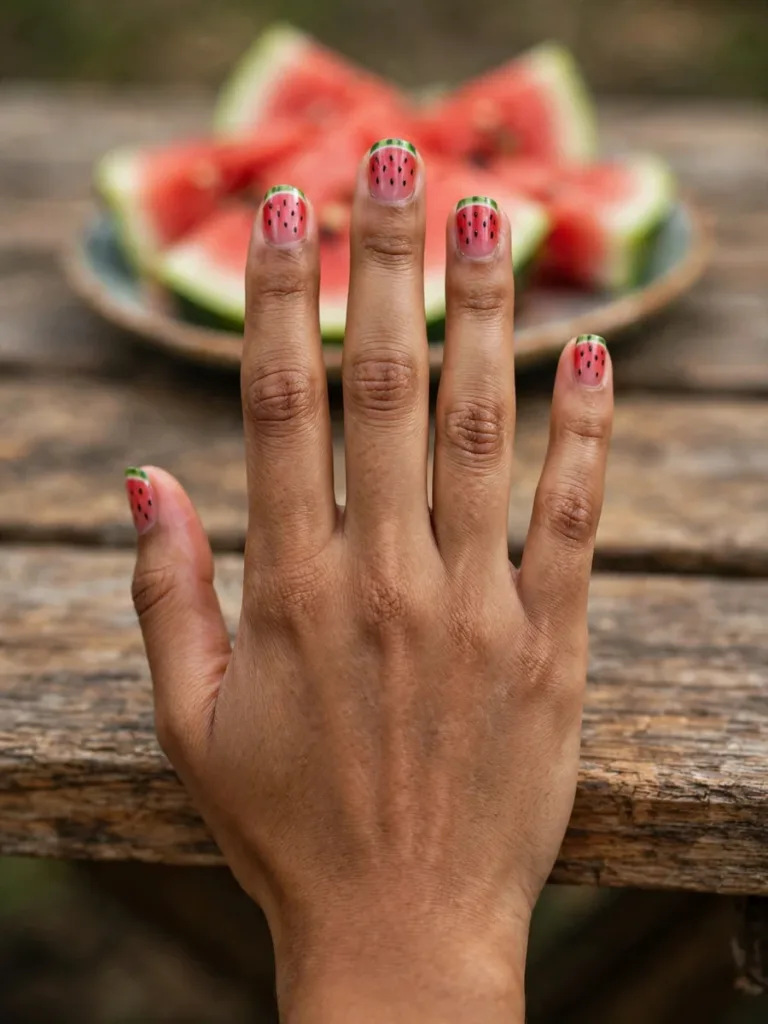
Pink centers, green borders, and black seed dots create the watermelon pattern. The photo shows a thin pale line between the pink and green sections.
Keep each border narrow on short nails, leaving space for a few seeds. A fine brush helps with the edges; fruit decals offer a less detailed alternative.
Best for: watermelon themed color.
Ask your nail tech for: pink watermelon nails with green edges.
15. Sunset Ombré Fade
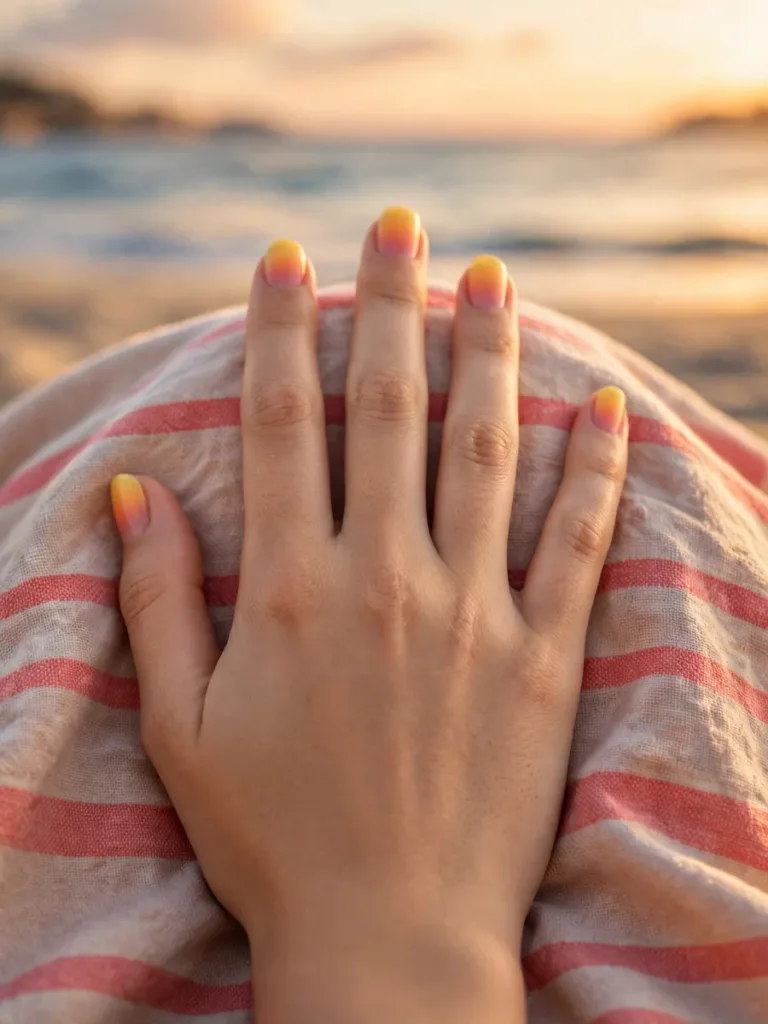
Yellow, orange, and pink blend across the pictured nails. A makeup sponge can create a similar gradient, although an even blend takes practice.
Apply small amounts and avoid flooding the skin with polish. A caregiver can help with cleanup using the remover’s directions, keeping remover away from cuts and irritated surrounding skin.
Best for: practicing a warm gradient.
Ask your nail tech for: a yellow orange pink ombré.
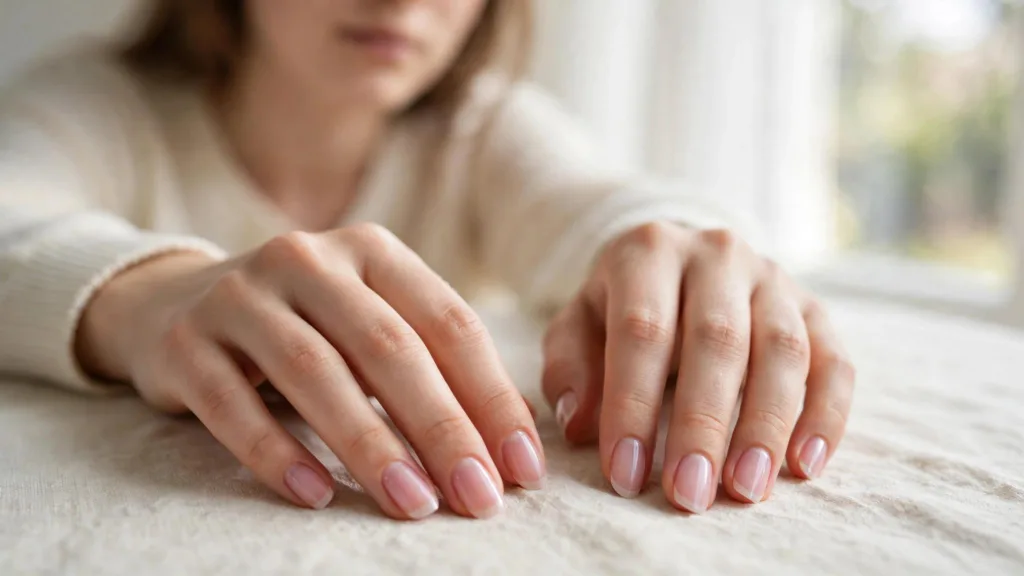
16. Sheer Jelly Shine
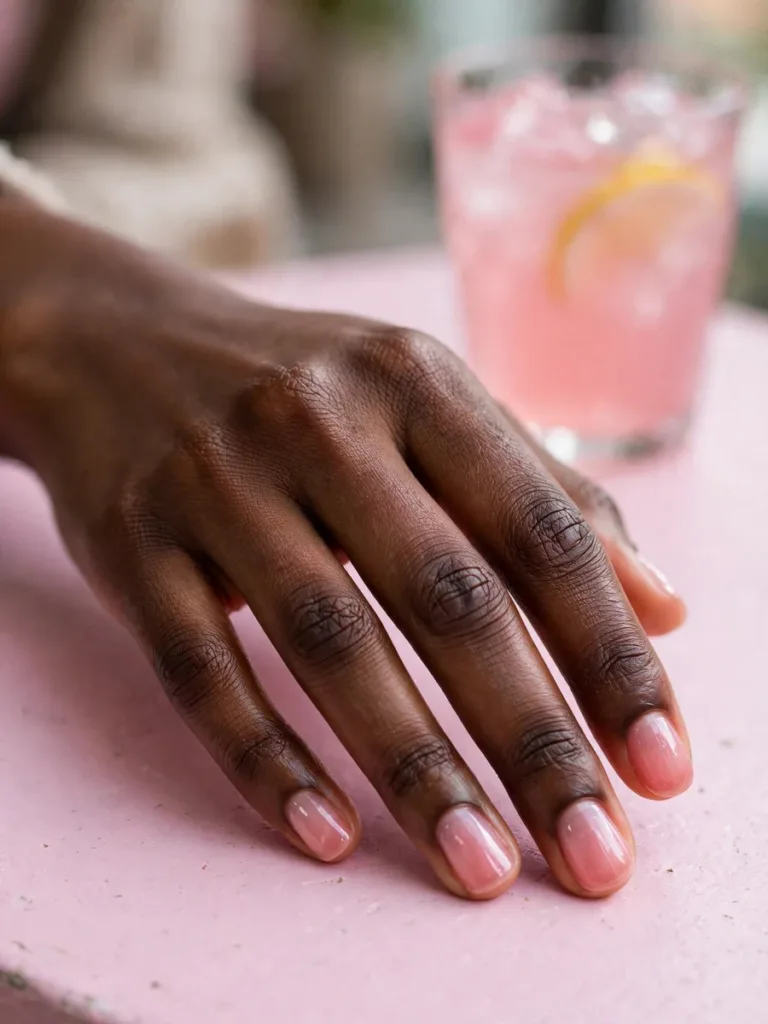
Sheer pink polish leaves some natural nail visible beneath the glossy color. Choose a regular polish with a translucent finish to copy this look without gel.
Additional thin coats can deepen the tint, depending on the formula. Follow the labeled drying times instead of adding thick layers for more color at once.
Best for: a translucent pink finish.
Ask your nail tech for: sheer pink regular polish.
17. Rainbow Clouds
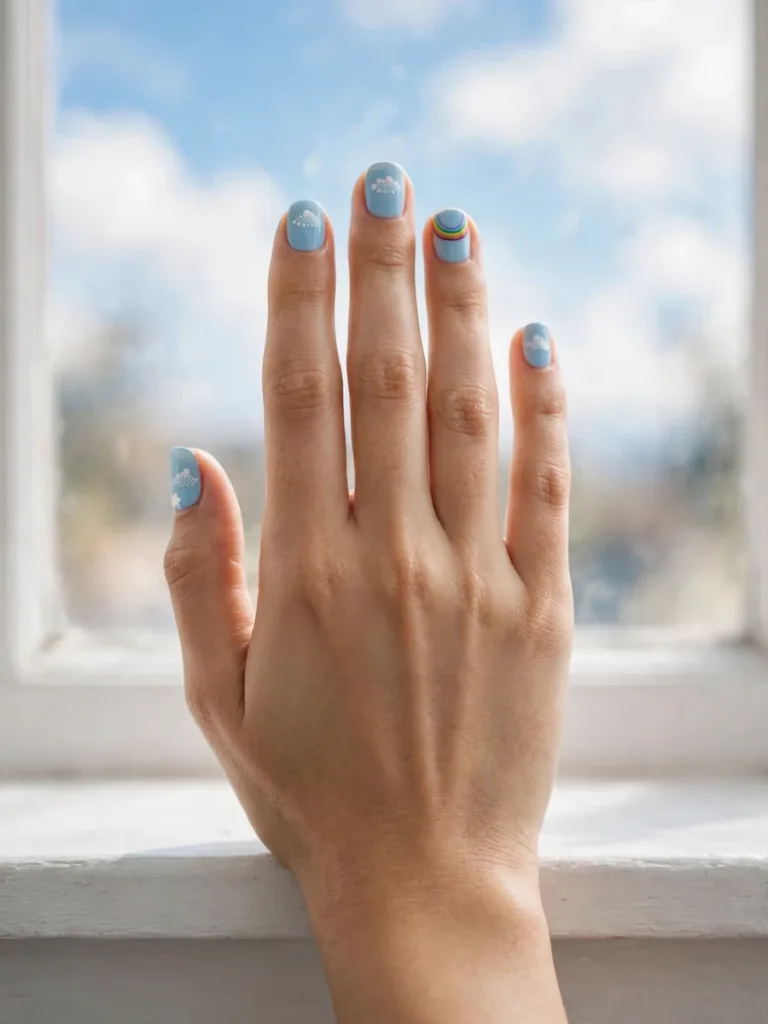
Pale blue nails carry white cloud shapes and a small rainbow accent. Cluster a few white dots to make a cloud, leaving space around it.
Narrow rainbow stripes require more control than the cloud dots. Try a rainbow decal on one finger if painting several curved lines feels too fiddly for a beginner.
Best for: cloud and rainbow details.
Ask your nail tech for: clouds and a rainbow over blue.
18. Mermaid Scale Stamp
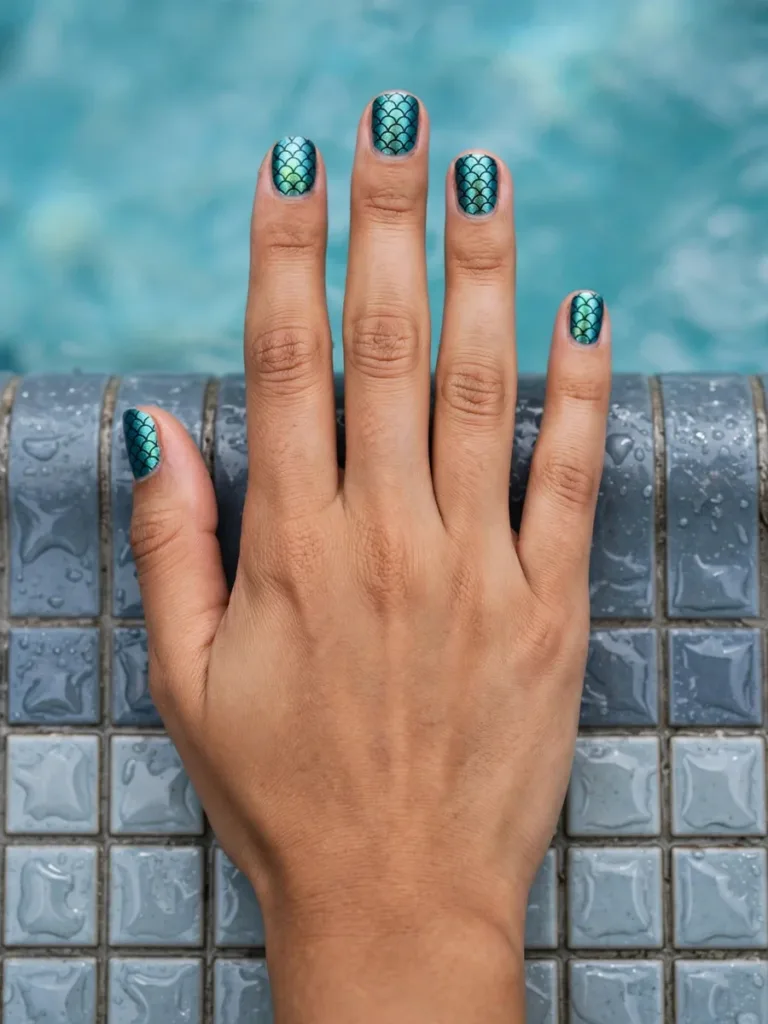
The photo shows overlapping scale outlines over metallic teal on short nails, with the scale rows sized to fit each smaller nail.
Stamping needs a patterned plate, suitable polish, and practice transferring the image. Scale decals offer another option; a dotting tool will not reproduce these outlines with equal precision.
Best for: intermediate scale patterns.
Ask your nail tech for: teal scales on short nails.
19. Simple Stripe Negative Space
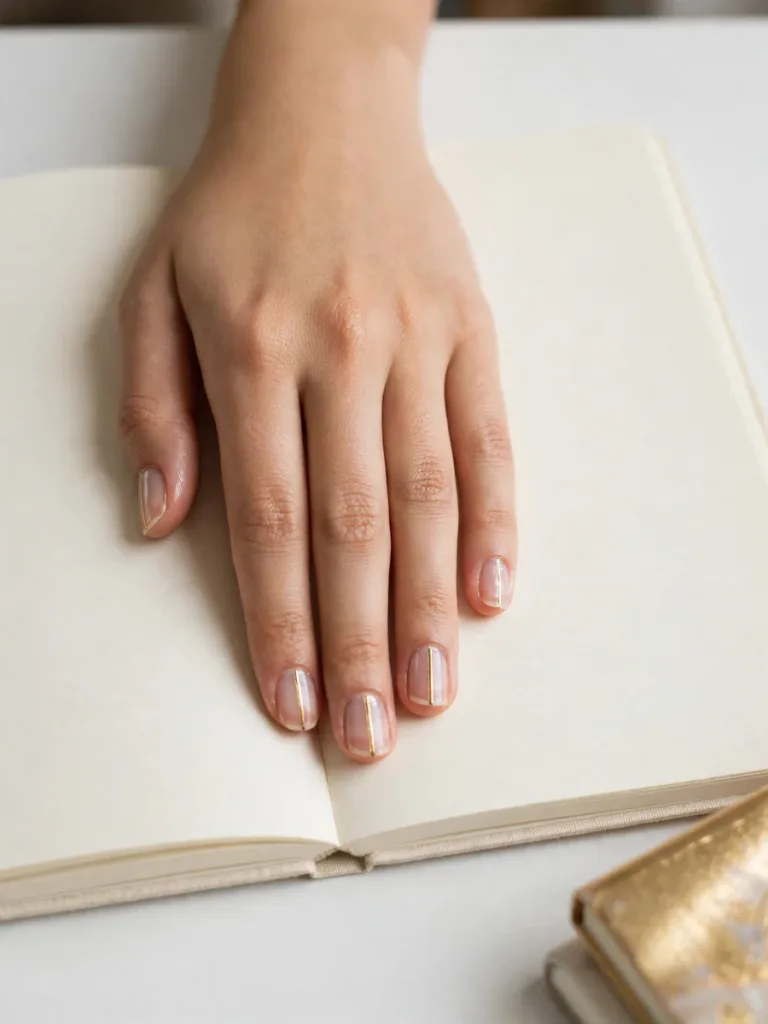
Fine gold stripes cross a sheer base while most of the natural nail remains visible. A striping brush can make the line, or you can use suitable nail-art tape.
Follow the tape instructions for placement and sealing. This design needs little painted detail, but any school polish rules still apply to it.
Best for: a fine metallic line.
Ask your nail tech for: gold stripes over a clear base.
20. Glitter Fade Tips
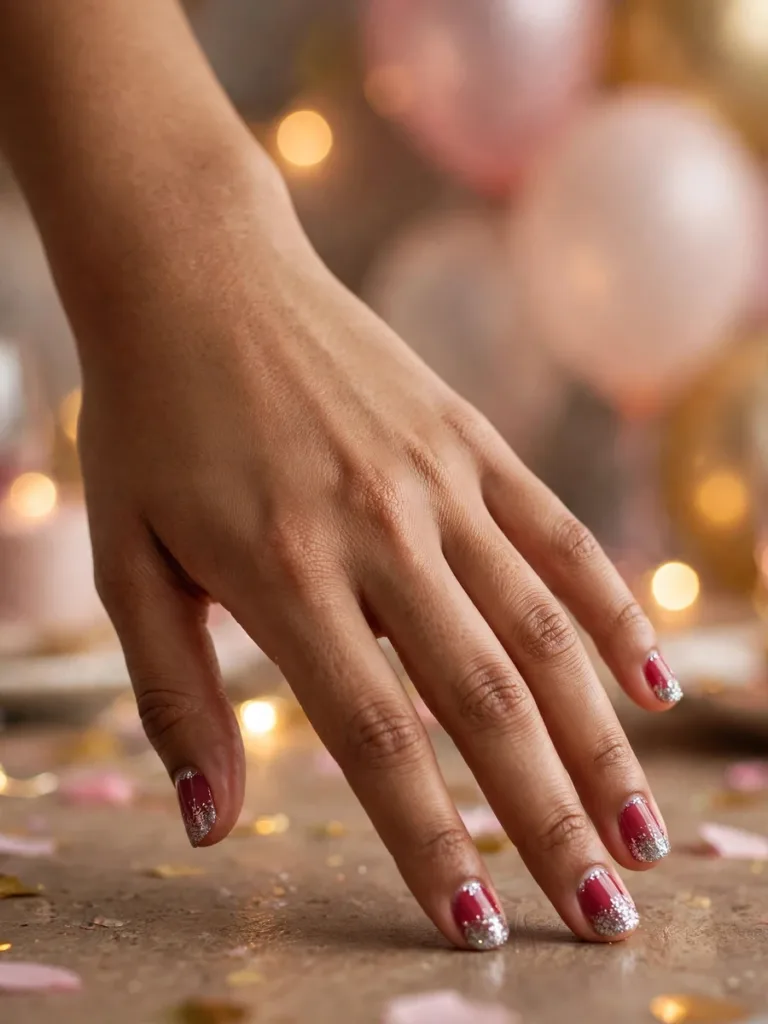
Silver glitter gathers near the tips over deep pink polish in this example. Some nails also have small glitter accents near the cuticles.
For a tips-only version, brush or sponge glitter toward the free edge. Use nail polish glitter and follow the remover directions later, with caregiver help instead of scraping the nail.
Best for: pink and silver sparkle.
Ask your nail tech for: silver glitter tips over deep pink.
Choose And Use Nail Products With Care
Check the actual school and sports policies; some prohibit all polish, including clear finishes. Keep nails unpainted when required. A caregiver can help choose a comfortable length and supervise tools, polish, and remover.
Read product directions and warnings, and work in a ventilated space. Keep products away from eyes, mouths, flames, and heat. The FDA nail-product guidance explains precautions. A “3-free” label does not certify suitability for every child.
Regular polish keeps these ideas independent of extensions and curing lamps. Artificial-nail application and removal can damage nails or cause irritation. The AAD artificial-nail guidance explains those risks. Avoid cutting or forcefully pushing back cuticles.
Stop using a product that causes irritation and seek medical advice if symptoms persist. Leave sore or damaged nails unpainted. Our nail shapes guide can help you compare short outlines.
Nails For 12 Year Olds: Frequently Asked Questions
A design photo cannot establish product safety or school permission. These answers cover practical choices for caregivers and tweens.
What Nail Designs Are Best For 12 Year Olds?
Solid pastels and simple dots are approachable starting points. More detailed designs can use decals or caregiver help, with regular polish on short natural nails.
Are Acrylic Nails Okay For A 12 Year Old?
Acrylic application and removal can damage natural nails, and ingredients may cause irritation or allergy. These designs offer regular-polish alternatives without extensions.
What Nail Polish Is Safe For Kids?
No label guarantees that a polish will suit every child. A caregiver should check directions and warnings, supervise use, and stop after irritation. Free-from claims do not replace those precautions.
How Long Will These Designs Last?
Wear depends on the formula, application, and daily activities. Follow the product directions for drying and topcoat instead of expecting a fixed number of chip-free days.
Are Press-On Nails Good For 12 Year Olds?
A caregiver should check suitability and adhesive instructions before use. Removal differs for tabs and glue; follow that product’s directions and never pry nails off. Regular polish avoids adhesive removal.
What If My School Bans Nail Polish?
Leave nails unpainted if the rule prohibits polish. Clear and sheer finishes can still count as polish, so check the policy. Save painted designs for times when permitted.
Choose A Design To Try Together
A simple color or one accent nail can be a manageable starting point. Detailed patterns can wait until the tools feel familiar. Caregiver help with preparation and removal leaves more attention for choosing colors and placing the decoration. The finished result can vary from the reference photo, especially on shorter nails.
Choose one design together after checking the product directions and the rules for the occasion.