21 Best Bubble Braid Hairstyles to Try on Any Length
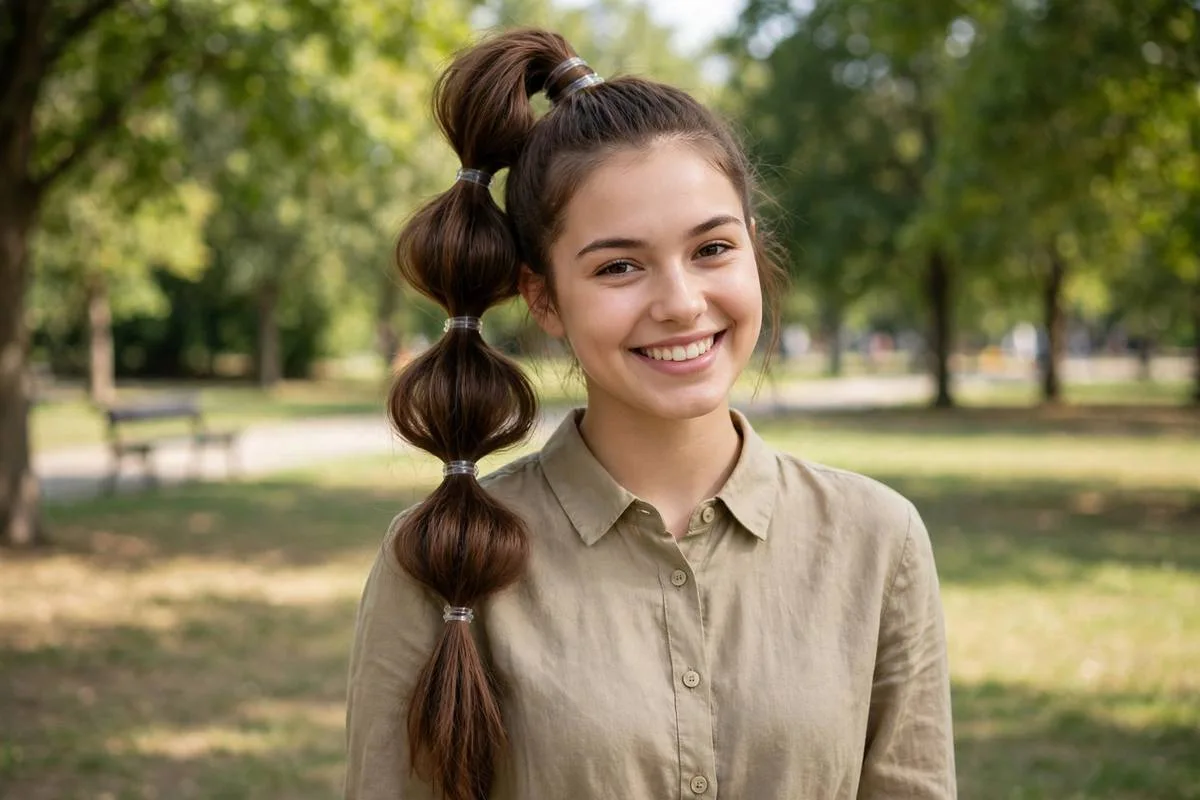
Bubble braid hairstyles look full for one simple reason: even spacing does the work that teasing usually does. This guide shares 21 bubble ponytail hairstyles, pigtails, crowns, and buns. Each pick lists spacing, hold, and hair types.
You need no braid skill for most styles here. Most styles take 5 to 10 minutes at home. Flat ponytails often lose shape by midday. Tight braids can pull at the edges and scalp. Bubble sections solve both problems with soft, even tension.
Clear elastics keep the focus on hair, not hardware. Bring a photo when a stylist builds it. The list covers short, fine, thick, and curly hair. Small bubbles suit fine strands and short lengths. Large bubbles suit long, thick hair with more body. Pick one style, test spacing, and then adjust hold. Save two backup elastics in your bag.
The best bubble braid hairstyles use even spacing, gentle tension, and elastics matched to hair thickness.
What You Need for Bubble Braids
You need a brush, a fine comb, and small elastics. Add light gel or texturizing spray for grip on smooth hair. A spray bottle helps dampen dry ends while styling. Keep small scissors nearby for elastic removal later.
Two mirrors help you check back spacing alone. Ribbons, clips, and pins stay optional for plain styles. Choose elastic colors before you start styling. Most bubble braid hairstyles need no heat tools at all.
Technique matters as much as tools. Stylist Keasling, in Bustle’s bubble braid guide, advises working in one direction. She says, “Make sure to start at the top right at the nape, so you work from top to bottom as you pinch and pull.” Even spacing from the first tie keeps every bubble the same size.
1. Classic High Bubble Ponytail

Brush hair up into a high ponytail and secure it well. Add a clear elastic every 2 inches down the length. Pull each section outward with your fingers for round bubbles.
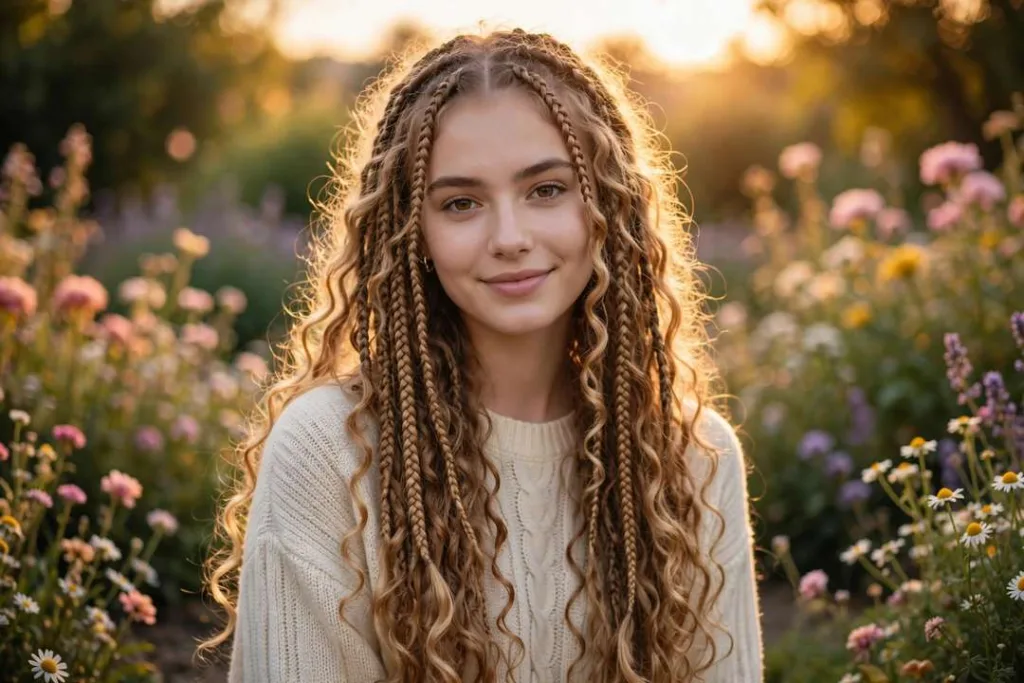
One bubble ponytail braid can hold all day with light spray. Our braided ponytail hairstyles guide shows more ponytail bases first. Smooth the crown with a soft brush first.
Best for: Long or medium hair, and active days.
Ask your stylist for: A high ponytail with bubbles spaced 2 inches apart.
2. Double Bubble Braid Pigtails

Part hair down the center and tie two low pigtails. Band each pigtail every 1 to 2 inches for even bubbles. Keep both sides matched in spacing and puff size.
The paired shape balances fine and medium hair well. Loosen the top bubbles slightly for a softer crown. Check both sides in a mirror before spraying.
Best for: Center parts and playful everyday wear.
Ask your stylist for: Two pigtails with matched bubbles on both sides.
3. Half-Up Bubble Ponytail

Gather the top half of your hair into a ponytail. Leave the lower half loose over your shoulders. Band the ponytail into four or five round bubbles.
This half-up shape keeps hair off your face. Few bubble braid hairstyles balance polish and ease this well. Add one extra bubble for very long hair.
Best for: Medium to long hair and work or school days.
Ask your stylist for: A half-up ponytail with four bubbles, lengths left down.
4. Side Bubble Braid Ponytail

Sweep all hair over one shoulder into a low ponytail. Add elastics down the front-facing length for visible bubbles. Keep spacing near 2 inches so bubbles read clearly.
The side fall suits photos and evening tops well. Pin the back flat if shorter layers slip out. Tuck loose ends under the lowest bubble.
Best for: One-shoulder styling and medium to long hair.
Ask your stylist for: A low side ponytail with bubbles down the front.
5. Low Bubble Ponytail With Wrapped Base

Tie a low ponytail at the nape and wrap hair around it. The wrap hides the first elastic for a clean base. Band the length into large, soft bubbles below.
Large spacing reads calm with coats and high collars. Keep tension gentle at the nape for comfort. A soft brush keeps the crown smooth.
Best for: Calm finishes and long hair worn daily.
Ask your stylist for: A low bubble ponytail with a wrapped base.
6. French Bubble Braid Down the Center

Start with a small section at the front hairline. Add hair from both sides at each new elastic. The center line grows wider as you move back.
Stylist Erica Rae called this method easier than learning to french braid. She adds a shine product first for a polished finish. Keep each added section small for even width.
Best for: Center styles and readers new to braiding.
Ask your stylist for: A French bubble braid down the center.
7. Bubble Braid Crown

Build two bubble braids, one on each side of your part. Pin both braids across the back of your head. Tuck the ends under for a full crown shape.
Small bubbles near 1 inch apart keep the crown neat. This shape holds well for events and photos. Cross pins at the back for a stronger hold.
Best for: Events and medium to long hair.
Ask your stylist for: Two bubble braids pinned into a crown.
8. Two Front Bubble Braids With Hair Down

Take two small sections at the front of your part. Band each section into tiny bubbles down its length. Leave the rest of your hair loose behind them.
The front detail frames the face with little effort. Stop halfway down if layers start poking out. Curl loose ends for a softer blend.
Best for: Low-effort detail and loose hair days.
Ask your stylist for: Two front bubble braids worn with hair down.
9. Bubble Space Buns
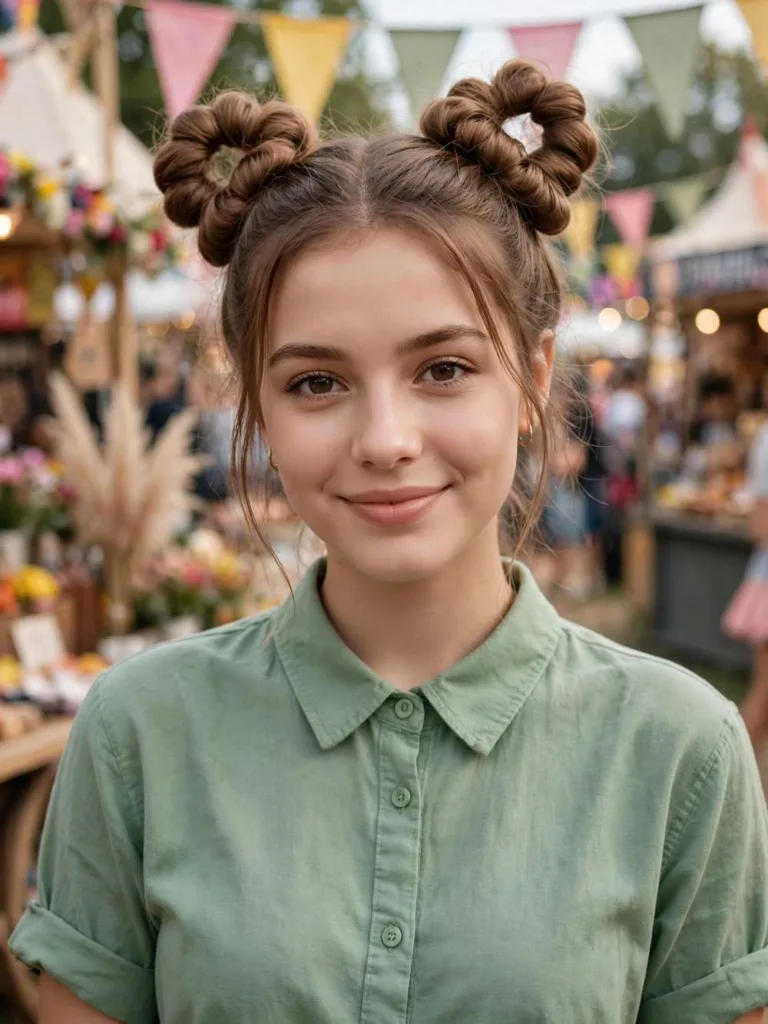
Part hair in the center and tie two high pigtails. Form three bubbles on each pigtail before coiling them. Coil each bubbled length into a bun and pin it.
Leave the lowest bubble loose for a spiked edge. These bubble braid hairstyles suit festivals and casual photos. Use matte elastics for a calmer finish.
Best for: Playful days and medium to long hair.
Ask your stylist for: Space buns made from bubbled pigtails.
10. Short Hair Mini Bubble Braids

Short hair holds mini bubbles with spacing near 1 inch. Use small clear elastics that grip fine ends well. Build two or three bubbles per section, then stop.
Short sections can slip, so add light gel first. Keep the last elastic close to the ends. Warm gel between palms before you apply it.
Best for: Short hair, bobs, and fine ends.
Ask your stylist for: Mini bubble braids with 1-inch spacing.
11. Curly Hair Bubble Braids

Curly hair puffs into bubbles with very little pulling. Band curls gently so coils keep their shape. Wider spacing near 2 to 3 inches suits thick curls.
Our braid and curls hairstyles roundup pairs braids with loose curls too. Smooth each elastic over curls to avoid snags. Detangle curls with fingers before you start.
Best for: Curly and coily hair, and low-tension styling.
Ask your stylist for: Bubble braids with wide spacing on curly hair.
12. Bubble Braid With Silk Ribbon

Tie a thin silk ribbon at the base of a ponytail. Weave the ribbon ends around each elastic as you band. The ribbon covers plain elastics with soft color.
Keep ribbon tails even with the hair ends. Choose one color that matches your top or bag. Steam can wrinkle silk, so style after dressing.
Best for: Soft color detail and gift or event days.
Ask your stylist for: A bubble ponytail with ribbon woven through.
13. Double French Bubble Braids

Part hair in the center and build one French line per side. Add side hair at each elastic for a close fit. Match bubble counts so both sides end together.
This paired style holds well during active days. A photo guide to bubble braid styles and steps shows mixed braids too. Finish both sides before you puff bubbles.
Best for: Active days and medium to long hair.
Ask your stylist for: Double French bubble braids with matched counts.
14. Bubble Braid Low Bun

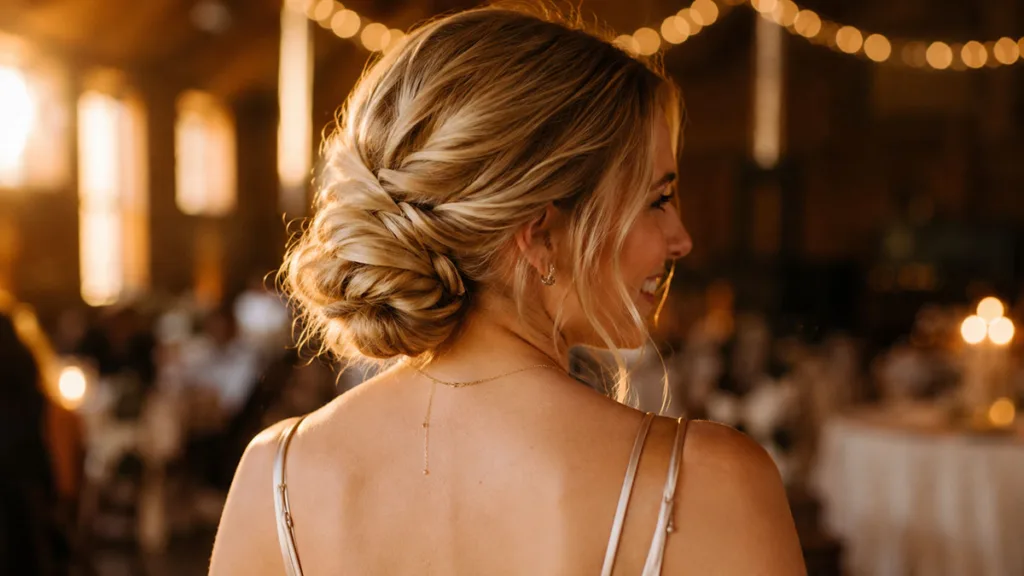
Build one low bubble ponytail with four large bubbles. Coil the bubbled length into a low bun at the nape. Pin under each bubble so pins stay hidden.
The bubbled coil adds width without teasing or padding. Keep face-framing strands loose for a softer edge. Test the coil height before final pinning.
Best for: Formal days and long hair updos.
Ask your stylist for: A low bun coiled from a bubble ponytail.
15. Colorful Elastic Bubble Ponytail

Swap clear bands for colorful elastics in a planned order. Repeat two or three colors down the ponytail length. The color order keeps bright bands from looking random.
Match one band color to your outfit for balance. Such bubble braid hairstyles photograph well in bright light. Plain outfits let bright bands lead the look.
Best for: Planned color and casual bright outfits.
Ask your stylist for: A bubble ponytail with colorful elastics in order.
16. Jumbo Bubble Braids for Thick Hair

Thick hair forms jumbo bubbles with spacing near 3 inches. Use strong elastics that can hold heavy sections all day. Build one braid per side, or one center ponytail.
Fewer, larger bubbles cut styling time on dense hair. Check scalp comfort after the first hour of wear. Wide bubbles can hide shorter broken strands well.
Best for: Thick, dense hair, and bold shapes.
Ask your stylist for: Jumbo bubble braids with 3-inch spacing.
17. Fine Hair Small Bubble Braids

Fine hair needs small bubbles and gentle hands. Space elastics near 1 inch for a neat row. Add texturizing spray first so strands grip better.
Pull each bubble from the center, not the edges. Tight pulling can snap fine ends, so work slowly. Skip heavy oils that make fine hair slip.
Best for: Fine or thin hair, and neat small bubbles.
Ask your stylist for: Small bubble braids with texturizing spray first.
18. Bubble Braid With a Mini Braid Inside
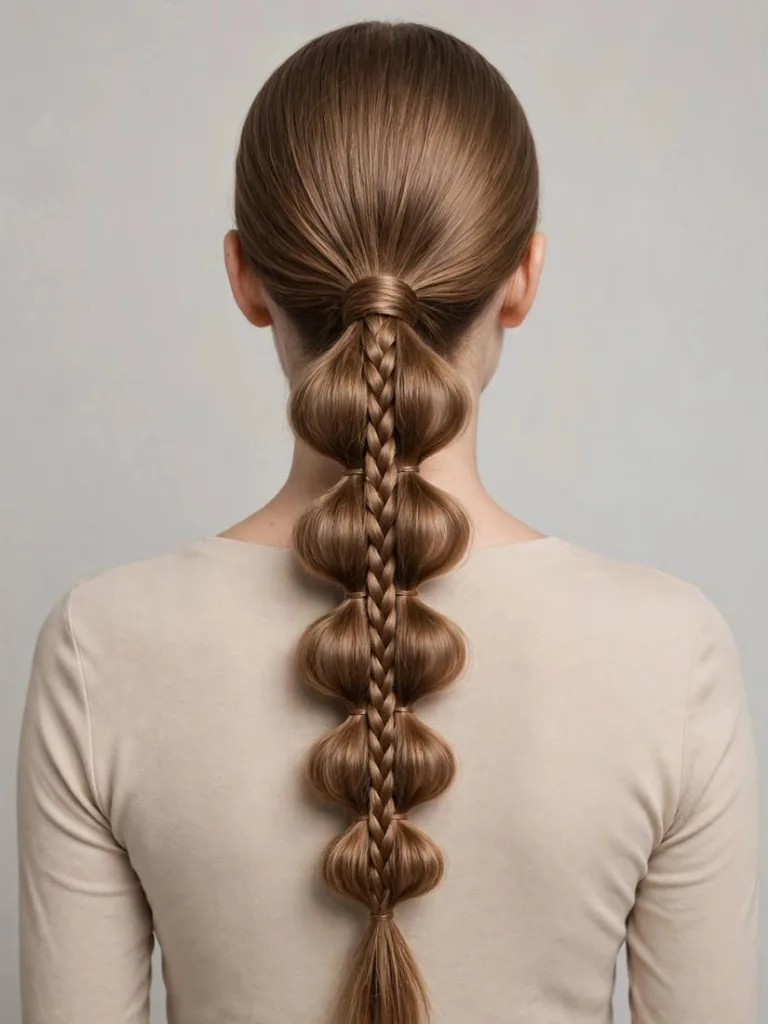
Braid one thin three-strand braid down the ponytail center. Band the full ponytail into bubbles around that braid. The thin braid peeks through each bubble center.
This mix adds texture without extra tools or products. Keep the mini braid loose so bubbles stay round. Center the mini braid before each new elastic.
Best for: Mixed texture and medium to long hair.
Ask your stylist for: A bubble ponytail with a mini braid inside.
19. Half-Up Double Bubble Braids

Split the top half of your hair into two sections. Build one small bubble braid on each side. Leave all lower hair loose and brushed smooth.
The paired top braids lift hair off the temples. Stop both braids at the same length for balance. Brush loose hair last so it stays smooth.
Best for: Half-up styling, and temple lift.
Ask your stylist for: Two half-up bubble braids with hair down.
20. Bubble Braid Mohawk

Gather a wide center strip from forehead to nape. Band that strip into tall bubbles down the center. Smooth both sides back flat with gel and pins.
Tall bubbles near 2 inches apart hold the mohawk shape. This bold center line suits concerts and themed events. Keep side pins flat under the smoothed hair.
Best for: Bold center styles, and event hair.
Ask your stylist for: A bubble braid mohawk with smoothed sides.
21. Messy Loose Bubble Braid

Build one low ponytail and band it with loose spacing. Pull bubbles wide and uneven for a relaxed shape. Let a few face strands fall free at the front.
Loose tension keeps this style comfortable all day. Skip spray, or use one light mist only. This shape forgives uneven spacing on busy mornings.
Best for: Relaxed finishes, and second-day hair.
Ask your stylist for: A messy, loose bubble braid with wide bubbles.
How to Choose Bubble Braid Hairstyles for Your Hair
Match bubble size to hair length first. Short hair holds small bubbles, while long hair holds large ones. Thick hair often needs wider spacing and stronger elastics.
Fine hair needs gentle tension and light pulling. Curly hair needs wider spacing so coils stay defined. Most bubble braid hairstyles adapt with spacing alone.
Test one braid at home before an event day. Wear it for 2 hours and check comfort. Adjust spacing or elastic size if pulling starts.
Bring 2 photos of your target bubble size. Photos stop spacing guesses at the salon chair. Home stylists can copy photos section by section too. Bubble braid hairstyles stay easy to copy from photos.
| Spacing Between Elastics | Bubble Look | Best Hair Match |
|---|---|---|
| About 1 inch | Small and neat | Short or fine hair |
| About 2 inches | Classic and round | Medium to long hair |
| About 3 inches | Large and soft | Long or thick hair |
How to Make Bubble Braids Last Longer
Most bubble styles last one full day of wear. Smooth flyaways with a damp palm and light gel. Sleep can flatten bubbles, so rebuild them each morning.
Cut worn elastics out with small scissors, held away from hair. Reusing stretched elastics can weaken hold and snap later. Fresh clear elastics cost little and hold better.
Brush hair fully before you rebuild the style. Clean, smooth hair forms rounder bubbles with less pulling. These steps keep bubble braid hairstyles neat all week.
Store elastics away from heat and sun. Heat can dry bands out and weaken grip. Replace any band that feels sticky or stiff. One light mist of spray can set finished bubbles.
FAQs
How Do You Do a Bubble Braid?
Tie a ponytail, then add an elastic every 1 to 3 inches. Pull each section outward with your fingers to form a bubble. Repeat down the length.
Do Bubble Braids Damage Hair?
Bubble braids use elastics, not woven tension, so strain often stays low. Snug elastics and gentle pulling matter most. Remove any style that starts to hurt.
How Long Do Bubble Braids Last?
Most bubble braid hairstyles last one day of wear. Smooth hair can hold bubbles into a second day. Most people rebuild the style each morning.
Can You Do Bubble Braids on Short Hair?
Yes. Short hair holds mini bubbles with spacing near 1 inch. Small clear elastics grip short ends best. Two or three bubbles per section often suffice.
What Elastics Work Best for Bubble Braids?
Small clear elastics without metal joints work best for most hair. Thick hair may need stronger elastics for heavy sections. Keep spare elastics in your bag.
Can Bubble Braids Work on Curly Hair?
Yes. Curly hair forms full bubbles with gentle banding. Wider spacing helps coils keep their shape. Slide elastics over curls slowly to avoid snags.
Final Thoughts
Pick one style above and build it with fresh elastics today. Start with the classic high ponytail if you feel unsure. Test spacing on one section before you finish the rest.
A photo helps your stylist copy the exact bubble size later. Bubble braid hairstyles reward small tests and gentle hands. Your first neat row takes minutes, not an appointment. Save spare elastics where you get ready.