Natural Skin Care: 18 Simple Steps To Real Glowing Skin

Do you ever flip a skincare bottle over and wonder what half the ingredients are? You’re not alone. Most bathroom shelves are stacked with products that carry ingredient lists longer than a grocery receipt. And yet skin still feels dry, dull, or reactive by afternoon, no matter the price tag.
Natural skincare routines swap mystery chemicals for plant oils, botanical extracts, and pantry staples your skin already recognizes. You skip the guesswork, the ingredients you need a chemistry degree to decode, and the $200 serum.
This guide covers 18 real steps to build a natural skin care routine, all in one place: a full morning and night routine, ingredient picks matched to your exact skin type, and DIY recipes you can mix tonight. Everything you need to build a routine that works, starting today.
What Natural Skin Care Really Means
The word “natural” isn’t regulated by the FDA. Brands can use it however they want. That makes label reading a real skill, not a guessing game. Three products can all claim to be “natural” while containing completely different ingredients.
These are the terms brands use, translated into plain language:
- Naturally occurring: Ingredients used in their raw state, like honey or aloe gel. Little to no processing involved.
- Organic: Grown without synthetic pesticides. Look for USDA Organic certification, not just the word on the front label.
- Clean: An unregulated term focused on avoiding toxic ingredients like parabens and sulfates. The definition shifts from brand to brand.
- Green: This one’s about environmental impact and sourcing. It says nothing about what the product does to your skin.
- Cruelty-free: The finished product wasn’t tested on animals. Individual ingredients might have been tested elsewhere, though.
- Vegan: Contains no animal-derived ingredients, including honey or beeswax. Check twice if this matters to you.
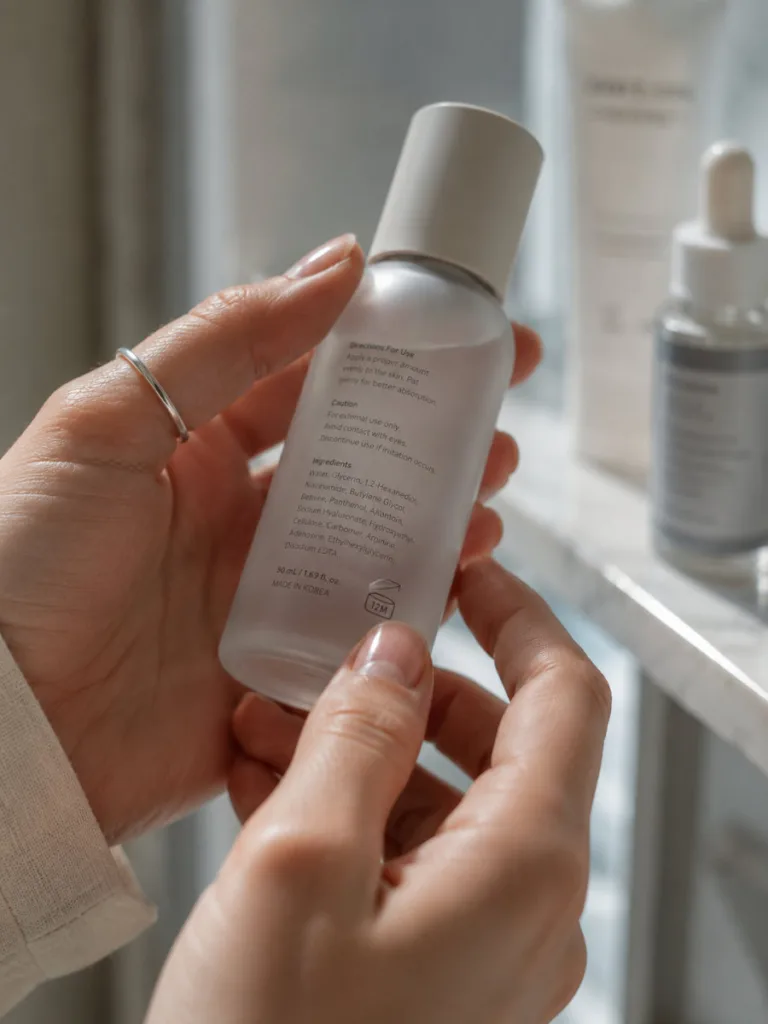
Knowing these terms helps you shop with confidence instead of trusting a pretty package or a green leaf icon on the front.
Why Switch To Natural Skin Care
Plant-based skin care isn’t a trend. It’s a response to real research. A 2023 clinical review of botanical extracts backs this up. It found plants are a rich source of vitamins, antioxidants, and essential oils. They support skin health without synthetic fillers.
Four reasons it’s worth the switch:
- Fewer irritants. Switching cuts your exposure to fragrance chemicals. Studies link these to skin sensitivity in long-wear products like moisturizers.
- Lower long-term exposure. Your skin absorbs a portion of everything you apply daily. Fewer synthetic additives can mean fewer flare-ups over time.
- Lower cost to experiment. Many natural ingredients, like oatmeal and honey, already sit in your kitchen. Test one for the price of a grocery run instead of a full-size bottle.
- Simpler routines. Fewer active ingredients mean fewer chances of layering products that fight each other. That clash is a common reason skin reacts badly to a “routine” instead of a single product.

How To Build A Natural Morning Routine
Mornings need speed and protection. These five steps take under 10 minutes and use ingredients that won’t strip your skin before you walk out the door.
Step 1: Cleanse Gently

- Use a sulfate-free cleanser with aloe vera or chamomile.
- Splash lukewarm water, never hot. Heat pulls moisture from your skin barrier and leaves it tight by midday.
- Pick a cream cleanser if your skin runs dry. Go with a light gel formula if it leans oily.
- Cleanse twice a day at most. A third wash midday strips protective oils, and that often triggers rebound oiliness by evening.
Step 2: Exfoliate Two Or Three Times Weekly
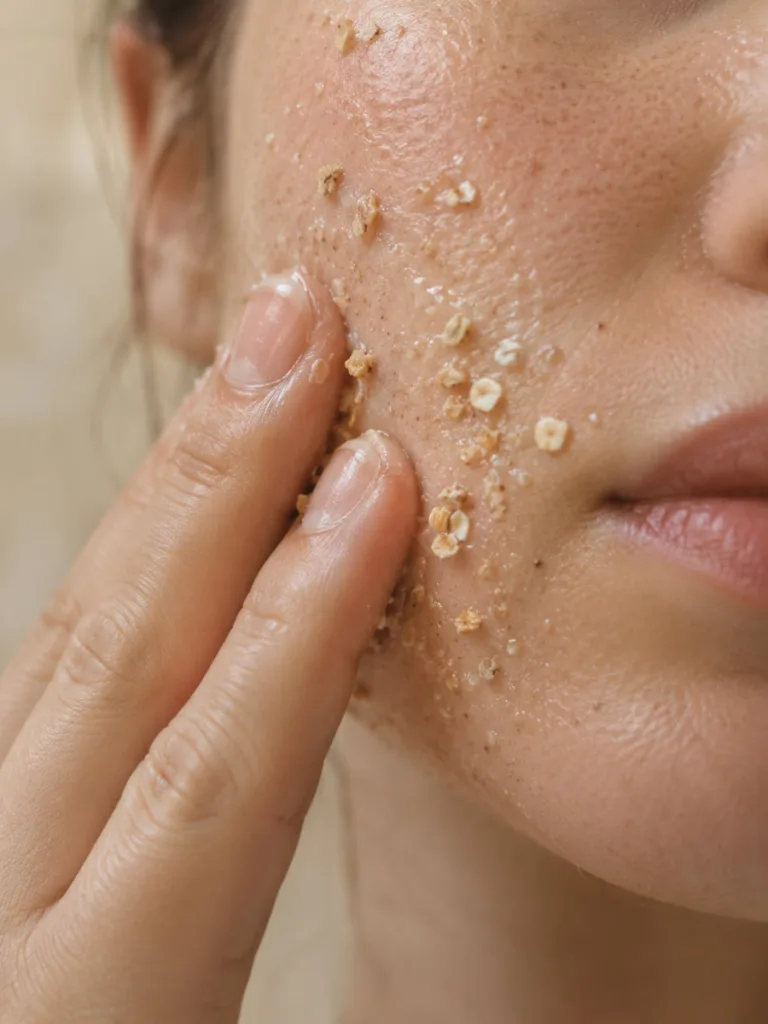
- Skip daily scrubbing. A fine sugar or oatmeal exfoliant removes dead skin without micro-tears.
- Micro-tears are a common cause of dull, flaky patches around the nose and chin.
- Massage for 30 seconds in small circles. Stop immediately if you feel stinging instead of a light tingle.
- Sensitive skin should stick to once weekly. More frequent exfoliation raises the risk of a compromised barrier and visible redness.
Step 3: Tone With Rose Water
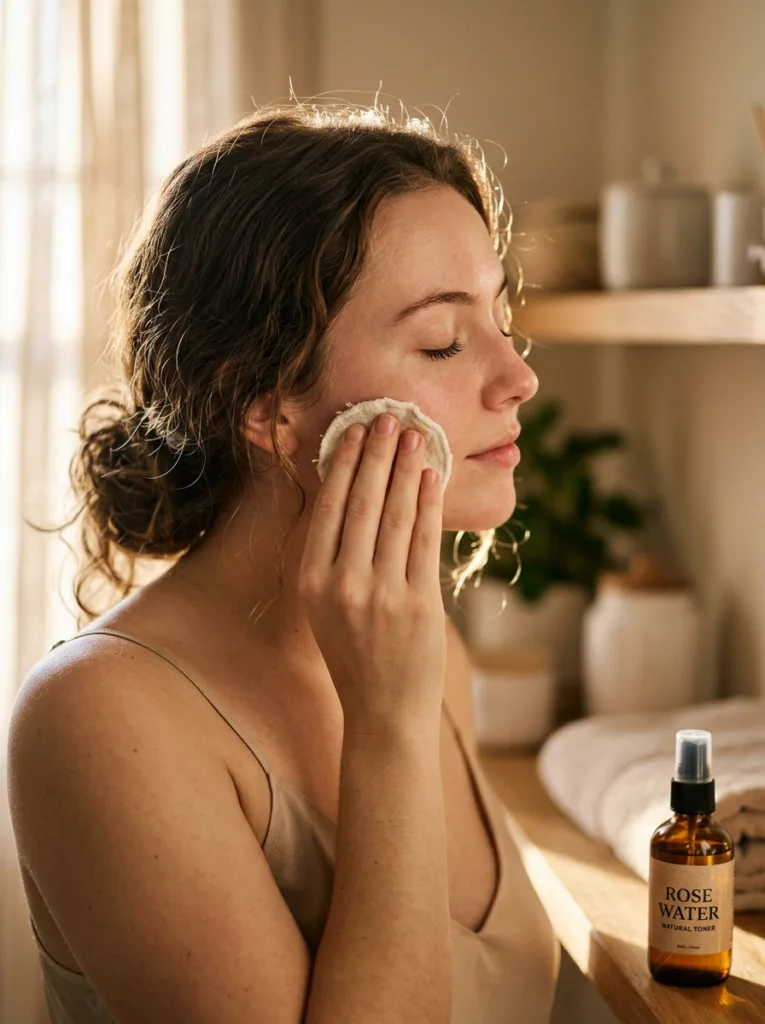
- A cotton pad swiped with rose water or witch hazel rebalances your skin’s pH after cleansing.
- Think of this step as prep work. It helps skin absorb the next product better.
- Pat it in with your fingertips instead of rubbing. Patting helps the liquid sink in rather than evaporate off the surface.
- Skip alcohol-based toners. They dry out skin further and cancel out the calming benefit the natural ingredient is meant to provide.
Step 4: Moisturize With Plant Oils

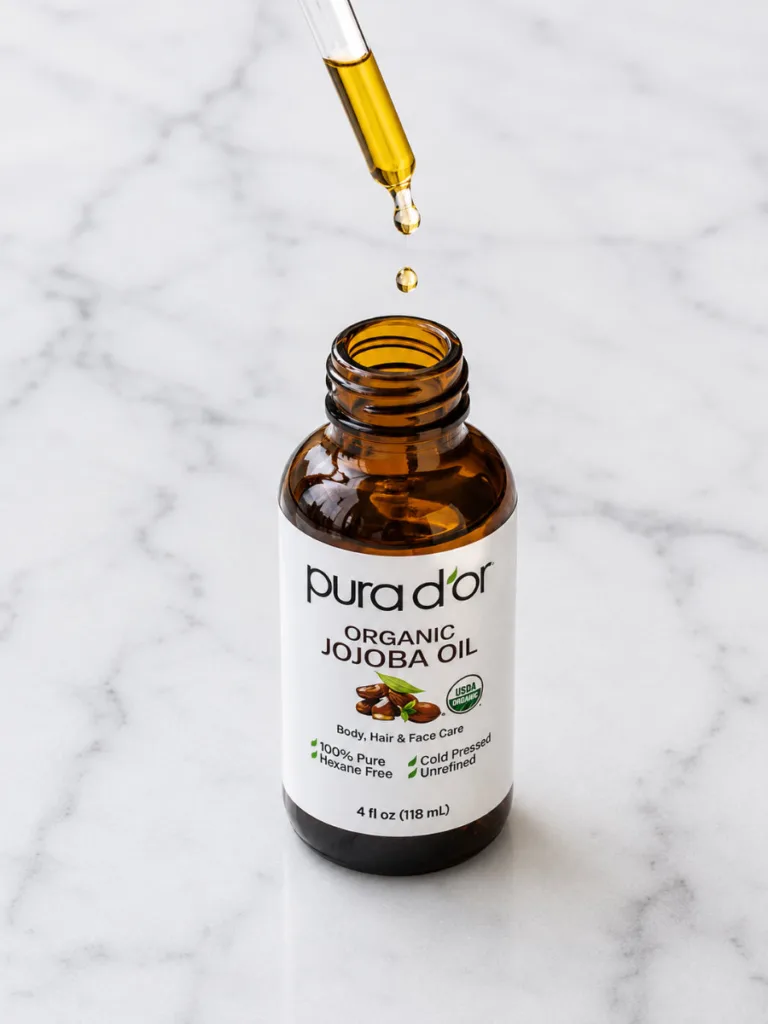
- Jojoba oil mimics your skin’s natural sebum, so it absorbs fast without feeling greasy, even under makeup.
- Two or three drops is enough for your whole face.
- Warm the oil between your palms before applying. That small step speeds up absorption.
- Apply it within 60 seconds of toning while skin is still damp. It traps in more moisture than applying it to dry skin.
Step 5: Apply Mineral Sunscreen

- Zinc oxide sunscreens sit on top of skin instead of absorbing into it. That makes them a common pick for sensitive skin.
- Use roughly a quarter-teaspoon for your face alone. Most people apply far too little to get the labeled SPF protection.
- Reapply every two hours if you’re outdoors for long stretches.
- Choose SPF 30 or higher for daily wear. Move up to SPF 50 during extended outdoor time, like a beach day.
How To Build A Natural Night Routine
Nighttime is when your skin repairs itself. These four steps support that process instead of fighting it. They also take less time than most people expect.
Step 6: Double Cleanse

- Start with an oil-based cleanser to dissolve sunscreen and makeup. Follow with your regular cleanser.
- This two-step method catches residue a single wash usually misses.
- Massage the oil cleanser for a full 60 seconds before rinsing. Rushing this step leaves traces of product behind the ears and along the hairline.
- Skip this step only on days with no makeup or sunscreen. Otherwise, a single cleanse leaves a thin film that can clog pores overnight.
Step 7: Apply An Antioxidant Serum

- Look for a vitamin C serum from natural sources like rosehip oil.
- This step helps protect skin from daily environmental stress and supports a more even tone over time.
- Apply two to three drops right after toning while skin is still slightly damp. The serum absorbs instead of sitting on top.
- Pair it with vitamin E when possible. The two ingredients stabilize each other and extend antioxidant protection through the night.
Step 8: Use A Natural Eye Cream

- The skin around your eyes is thinner than the rest of your face. Pick a lighter formula with shea butter or cucumber extract.
- This choice helps avoid puffiness the next morning.
- Tap it in gently with your ring finger, moving from the inner corner outward. Your ring finger applies the least pressure of the five.
- Apply it before heavier creams, not after. Thinner formulas absorb better when they reach skin first.
Step 9: Seal With Night Oil

- A few drops of squalane or argan oil lock moisture in while you sleep, without clogging pores.
- Warm the oil between your palms first. That extra step improves absorption.
- Press it into skin rather than rubbing it across the face.
- Skip this step if you already use a heavy night cream. Layering two occlusive products can trap sweat and cause small bumps.
Best Natural Ingredients For Every Skin Type
Not every one of these natural skin care ingredients works for every face. Matching the ingredient to your skin type is the difference between a glow and a breakout. Treat this section like a shopping list built for your specific concerns.
For Combination And Oily Skin
Step 10: Try Jojoba Oil

- It signals your skin to slow down oil production. Your skin reads it as sebum it already made.
- Use a few drops after cleansing instead of a heavier cream.
- Apply it to slightly damp skin so it spreads thinner and absorbs faster.
- It also carries natural vitamin E. That helps calm the low-grade inflammation that often accompanies excess oil production.
For Dry Skin
Step 11: Reach For Oatmeal
- A clinical trial found that colloidal oatmeal strengthens the skin barrier and relieves dryness within days of regular use.
- Add it to a bath soak or a mask twice a week.
- Use about one cup of ground oats per warm bath for a full-body dose.
- Skip instant oatmeal packets with added sugar or flavoring. Those extras can irritate rather than soothe already-dry skin.
For Sensitive Or Sunburned Skin
Step 12: Apply Aloe Vera

- Fresh aloe gel cools irritation and supports healing on minor burns and razor bumps alike.
- Keep a small bottle in the fridge for an extra cooling effect.
- Reapply two to three times a day until redness fades.
- Choose gel scraped straight from a fresh leaf over bottled versions with added alcohol. That alcohol can undo the cooling benefit.
For Acne-Prone Skin
Step 13: Spot-Treat With Diluted Tea Tree Oil
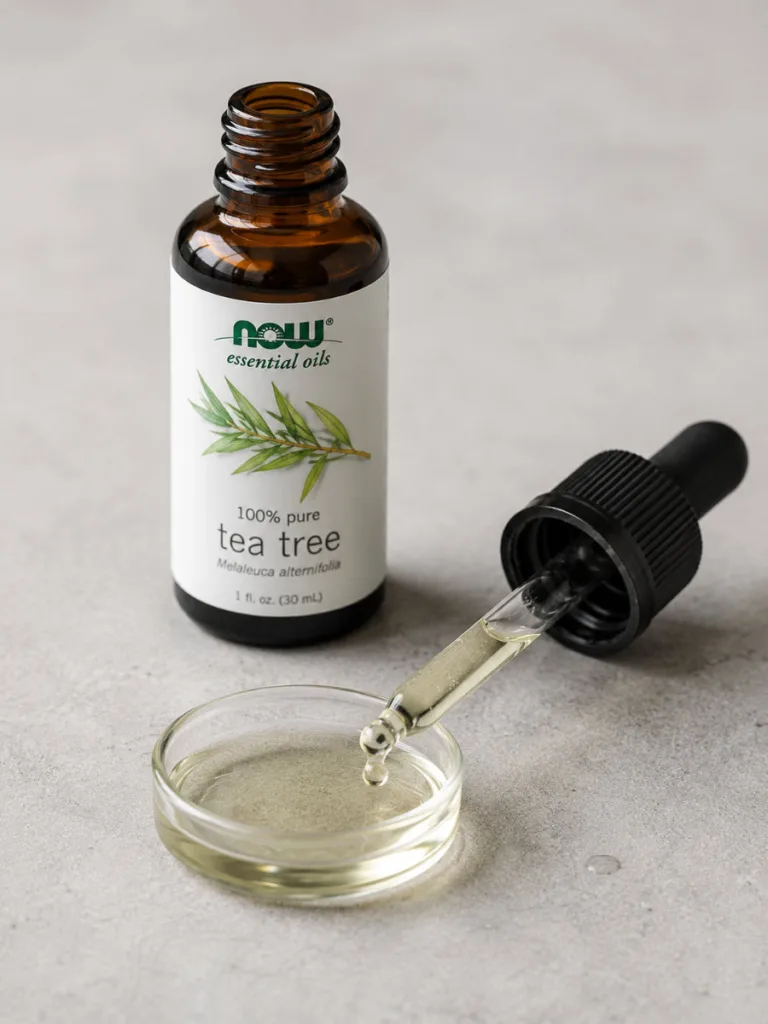
- Never apply it directly. Mix a few drops with a carrier oil to avoid irritation.
- Dab it on blemishes only, once daily at most.
- One drop of tea tree oil to one teaspoon of carrier oil is strong enough without burning skin.
- Stop use if you notice more redness within 24 hours. Some skin types react to tea tree oil even when properly diluted.
For Dull, Uneven Skin Tone
Step 14: Add Natural Vitamin C
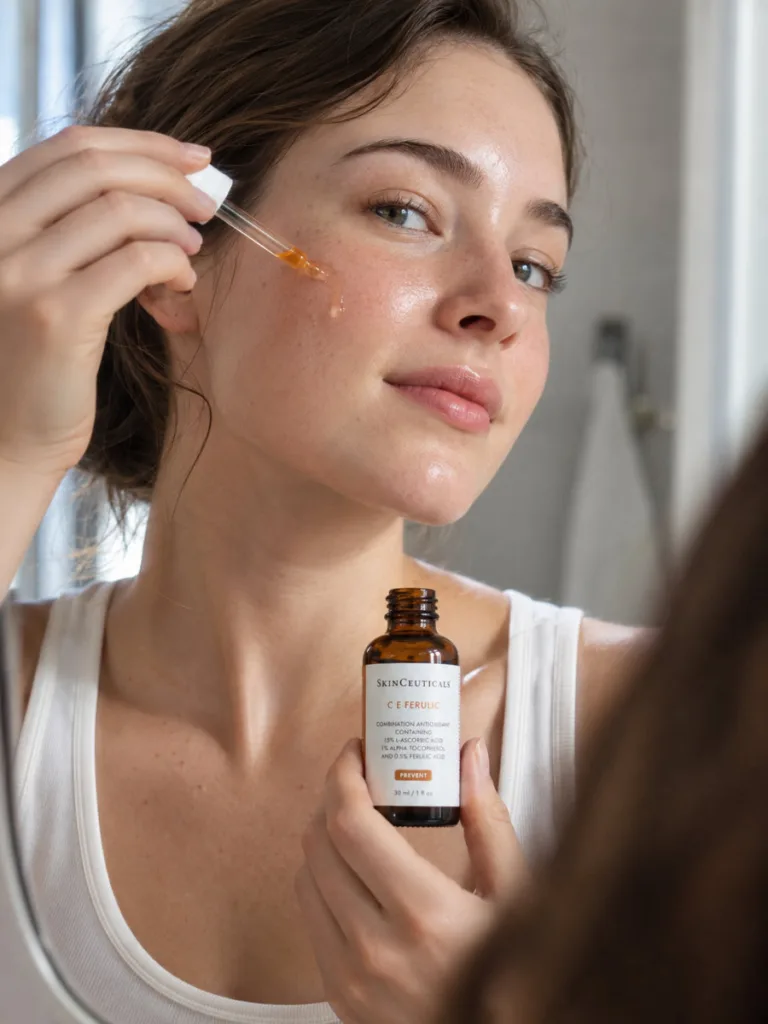
- Sources like camu camu and rosehip brighten tone gradually and protect against UV damage when paired with sunscreen.
- Give it six to eight weeks before judging results.
- Store the product in a dark bottle away from sunlight. Vitamin C breaks down fast once exposed to light and air.
- Introduce it gradually, starting three times a week. Daily use right away can cause mild irritation on reactive skin.
Easy DIY Natural Skin Care Recipes You Can Make Tonight
You don’t need a lab to make effective skin care. These four recipes, along with more organic face masks worth trying, use ingredients most people already have in their kitchen. Each one takes under five minutes to mix.
Step 15: Honey And Oatmeal Mask

- Mix two tablespoons of ground oatmeal with one tablespoon of raw honey. Apply for 15 minutes, then rinse.
- This combo calms redness and softens rough patches. It also works well as a weekly treatment before a big event.
- Use raw or manuka honey instead of the processed kind. Heat treatment strips out the enzymes that give honey its calming effect.
- Skip this mask if you have a pollen allergy. Raw honey can trigger a reaction in rare cases.
Step 16: Green Tea Toner
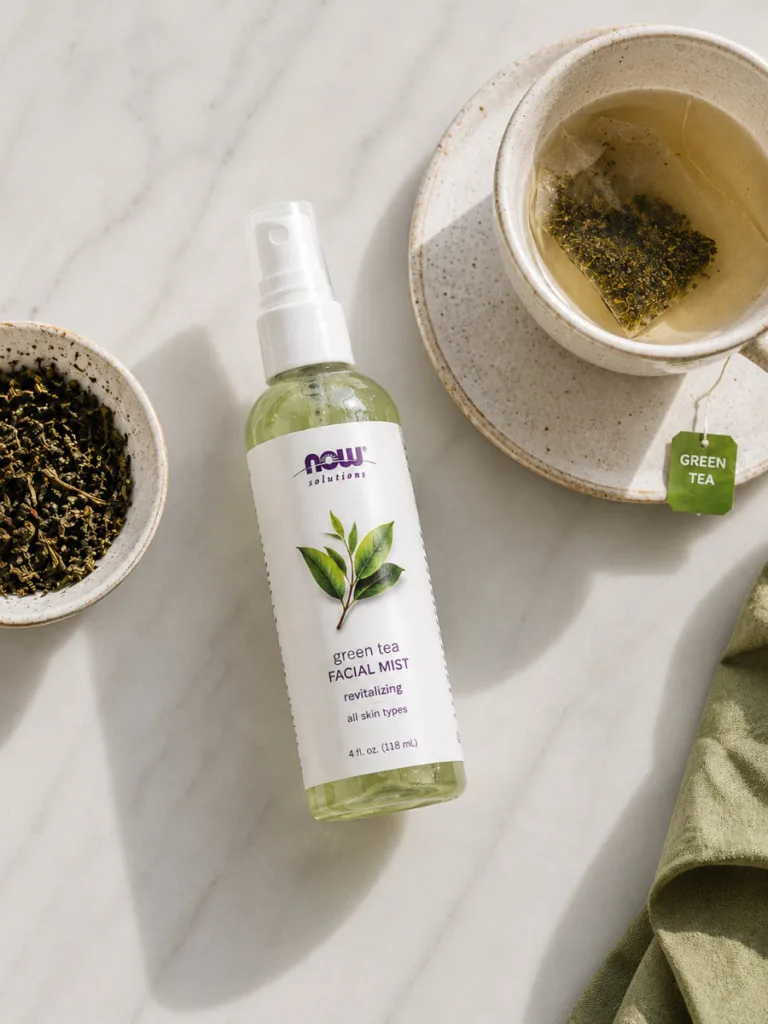
- Brew a cup of green tea, let it cool, and store it in a spray bottle.
- Mist it on clean skin for a dose of polyphenols that fight free radical damage.
- Steep the tea for a full five minutes to pull out the most antioxidants. Use it within one week, since homemade toner has no preservatives.
- Choose loose-leaf or plain bagged green tea over flavored blends. Added oils and fragrance can weaken the antioxidant content.
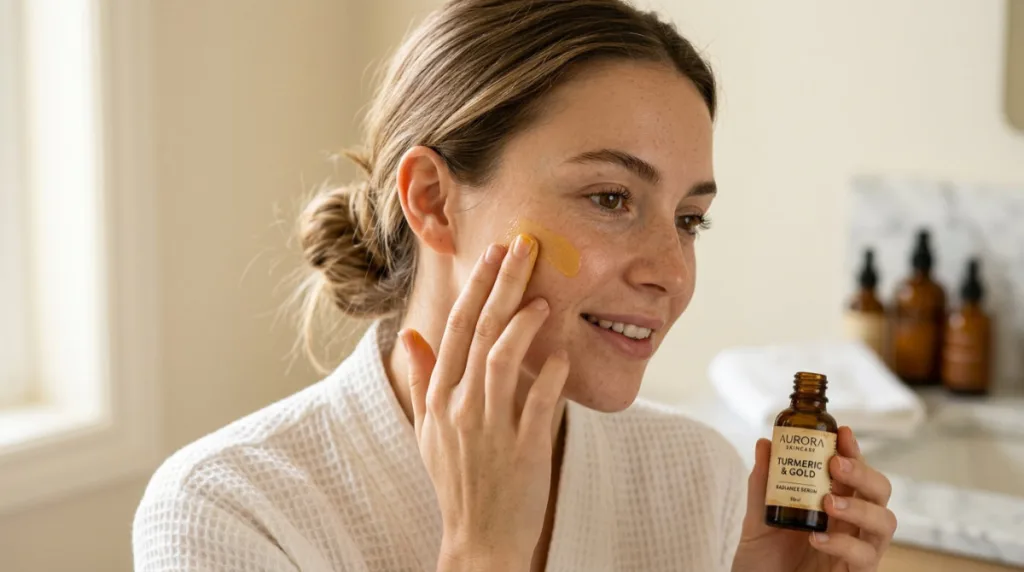
Step 17: Turmeric Brightening Mask

- Combine one teaspoon of turmeric with plain yogurt until it forms a paste.
- Leave it on for 10 minutes only. Turmeric can stain skin if left too long.
- Trace your hairline and jaw with a bit of petroleum jelly first. That thin barrier stops the yellow tint from settling into fine hairs and skin folds. Rinse with lukewarm water and pat dry; never rub.
- Patch test this mask first. Turmeric can trigger irritation on skin that reacts easily to spices.
Step 18: Coconut Oil And Sugar Scrub
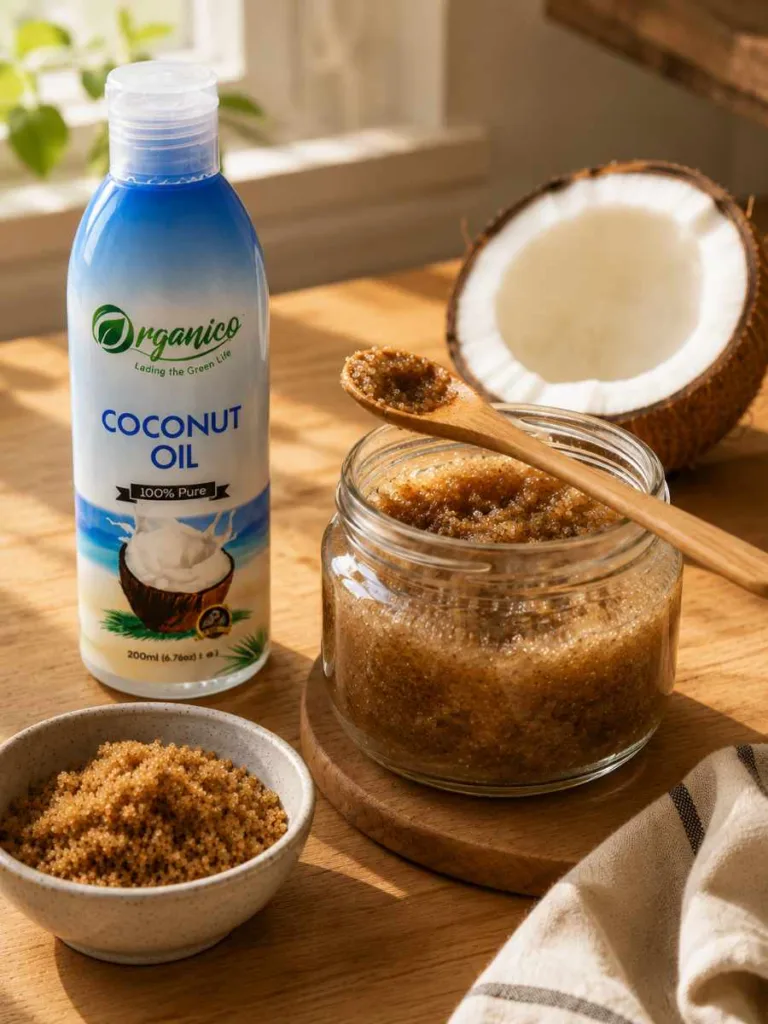
- Mix equal parts coconut oil and brown sugar for a gentle body scrub that smooths rough elbows and knees.
- A half cup of each makes enough for one full-body treatment.
- Use it in the shower once weekly. Store any leftover scrub in a sealed jar for up to two weeks.
- Skip this scrub on freshly shaved skin. The sugar granules can sting broken or freshly irritated areas.
Natural Ingredients To Avoid
Not everything labeled “natural” belongs on your face. Some kitchen ingredients go viral online. They still damage your skin barrier over time, no matter how many people swear by them.
- Lemon juice: Its acidity can burn skin and cause sun sensitivity, especially on skin that already leans dry or reactive.
- Baking soda: Disrupts your skin’s natural pH balance. Can leave it more prone to breakouts.
- Undiluted essential oils: Can trigger allergic reactions even in small amounts, particularly around the eyes and mouth.
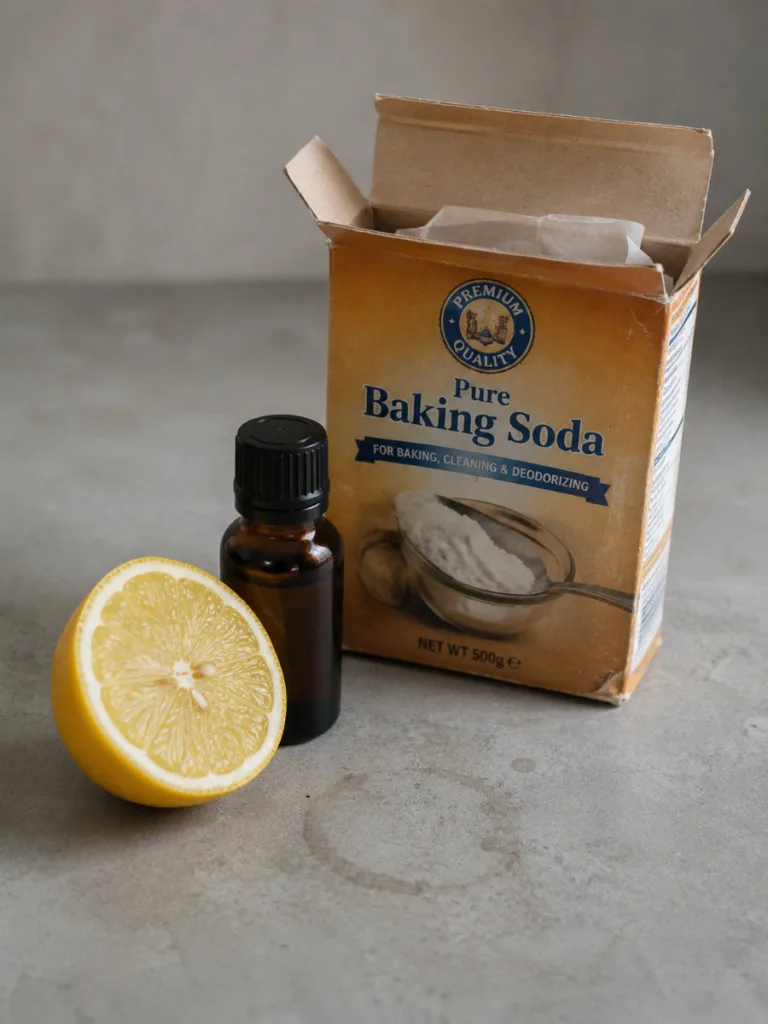
One habit beats all of this: patch test a new ingredient on your inner arm for 24 hours before it touches your face. It prevents most reactions before they start, and it takes far less effort than treating a flare-up afterward.
Choosing Natural Skin Care Products By Budget
Don’t assume “natural” always means expensive. You can build a solid routine at almost any price point. Each tier gets you something different:
| Budget Tier | What You’ll Typically Get |
| Budget-friendly | Plant-based formulas that are vegan, sulfate-free, and paraben-free without a luxury price tag |
| Mid-range | Certifications like non-GMO and cruelty-free verification, plus a wider product range |
| Higher-end | Wildcrafted ingredients and small-batch formulation, useful for targeted concerns like hyperpigmentation |
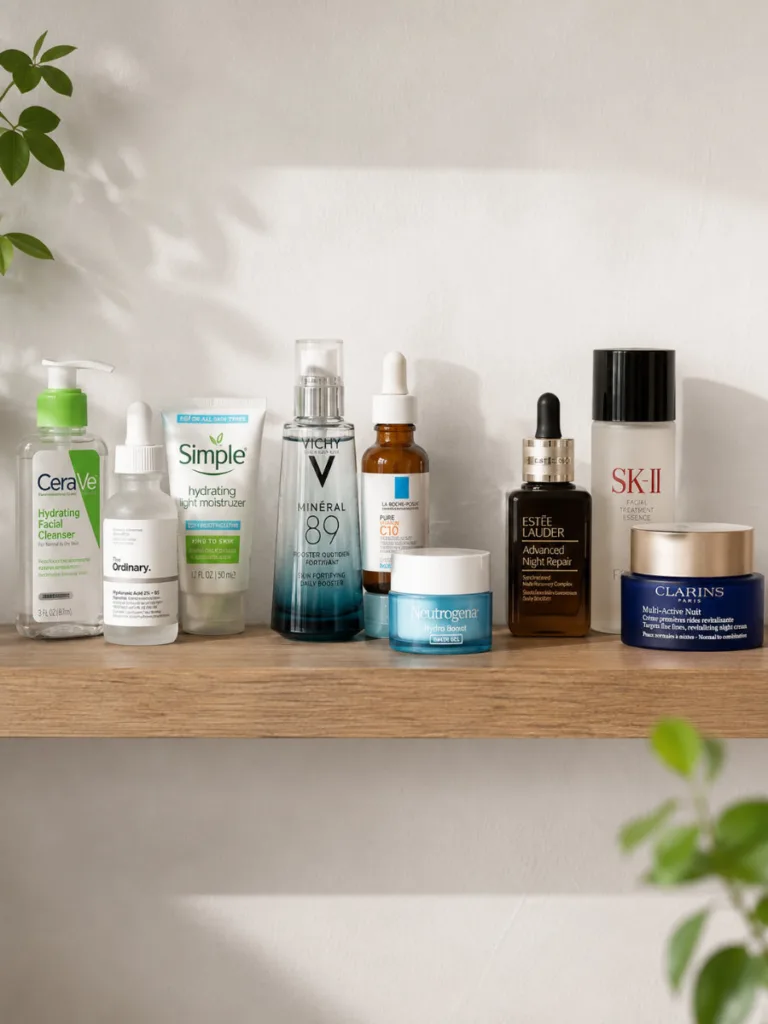
Whatever your budget, check for a short ingredient list. A cleaner formula usually means fewer fillers, not a bigger price tag. More than 20 ingredients on a label? That’s often a sign the “natural” claim is doing more marketing than describing the product.
Frequently Asked Questions
1. Is natural skin care better for your skin?
It can reduce exposure to synthetic fragrances and harsh preservatives, but “natural” doesn’t guarantee safety. Always check ingredients, not just labels.
2. How long does it take to see results from natural skin care?
Most people notice softer, calmer skin within two to four weeks of consistent use. Natural ingredients tend to work gradually.
3. Can I mix DIY recipes with store-bought natural products?
Yes. Use DIY masks once or twice weekly. Pair them with your daily cleanser, moisturizer, and sunscreen routine for the best results.
4. Does natural skin care work for acne?
Ingredients like diluted tea tree oil and aloe vera can help mild acne. See a dermatologist for cystic or severe acne.
5. What’s the difference between organic and natural skin care?
“Organic” refers to how ingredients are grown, while “natural” means minimally processed. Only organic claims can carry official certification.
Conclusion
Real natural skin care comes down to consistency, not a shelf full of products. You don’t need all 18 steps at once. Start with one swap tonight: a sulfate-free cleanser, a honey oatmeal mask, or a mineral sunscreen you already own. Then add one more step each week. Keep going until your full routine runs on plant oils, botanical extracts, and pantry staples instead of synthetic fillers. Most people notice softer, calmer skin within two to four weeks, so give the process that long before judging results. Pick one step from this guide and try it tonight.
For more skincare tips, please visit VelvetBoard.