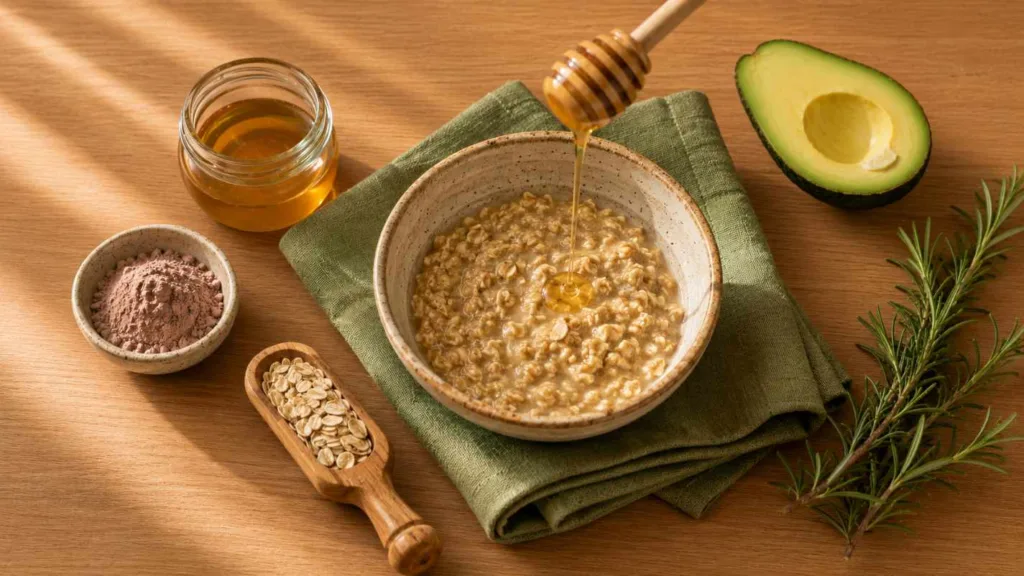
15 Korean Beauty Secrets for Glass Skin (Steal These)

Ever wonder why your skin still looks dull after buying every glow serum on your Pinterest board? You are not alone. Most people chase glass skin with more products, when the real problem is order, not ingredients.
Korean beauty secrets for glass skin are not about a ten-step shelf of serums. They are about doing a handful of steps in the right order, with real patience behind them. Skip the guesswork, and skin starts to look smoother within weeks, not months.
This guide breaks down 15 tested habits that build smooth, hydrated, light-reflecting skin, plus the mistakes that quietly ruin the glow. Save it, follow the steps in order, and give your skin the eight weeks it actually needs to show results.
What Is Korean Glass Skin (and Why It Works)
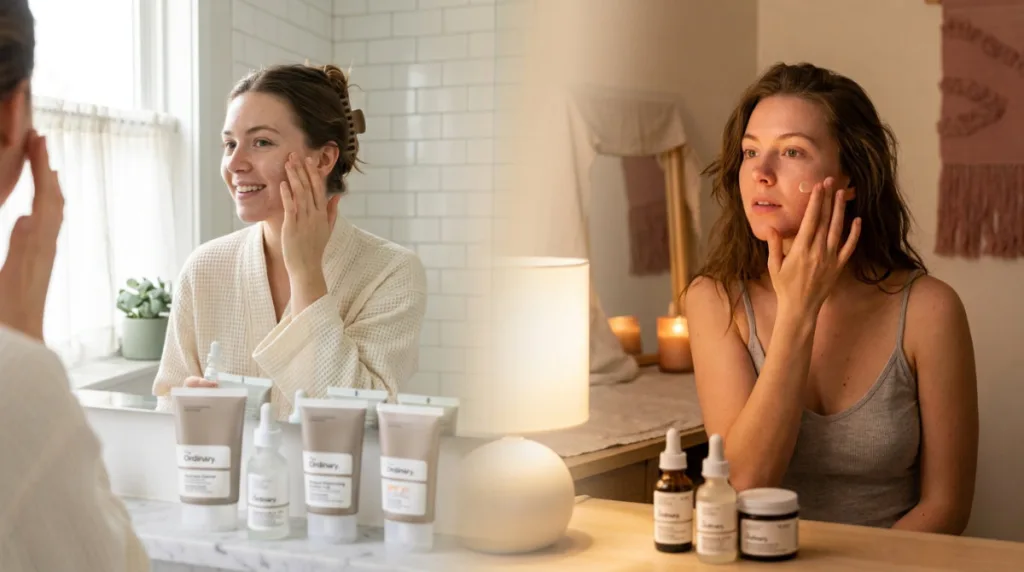
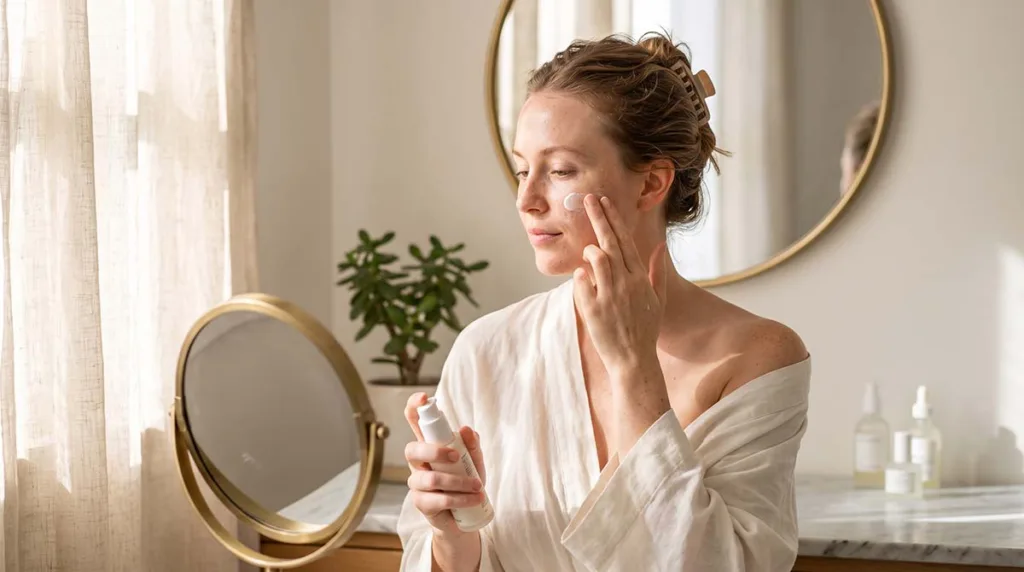
“Glass skin” describes skin that looks smooth, plump, and almost translucent, like it could reflect light off its surface. It is not about heavy makeup or filters. It is about a healthy skin barrier, deep hydration, and even texture.
What Glass Skin Actually Means
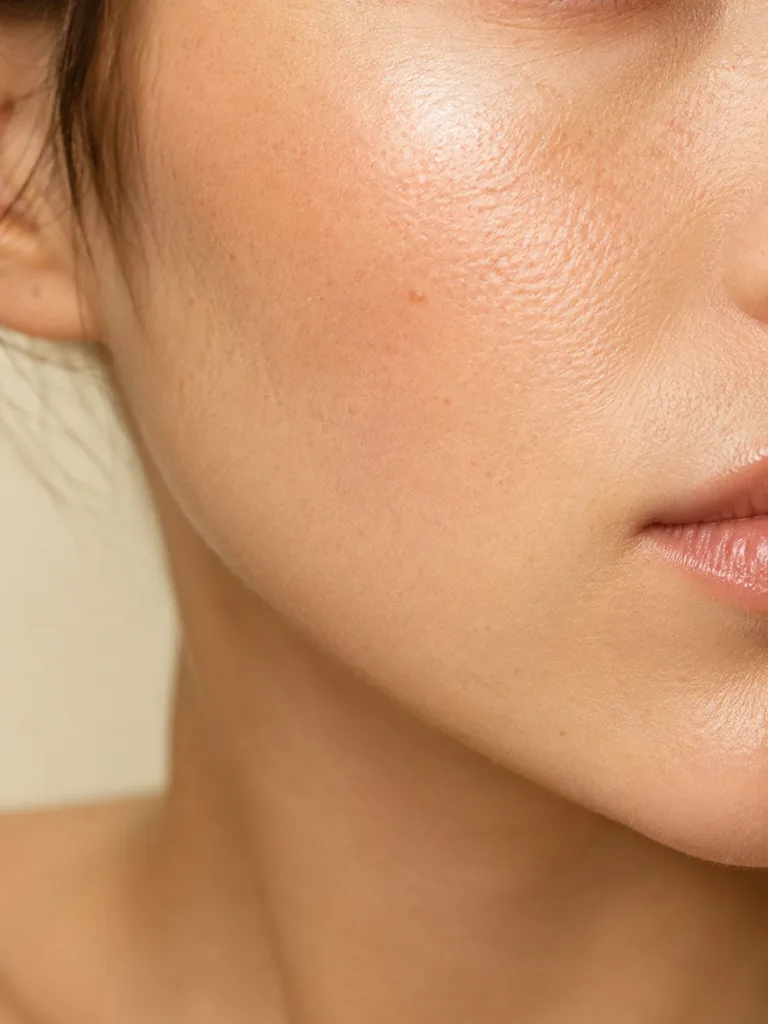
Think of glass skin as the opposite of matte, cakey coverage. It is bare skin that looks this good on its own, no filter needed. The texture stays smooth because pores are small and calm, not because they are hidden under powder. That happens when the outer skin layer is intact and well hydrated, which is exactly what this routine targets first.
Why the Korean Method Works
The Korean approach treats skincare as prevention, not correction. Instead of waiting for dullness or breakouts, the routine focuses on daily hydration, gentle cleansing, and consistent SPF. This is why Korean skincare routines often use six to ten lightweight products instead of one heavy cream. Each layer adds a small amount of moisture, and together they build the dewy look people call glass skin.
Build a Skin-Barrier-First Cleansing Routine
Clean skin absorbs product better. A rushed or harsh cleanse strips the skin barrier and blocks every step that follows, so this part of the routine deserves real attention.
Step 1: Double Cleanse Every Night
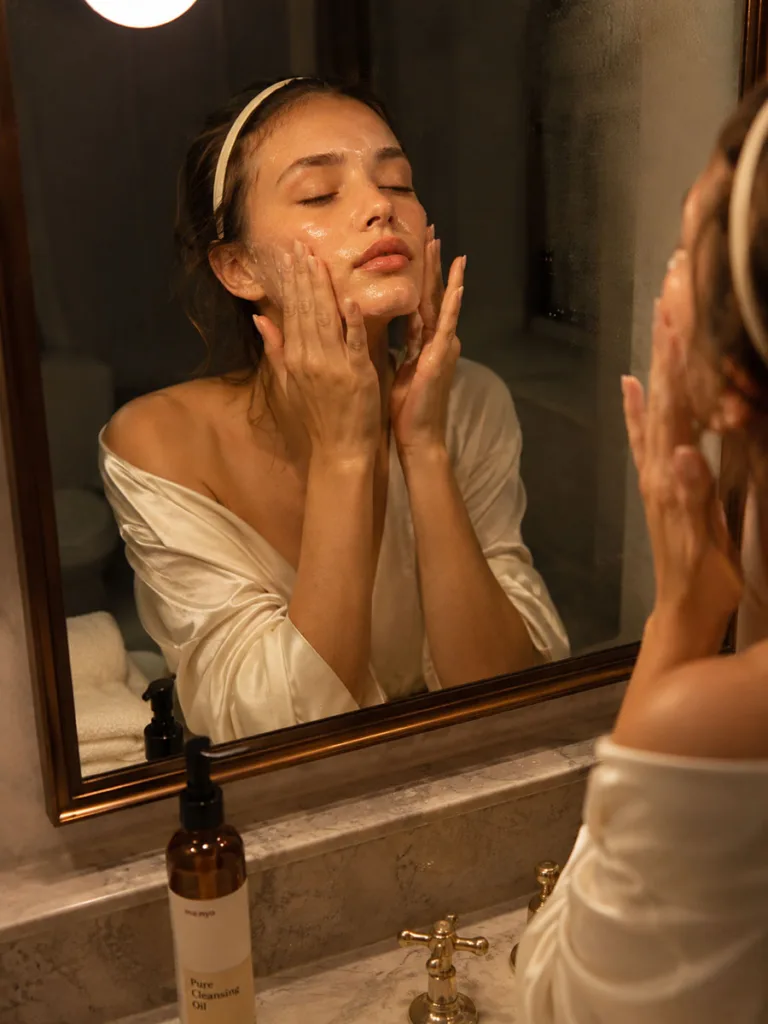
Start with an oil-based cleanser. It melts sunscreen, makeup, and the sebum your skin builds up over the day. Follow with a gentle water-based cleanser to clear away whatever the oil step left behind. Together, this two-step method is called double cleansing, and it is the true starting point of most Korean skincare routines. Skip it, and every serum you apply afterward has to work twice as hard for half the payoff, because it is fighting through leftover residue instead of sitting on truly clean skin.
Step 2: Steam Before Cleansing Twice a Week
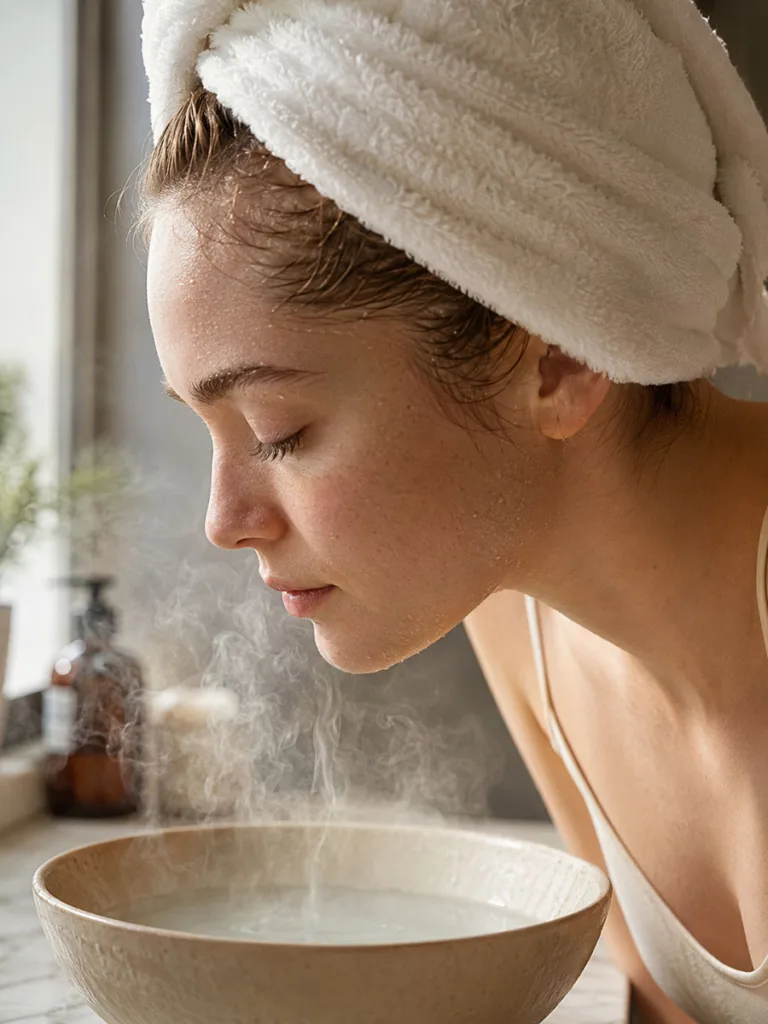
Warm steam from a shower or a bowl of hot water gently opens pores and softens the buildup sitting inside them. Hold your face over the steam for three to five minutes before you cleanse, keeping a safe distance so you do not burn your skin. This small step makes your cleanser work harder without any extra scrubbing on your part. It is especially helpful before a deeper cleanse or an exfoliation night, since warm, open pores release grime far more easily than cold, tight ones.
Step 3: Exfoliate with a Damp Cloth, Not Harsh Scrubs
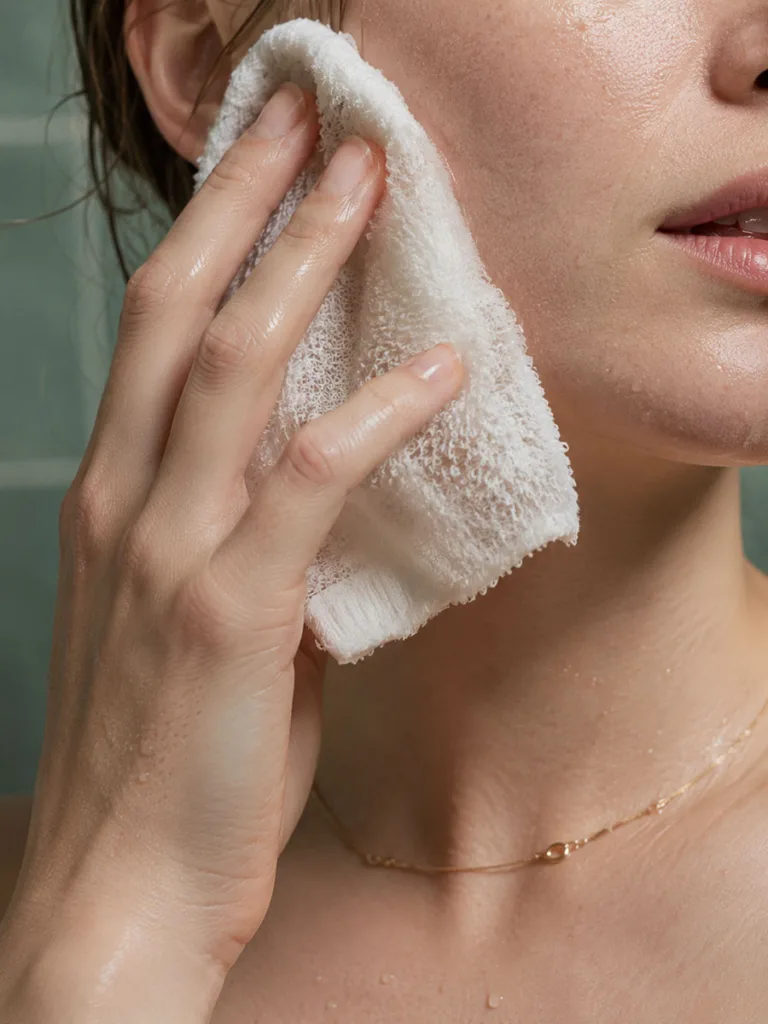
Skip the gritty scrubs sitting in your shower right now. Instead, wipe your face gently with a warm, damp cotton cloth after cleansing, using slow, upward strokes. This lifts away dead skin cells without causing the tiny tears in the skin barrier that harsh beads and rough sponges leave behind. Fewer tears means less inflammation, less redness, and a texture that stays smooth instead of irritated. Do this two to three times a week, never daily, since even gentle exfoliation needs recovery time.
Layer Hydration the Korean Way
Hydration is where glass skin actually happens. The goal is many light layers, not one thick cream that sits on top of dry, thirsty skin.
Step 4: Tone with an Alcohol-Free Formula
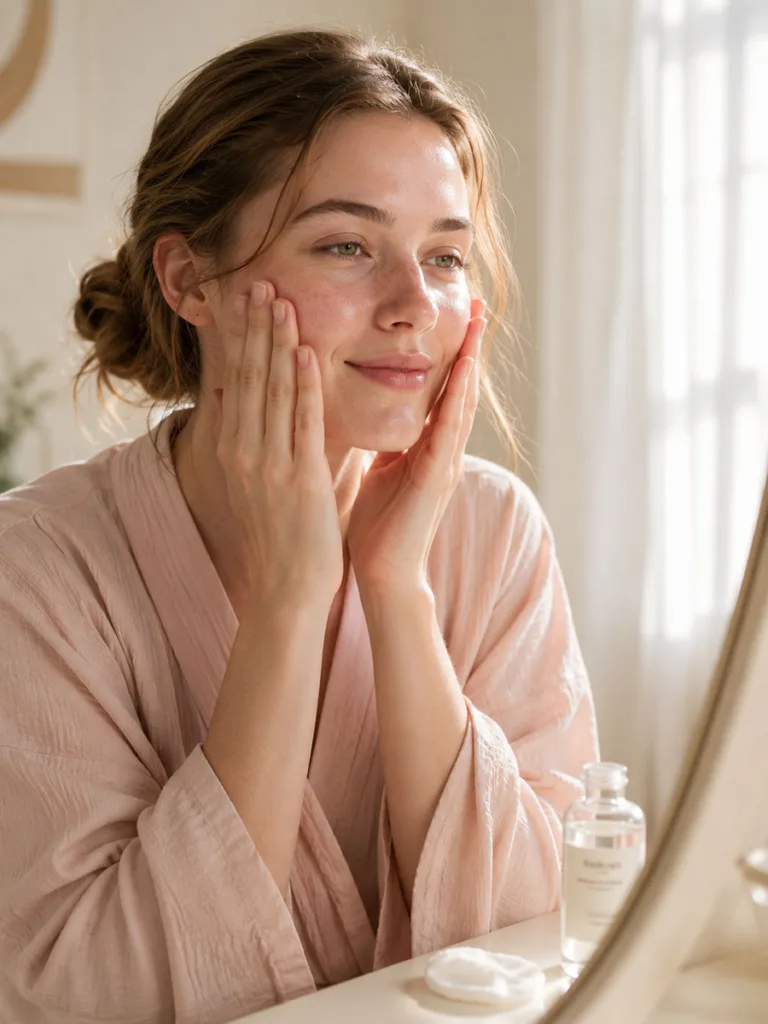
A hydrating toner preps your skin and rebalances its pH right after cleansing, which strips that natural balance no matter how gentle your cleanser is. Pat it in with clean palms instead of a cotton pad, since pads waste product and drag at the skin unnecessarily. Look for a formula built around glycerin, hyaluronic acid, or centella, and steer clear of anything that lists alcohol near the top of its ingredient list, because that will undo the hydration you just worked to restore.
Step 5: Add a Lightweight Essence
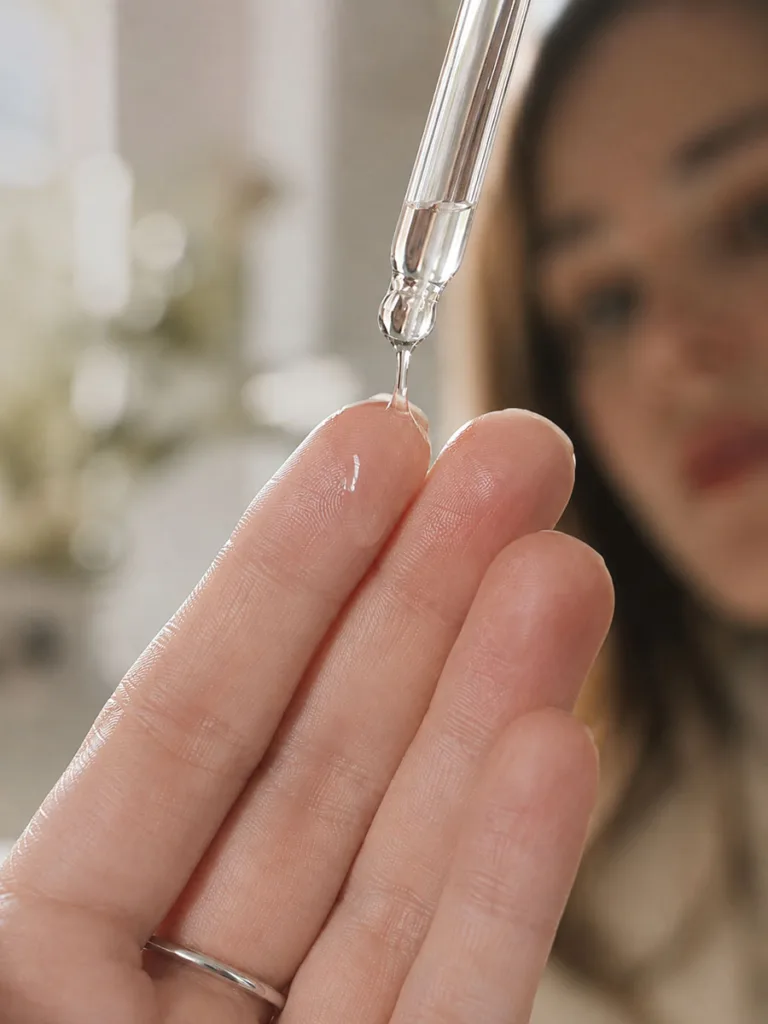
Essence sits between toner and serum, and it confuses a lot of first-time K-beauty shoppers. It is thinner than a serum but carries active ingredients like fermented extracts or hyaluronic acid that prep your skin to absorb everything applied after it. Think of it as a hydration primer rather than a treatment on its own. Pat two or three drops across damp skin right after toning, and give it thirty seconds to sink in before you move to your serum step.
Step 6: Try a Three-Layer Hydration Method
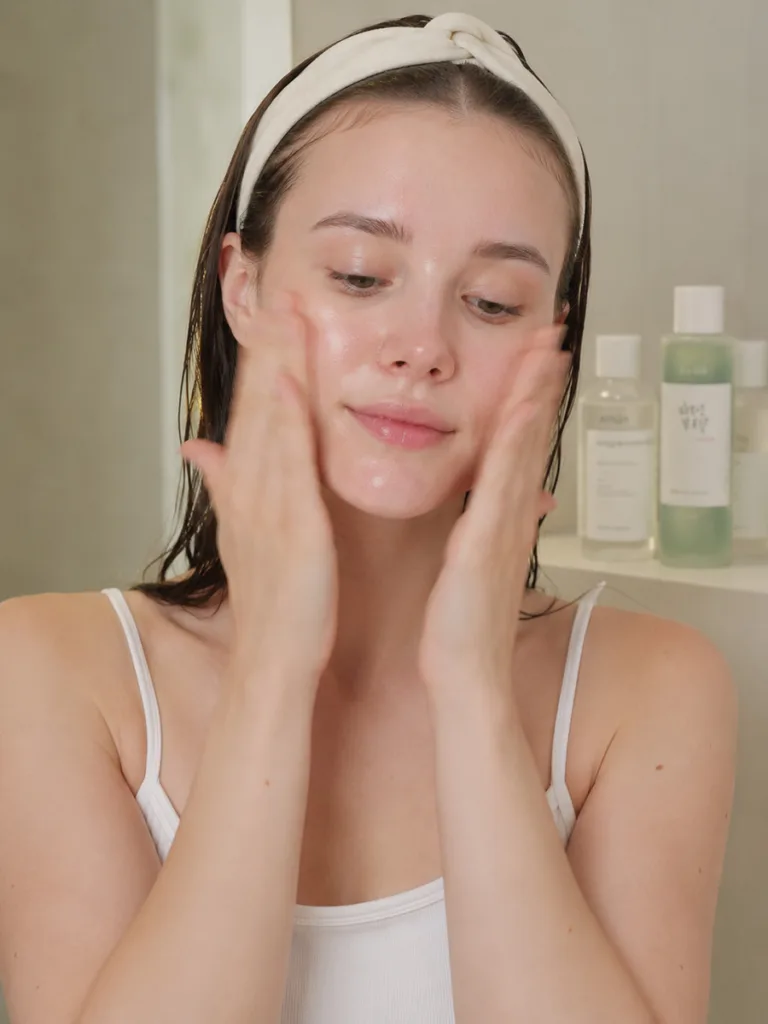
Instead of one thick layer of toner, apply three thin layers, patting each one in fully before adding the next. This is a simplified, budget-friendly version of the Korean seven-skin method, and it delivers deep hydration without wasting a full bottle of product in a week. Start with a small amount each round, since you are building hydration gradually rather than flooding the skin all at once. Skin that felt tight before this step usually feels noticeably plumper by the third layer.
Step 7: Use a Repair Serum for Your Main Concern
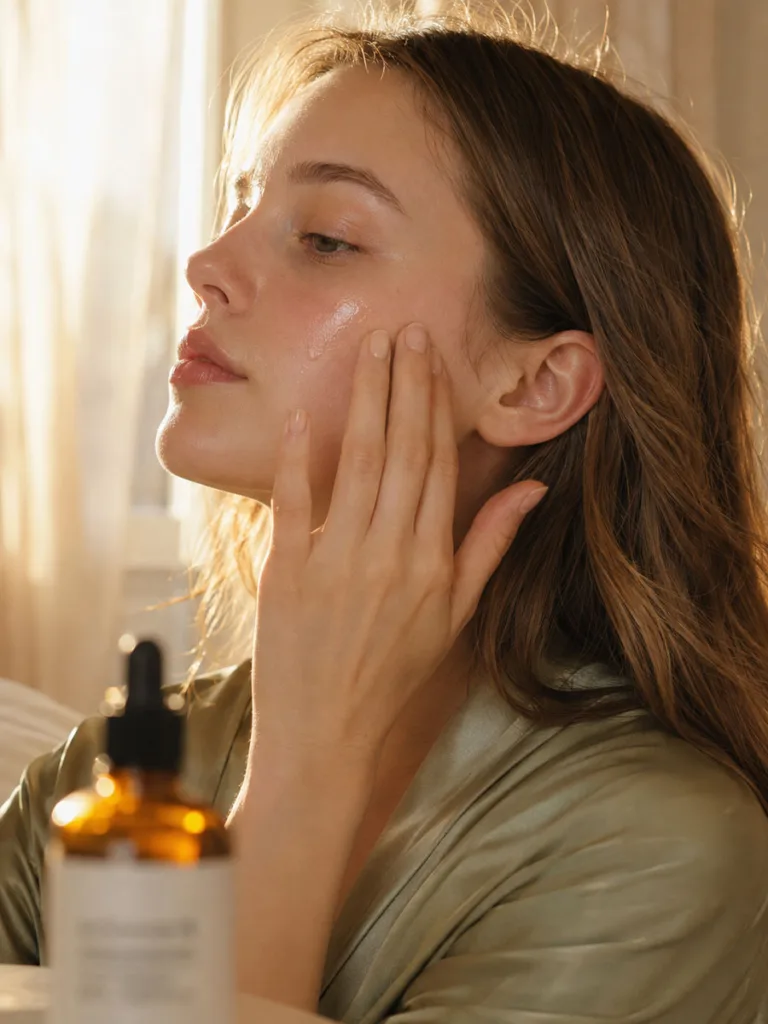
Choose a serum based on your actual skin need, not whatever trended online this month. Niacinamide works well for oil control and visibly smaller pores over time. Centella asiatica or snail mucin calms redness and helps repair a damaged barrier without heavy fragrance. Vitamin C brightens dull, uneven tones but needs a stable, well-formulated version to avoid irritation. Apply one active serum at a time until your skin proves it can handle more, rather than layering three actives at once.
Step 8: Apply Eye Cream with Your Ring Finger
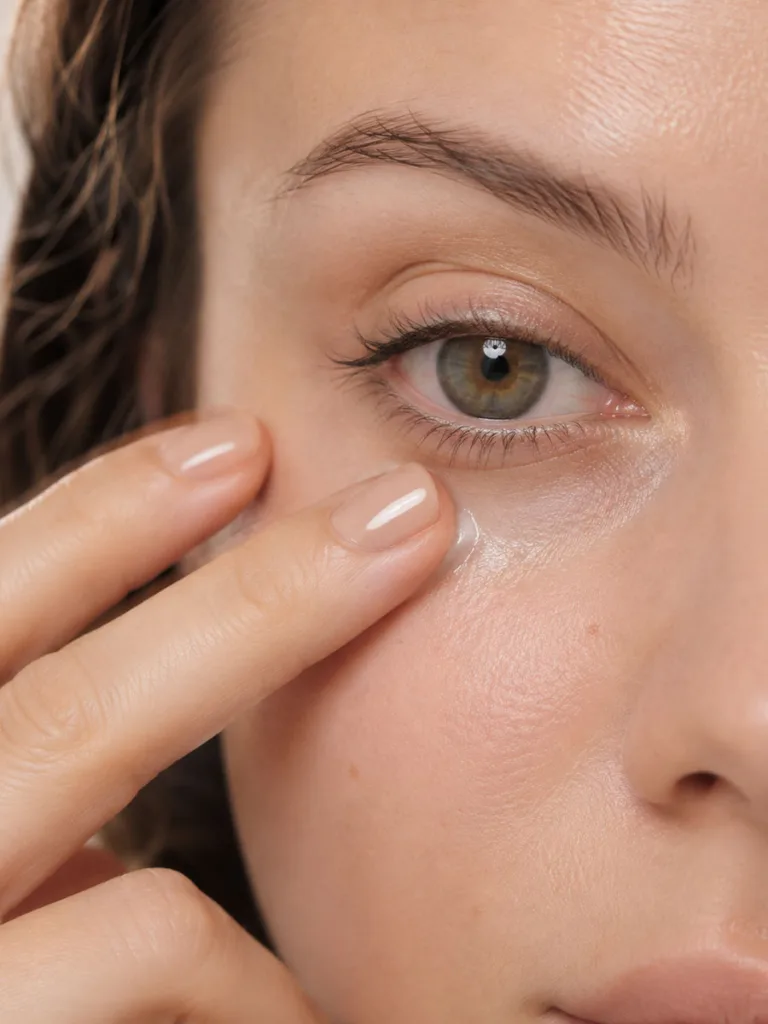
The skin around your eyes is thinner and more fragile than anywhere else on your face. Use your ring finger, the weakest one, to gently pat in eye cream instead of rubbing or dragging with a stronger finger. This small habit prevents unnecessary tugging that can contribute to premature fine lines over years of repeated motion. Warm the product between your fingertips first, then tap it along the orbital bone rather than directly on the delicate lid.
Daily Habits That Lock in the Glow
These final steps combine sealing, sun protection, and patience into one clear system anyone can follow, regardless of budget or skin type.
Step 9: Use a Sheet Mask Two to Three Times a Week
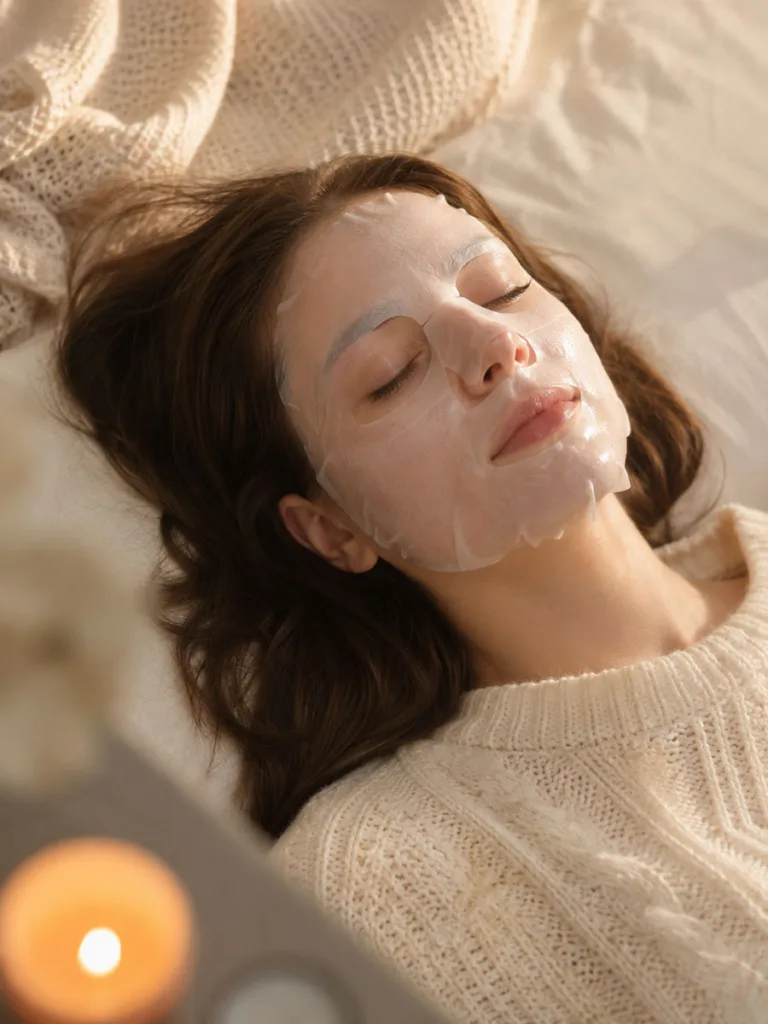
Sheet masks deliver a concentrated dose of serum directly to the skin in one sitting, which regular serums cannot match. The material locks moisture against your face so nothing evaporates before it fully absorbs. Choose hydrating masks when skin feels tight and calming masks when it feels irritated or flushed. Leave the mask on for fifteen to twenty minutes, then pat in the leftover essence instead of rinsing it away, since that extra product still has plenty of work left to do.
Step 10: Seal Everything with a Ceramide Moisturizer
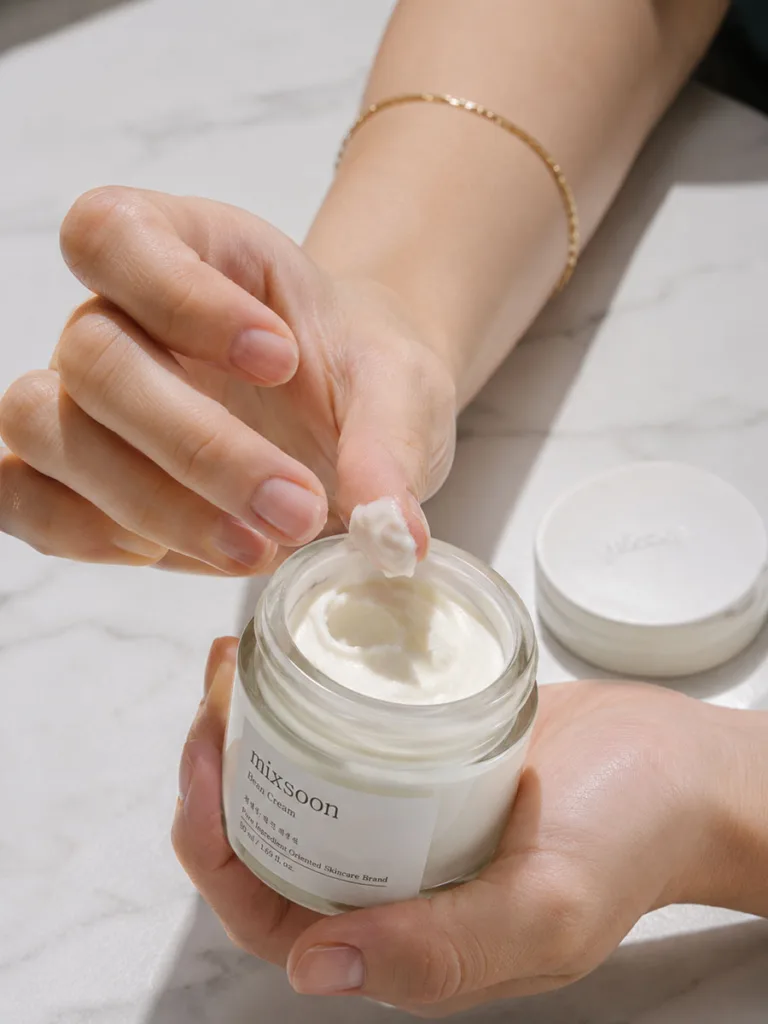
Ceramides rebuild the skin barrier from the outside and lock in every layer you applied before this final step. Oily skin types can reach for a gel-based moisturizer that still delivers ceramides without extra shine. Dry skin benefits more from a richer cream that holds moisture through the night. Either way, do not skip moisturizer on oily days. Skipping it often pushes oily skin to produce even more oil, since it is trying to compensate for the missing barrier support.
Step 11: Tap Products in Instead of Rubbing
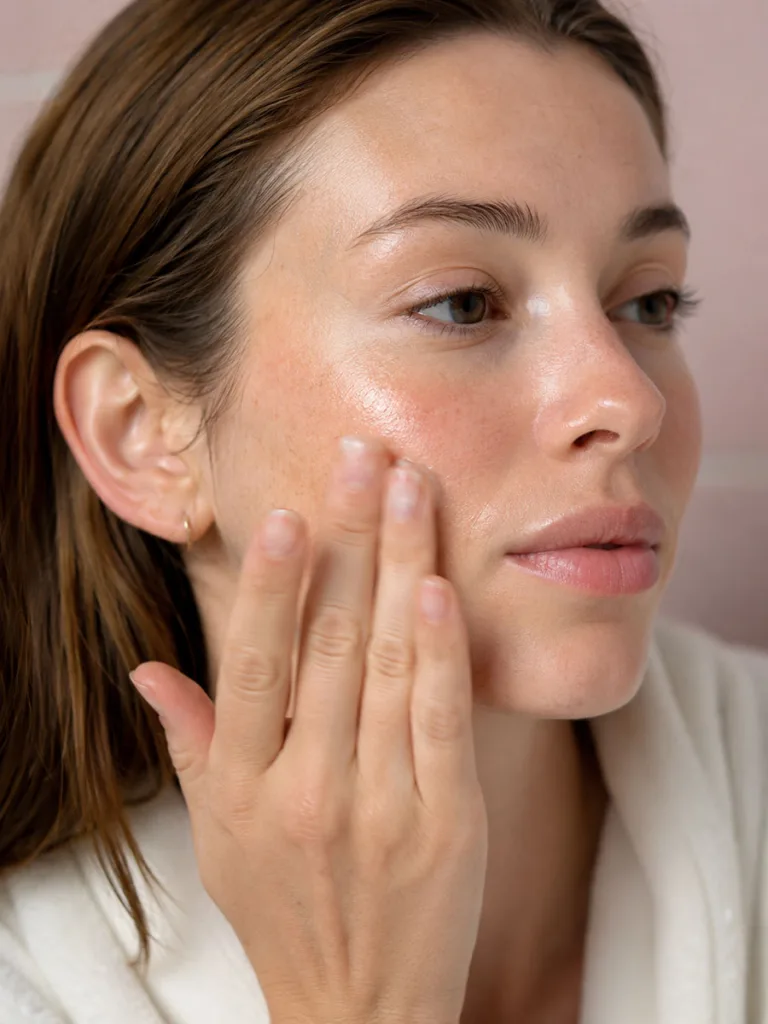
Rubbing drags at the skin and wastes a surprising amount of product on your palms instead of your face. Gently tapping with your fingertips improves circulation in the treated area and helps active ingredients absorb more fully than a quick rub ever could. This habit takes an extra thirty seconds per step. That small trade pays off in noticeably better product performance across a full routine. Try it for one week and compare how your skin feels by day seven.
Step 12: Sleep with a Humidifier Running

Dry indoor air, especially from heating or air conditioning, pulls moisture straight out of your skin while you sleep. A humidifier running near your bed keeps the surrounding air hydrated while your skin repairs itself overnight, when most of its natural renewal happens. This step matters even more in winter months or in climates with low humidity, where skin barrier damage from dry air is one of the most common, and most overlooked, causes of dullness.
Step 13: Wear SPF 50 Every Single Day
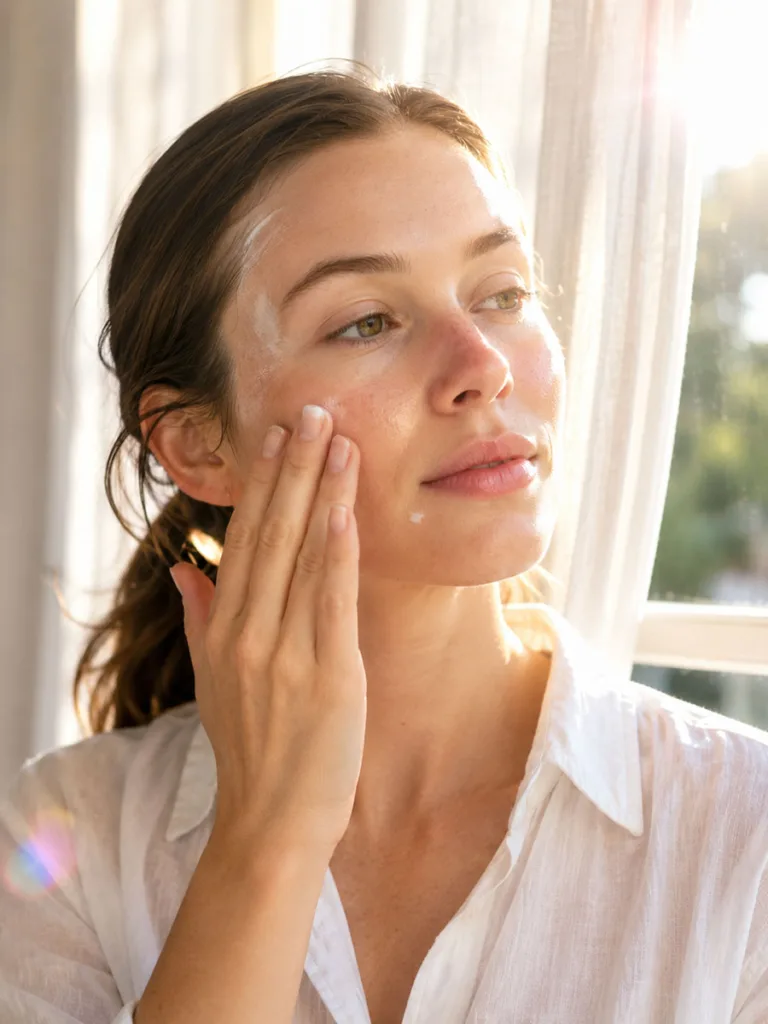
Up to 80 percent of visible skin aging comes from sun exposure, according to dermatology research, not from age alone. Skipping sunscreen undoes every other step in this routine, rain or shine, indoors or outdoors, because UV damage happens even through window glass and on cloudy days. Choose a broad-spectrum SPF 50 you actually enjoy wearing, since the best sunscreen is always the one you will reapply without being reminded, not the one sitting unused in a drawer.
Step 14: Protect Lips with an SPF Balm
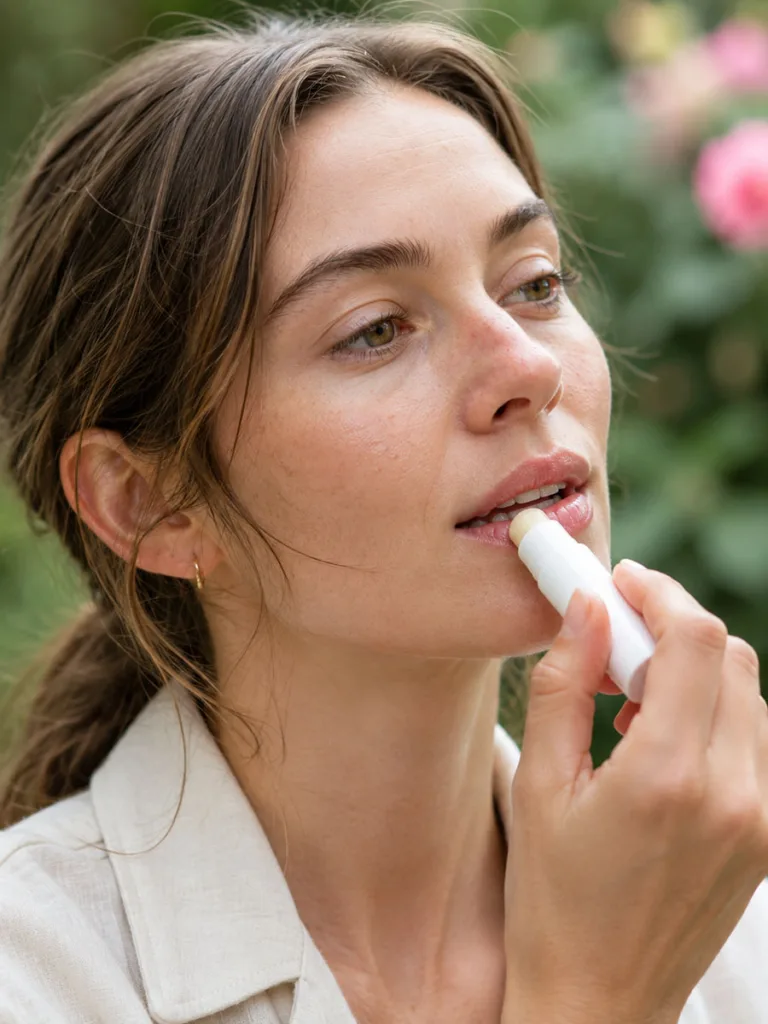
Lip skin is thinner than facial skin and burns more easily, yet most skincare routines ignore it. A balm with SPF built in prevents dryness, cracking, and the premature fine lines that tend to form around the mouth first. Apply it alongside your facial sunscreen each morning, and keep a second one in your bag for reapplication after eating, drinking, or a few hours in direct sun, since lip balm wears off far faster than face sunscreen does.
Step 15: Give New Products Six to Eight Weeks
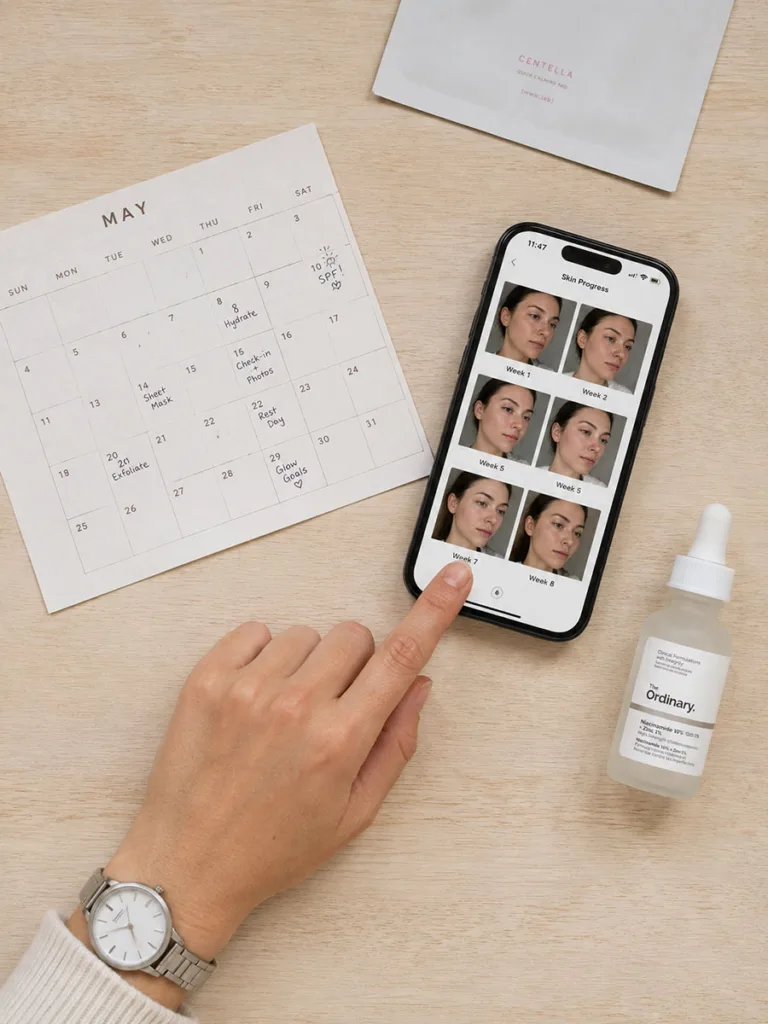
Skin cell turnover takes about a month for most adults, and sometimes longer as skin ages. Judging a new serum after three days will always disappoint you, because visible change simply has not had time to happen yet at the cellular level. Track results weekly with photos taken in the same light, instead of checking daily in a magnifying mirror, since daily checks make normal fluctuations look like failure. Give any new product the full eight weeks before deciding whether to keep it.
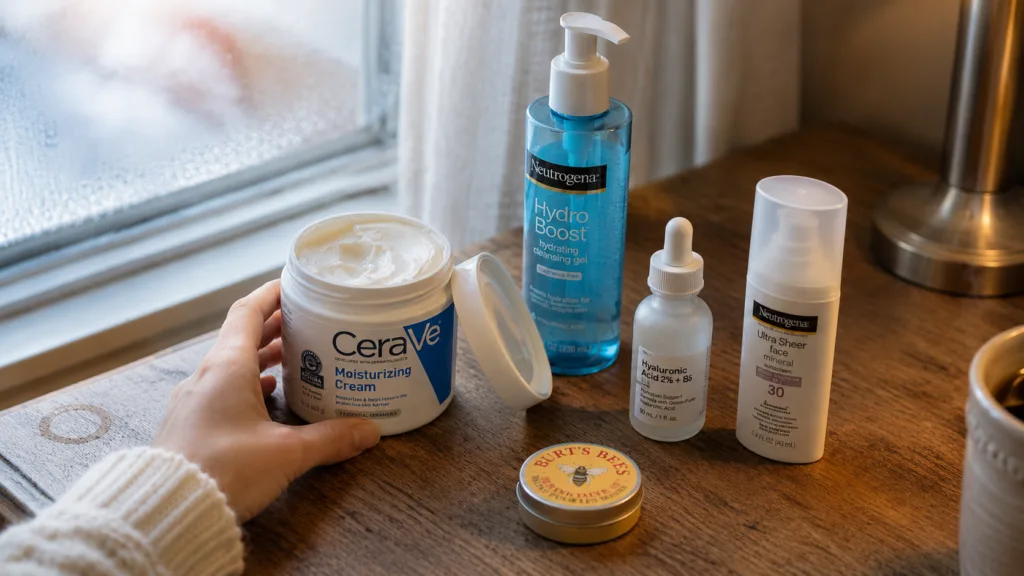
Budget Note: Every step above works with drugstore versions. A basic oil cleanser, cream cleanser, alcohol-free toner, niacinamide serum, ceramide cream, and mineral SPF 50 covers the entire routine for under $60.
Common Mistakes That Block Glass Skin
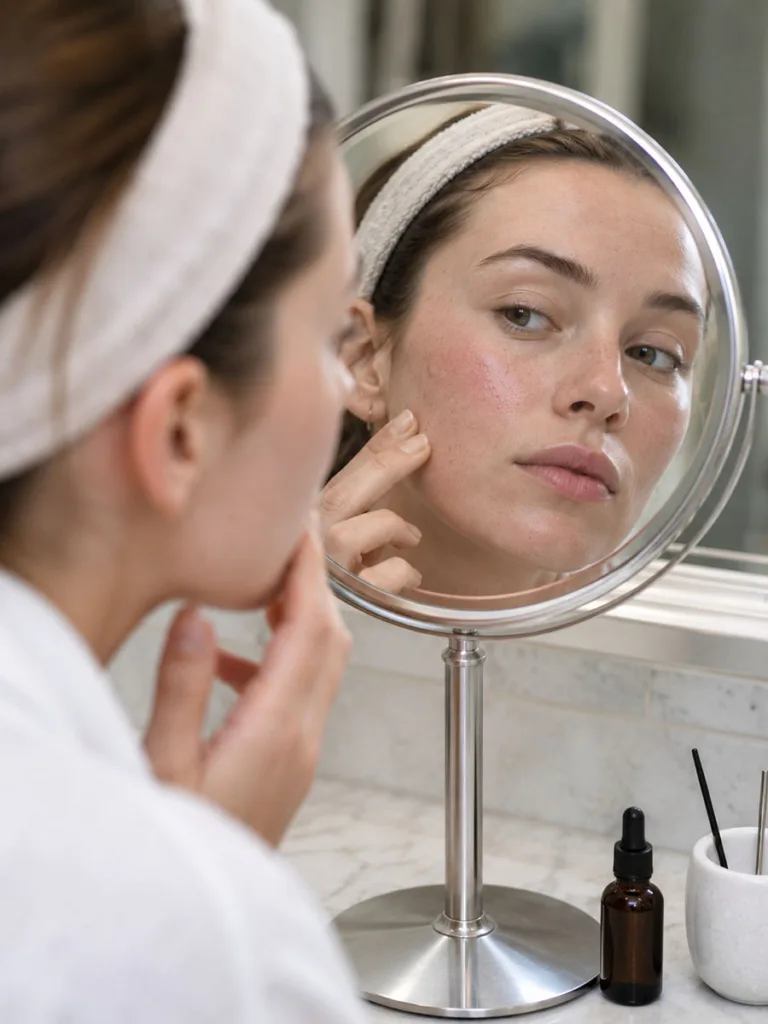
Even a good routine fails if a few habits sabotage it. Watch for these signs before blaming your products for a lack of results.
Tight Skin After Washing
If your face feels tight right after cleansing, that is not a sign of “extra clean” skin. It almost always means you are over-exfoliating, or your cleanser is too harsh for your actual skin type. Switch to a cream or gel cleanser and cut back exfoliation to twice a week before adding any new active ingredients.
Sudden Breakouts
New breakouts after starting a product usually mean it is too heavy or too active for your skin right now. This is common with rich creams on oily skin or strong actives introduced too quickly. Pause the newest product first, wait a week, and reintroduce it slowly if the breakouts clear.
No Glow After Several Weeks
If your skin still looks dull after weeks of effort, check your hydration layers before blaming genetics. Barrier damage almost always shows up as dullness before anything else, since a compromised barrier cannot hold moisture or reflect light evenly. Add back a ceramide moisturizer and simplify your routine for two weeks to let the barrier recover.
Diet and Lifestyle Habits That Support Glass Skin

Skincare products can only do so much on their own. What you eat and drink shapes skin from the inside out, and Korean beauty culture treats this as equally important as any serum.
Antioxidant-Rich Teas
Green tea and roasted barley tea are common daily drinks in Korean routines, both rich in antioxidants that fight the free radicals responsible for premature skin aging. A cup or two a day is an easy, low-effort habit to build alongside your topical routine, and it costs far less than most serums on the market.
Water Intake
Adequate water intake keeps skin cells plump from the inside, which directly affects how evenly light reflects off the surface. Dehydrated skin looks flat and tired no matter how many products you layer on top of it. Aim for consistent daily intake rather than one large glass, since steady hydration works better than catching up all at once.
Sleep and Skin Repair
Consistent sleep of seven to eight hours allows the skin’s natural repair cycle to finish overnight, which is when most visible healing actually happens. Cutting sleep short interrupts that cycle before it completes, which shows up the next morning as puffiness, dullness, or under-eye shadows no concealer fully hides. Treat sleep as a non-negotiable step in this routine, not an afterthought.
Frequently Asked Questions
1. What is Korean glass skin exactly?
Glass skin is skin that looks smooth, hydrated, and almost translucent, similar to glass. It comes from a healthy skin barrier, not from makeup or filters.
2. How long does it take to get glass skin?
Most people notice better texture within two weeks. A real, lasting glow from a full glass skin routine usually takes six to eight weeks of consistent care.
3. Do I need ten products to get glass skin?
No. A cleanser, toner, one active serum, moisturizer, and SPF cover the essentials. Extra steps like essence and sheet masks add polish but are optional.
4. Is glass skin possible with oily skin?
Yes. Choose lightweight, gel-based products and skip heavy oils. Niacinamide and gel moisturizers give oily skin the same hydration without extra shine.
5. Can I use Western skincare brands for this routine?
Absolutely. The steps matter more than the country of origin. Match each step’s purpose, whether the product is Korean, American, or European.
Conclusion
Glass skin comes from consistency, not from one miracle product. You already have what you need to start: a gentle cleanser, one active serum, a ceramide moisturizer, and daily SPF. Start tonight with a proper double cleanse, then apply a broad-spectrum SPF 50 tomorrow morning. Layer in the other steps one at a time over the next few weeks, instead of all at once. Watch for barrier signs, not miracles, during week one. Real change in texture shows up closer to week six or eight. Track your skin with weekly photos, and try this routine for eight weeks before deciding what stays.