Gua Sha Routine: Simple Steps That De-Puff Skin Safely
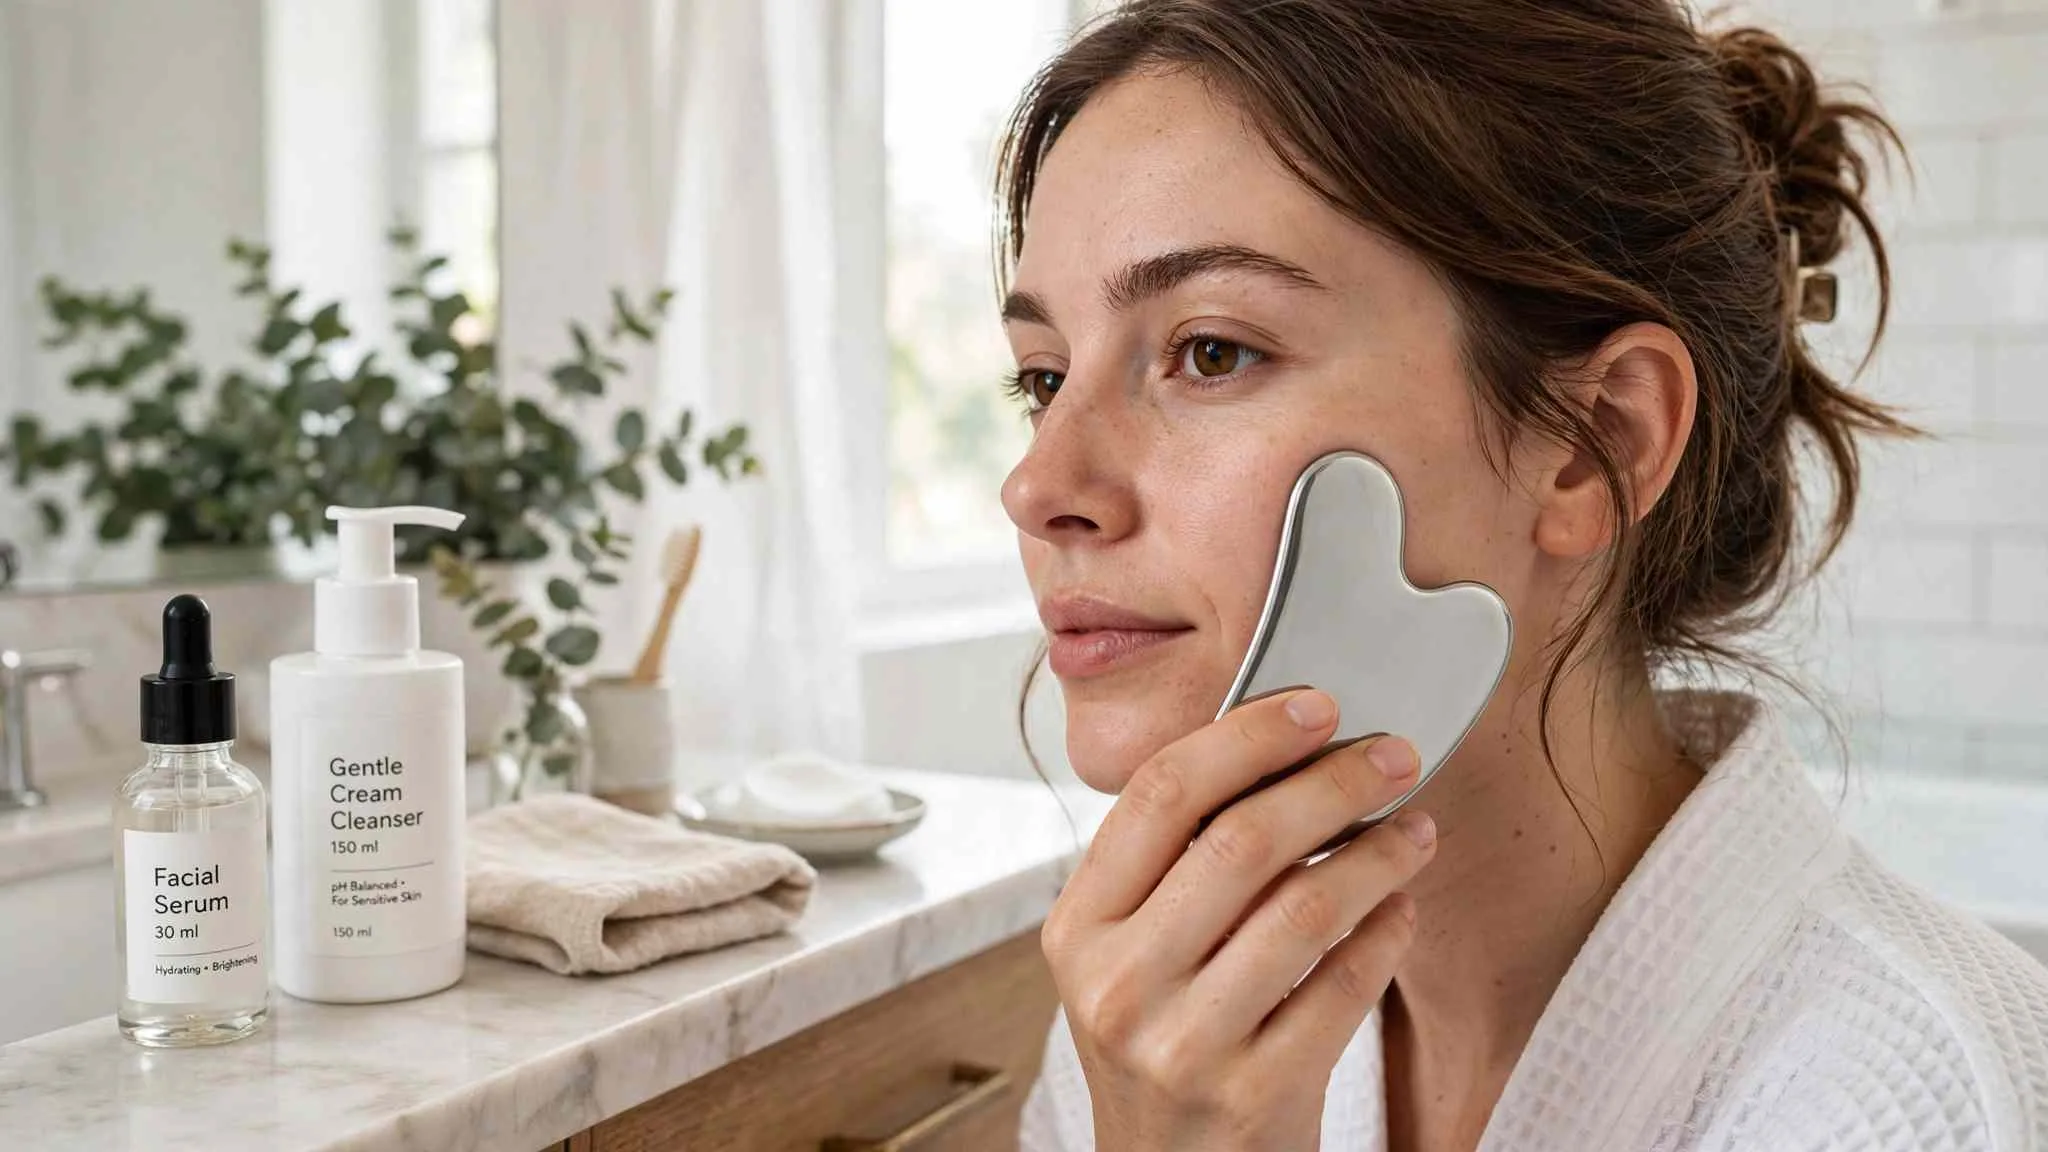
A gentle gua sha routine may temporarily reduce the appearance of morning puffiness and feel relaxing. Results vary, and facial research remains limited. Viral clips promise far more than that. This guide keeps the useful parts. It drops the claims no study supports.
Technique decides whether the ritual helps or harms. Hard scraping can bruise small vessels under skin. It can also leave dark marks on deeper tones. Light pressure, clean tools, and short sessions change the result. The steps below follow that safer pattern throughout.
Here is the direct answer. A sound gua sha routine starts with clean skin and a non-comedogenic serum for slip. Hold the tool at 15 to 30 degrees. Stroke outward and upward for 5 to 10 minutes. Start two to three times weekly.
What Gua Sha Can And Cannot Do
Honest limits make a gua sha routine worth keeping. Gentle massage may temporarily shift fluid and ease the feeling of tension. It cannot reshape bone, fat, or deep wrinkles. Knowing the split prevents wasted effort. It also prevents the hard pressure behind most harm.
What It Can Do For A Short Time
Some people notice temporary de-puffing or relaxation after gentle massage. A 2025 randomized trial assigned 34 women to facial rollers or gua sha for eight weeks and found modest contour changes. It did not establish permanent reshaping or prove that one session produces lasting results.
What It Cannot Do At All
No tool stroke melts fat under the chin. Gua sha for jawline claims stop at fluid shifts. Wrinkles from sun damage need other care entirely. Loose skin will not lift for good either. Any gua sha routine sold as permanent sculpting overstates the case. Treat before-and-after clips with care for that reason.
Why Gentle Pressure Matters Most
Hard strokes can break tiny vessels near the surface. Bruising and post-inflammatory hyperpigmentation can follow that trauma. Deeper tones face higher mark risk after irritation. Our skincare for dark skin guide covers that pigment response in depth. The Dermatology Times gua sha review flags the same pressure risks. Light hands keep the ritual on the safe side.
Pick A Tool And A Slip Product
Gear choices stay simple in this gua sha routine. One smooth tool and one slip product suffice. Shape and hygiene matter more than stone type. Price matters least of all here. Readers can start with tools already at home.
Tool Shape And Material Basics
Pick a tool with smooth rounded edges throughout. A notched edge fits the jaw curve well. A long edge suits cheeks and forehead strokes. Stainless steel cleans easiest and chills fast. Stone tools need gentle handling against drops. Stop using a cracked or chipped tool at once. Sharp edges can cut or drag skin.
Pick A Non-Comedogenic Slip
Dry dragging pulls skin and adds friction fast. A non-comedogenic serum gives glide without heavy grease. Choose a formula your skin already tolerates; non-comedogenic labels do not guarantee that a product will suit everyone. Our clogged pores guide explains that build-up pattern well. Spread slip over each zone before stroking it. Add more when the tool starts to drag.
Clean Skin And Clean Hands First
Wash hands before touching face or tool. Cleanse skin with a gentle cleanser first. Sunscreen and makeup must come off fully. Stroking over grime spreads it across the face. Pat skin dry, then add the slip layer. Tie hair back so strokes stay clean.

Gua Sha Routine Steps From Neck To Forehead
Order matters in a gua sha routine. Neck work comes first and last here. Each zone gets three to five strokes per side. Keep the tool nearly flat throughout. Support skin with the free hand always. Move slowly and breathe between zones.
Step One: Open The Neck First
Start at the side of the neck. Glide downward from jaw toward the collarbone. Use the long edge with light pressure. Repeat three to five times per side. Treat this as a gentle massage pattern, not a way to open or detoxify lymph nodes. Skip hard pressure over the front throat area.
Step Two: Sweep The Jawline Slowly
Fit the notch at the centre chin first. Sweep along the jaw toward the ear. Keep pressure very light and pain free throughout. Repeat three to five times per side. This zone holds tension from clenching and chewing. Stop if sharp pain or numbness appears. Ease off and rest the jaw.
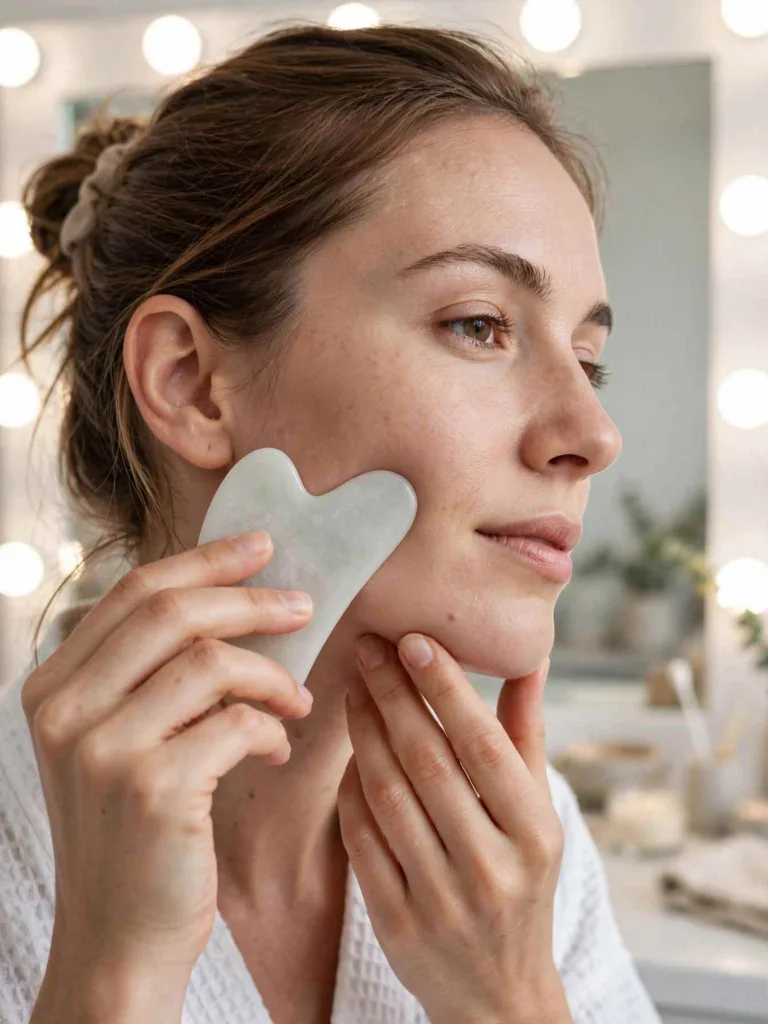
Step Three: Glide Across The Cheeks
Start beside the nose with the long edge. Sweep outward toward the ear in one motion. Lift slightly upward at the cheekbone line. Repeat three to five times per side. Keep strokes smooth, with no back-and-forth scrubbing. Scrubbing adds heat and friction with no gain.
Step Four: Use Feather Pressure Under Eyes
The under-eye zone needs the lightest touch here. Use the small curved edge for this area. Glide gently along the bony orbital rim toward the temple, staying off the eyelid and eyeball. Skip this area if you are unsure of placement. Repeat three gentle strokes per side only. Never press hard on this thin skin. Stop if pinpoint bruising or lasting redness appears.
Step Five: Ease The Brow And Forehead
Place the long edge above one brow first. Sweep upward toward the hairline in slow strokes. Then glide outward along the brow bone. Repeat three to five times per side. Forehead tension often eases during this step. Keep the free hand steady above the brow.
Step Six: Finish Down The Neck
End where the session began, at the neck. Glide downward from jaw toward the collarbone again. Use three slow strokes per side here. This closing pass follows the opening path. Sit still for a minute after finishing. Note how each zone feels before moisturizer. Finish with your usual moisturizer and, during the day, broad-spectrum SPF 30 or higher.
How Often, How Long, And How Hard
Pacing protects results in any gua sha routine. More pressure never means faster change here. Short, calm sessions beat long, hard ones. Skin feedback sets the pace each week. Readers can adjust after two calm weeks.
Start Two To Three Times Weekly
Begin with two to three sessions weekly at first. This is a cautious trial schedule, not a clinically established dose; fewer sessions or skipping massage may suit your skin better. Give skin rest days between early sessions. Daily use suits some readers after that trial. Tender or reactive skin may stay weekly. Morning sessions target puffiness after sleep. Evening sessions target jaw and brow tension.
Keep Each Zone To One Or Two Minutes
Whole sessions run 5 to 10 minutes total. Each zone needs 1 to 2 minutes at most. Longer stroking adds friction, not extra benefit. Set a quiet timer during early weeks. End each zone while skin feels calm. Warmth that fades fast counts as normal.
Read Redness As Feedback
Mild pink colour that fades fast is common. Persistent redness, tenderness, or discoloration can signal irritation; do not wait for an hour before stopping. Bruise marks mean the next session waits. Our skincare mistakes guide covers barrier stress signs in depth. Stop the session if burning or stinging starts. Rest skin until calm returns fully.
Who Should Skip Gua Sha For Now
Some skin states make a gua sha routine unwise. Waiting protects healing skin from extra trauma. The reason for avoiding massage determines when, or whether, to restart. Readers unsure about a condition should ask first. A clinician can clear the timing question fast.
Active Breakouts, Burns, And Broken Skin
Skip stroking over active acne or inflamed patches. The tool can spread irritation across nearby skin. Sunburnt, cut, or stitched skin needs full healing. Severe rosacea flares also call for a pause. Work around one small spot only with care. Wide inflamed areas mean the session waits entirely.
Recent Filler Or Neuromodulator Care
Avoid facial massage after filler or neuromodulator injections until your treating clinician clears it. Timing varies with the procedure, product, and treatment area, so a universal two-week rule is not appropriate. Follow your clinic’s aftercare instructions.
Blood Thinners And Clotting Checks
Readers on blood-thinning medication bruise more easily. Clotting conditions raise that risk further still. Ask a clinician before starting any stroking routine. Also seek advice if you have circulation problems, diabetes, a chronic skin condition, or are undergoing cancer treatment. Do not change prescribed medication to make massage possible. The Cleveland Clinic gua sha guide explains technique and medical precautions. For everyday care, see the American Academy of Dermatology’s skin care basics.
Clean And Store The Tool Each Time
A dirty tool undoes careful technique fast. Oil and skin debris build on edges quickly. Cleaning takes under a minute after sessions. Storage keeps edges smooth between uses too. This habit closes every session in this guide.
Wash, Dry, And Store It Solo
Follow the tool maker’s cleaning instructions. If the material allows it, wash with warm water and mild soap before and after use. Rub each edge clean with your fingers. Rinse well and pat it fully dry. Store it alone in a clean pouch. Shared tools spread germs between faces easily. Never share your tool with another person.

FAQs
How Long Does A Gua Sha Session Take?
Most sessions take 5 to 10 minutes total. Each zone needs 1 to 2 minutes at most. Longer sessions add friction without extra benefit. Short, calm sessions suit daily skin better.
Can Gua Sha Slim My Face For Good?
No. Strokes shift fluid and ease muscle tension only. Fat, bone, and loose skin stay unchanged by massage. A change in appearance does not demonstrate permanent fat loss or structural reshaping. Permanent change claims lack study support.
How Often Should Beginners Start?
Start two to three times weekly with rest days. Watch redness and tenderness after early sessions. Daily gentle use may suit calm skin later. Reactive skin often does better weekly.
Which Slip Product Works Best?
A non-comedogenic serum gives glide without heavy grease. Choose a formula your skin already tolerates; non-comedogenic labels do not guarantee that a product will suit everyone. Add more slip when the tool drags. Dry stroking pulls skin and adds friction.
Should The Tool Feel Cold Or Warm?
A cold tool suits morning puffiness well. Room temperature suits evening tension care fine. Chill steel or stone in the fridge briefly. Never use a frozen or heated tool.
Can I Use Gua Sha With Active Acne?
Skip stroking over active acne or inflamed patches. Pressure can spread irritation and delay healing. Wait until breakouts calm before resuming sessions. Wide flares mean the whole session waits.
When Should I Stop A Session?
Stop at once for burning, stinging, or sharp pain. Pinpoint bruising or lasting redness also ends the session. Rest skin until fully calm again. Next time, use lighter pressure throughout.
Final Thoughts
Keep the ritual honest and gentle. A gentle gua sha routine may offer temporary de-puffing and relaxation. It will not sculpt bone or melt fat. Use flat angles, light pressure, and a clean tool each time. Start twice weekly and watch skin feedback closely. Tonight, wash your tool, add serum slip, and try the neck and jaw steps only.