20 Creepy-Chic Halloween Nails Worth The October Hype
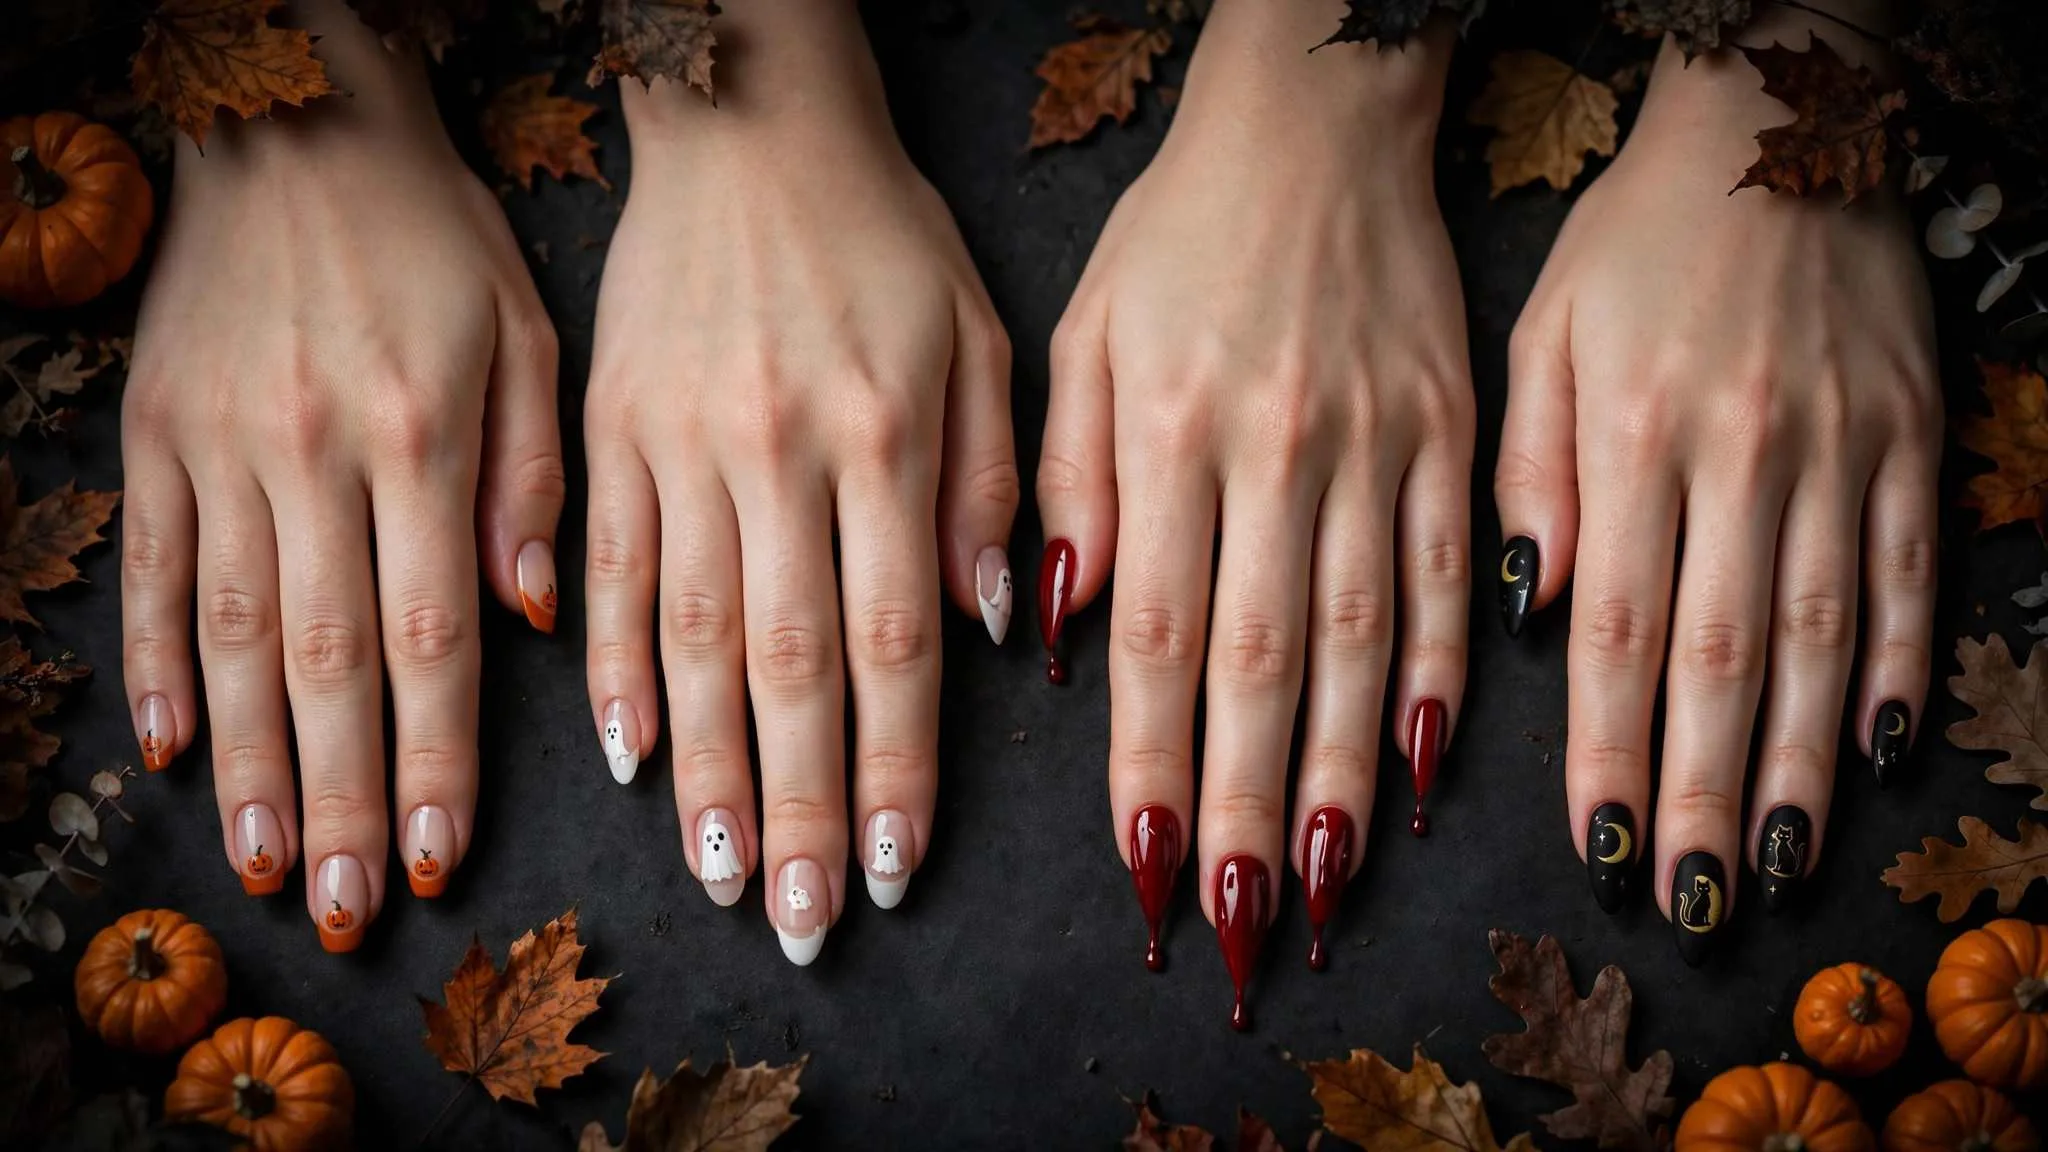
Halloween nails are October’s lowest-commitment costume, and the 2026 sets finally grew teeth. The cute-spooky split defines this year. Think hand-painted ghosts floating on pearl chrome or matte black that looks dangerous after dark.
The smart move is to pick your lane before you book. Cute sets lean on ghosts, pumpkins, and candy corn in soft, glossy finishes. Dark sets lean on black, blood red, and magnetic shimmer with sharper shapes. Either way, one or two accent nails carry the theme while the rest stays wearable past the party. Below are 20 Halloween nail designs worth copying. They range from five-minute DIY wins to full salon art, with the exact words for your nail tech. These are the October nails that earn compliments before the costume even comes out.
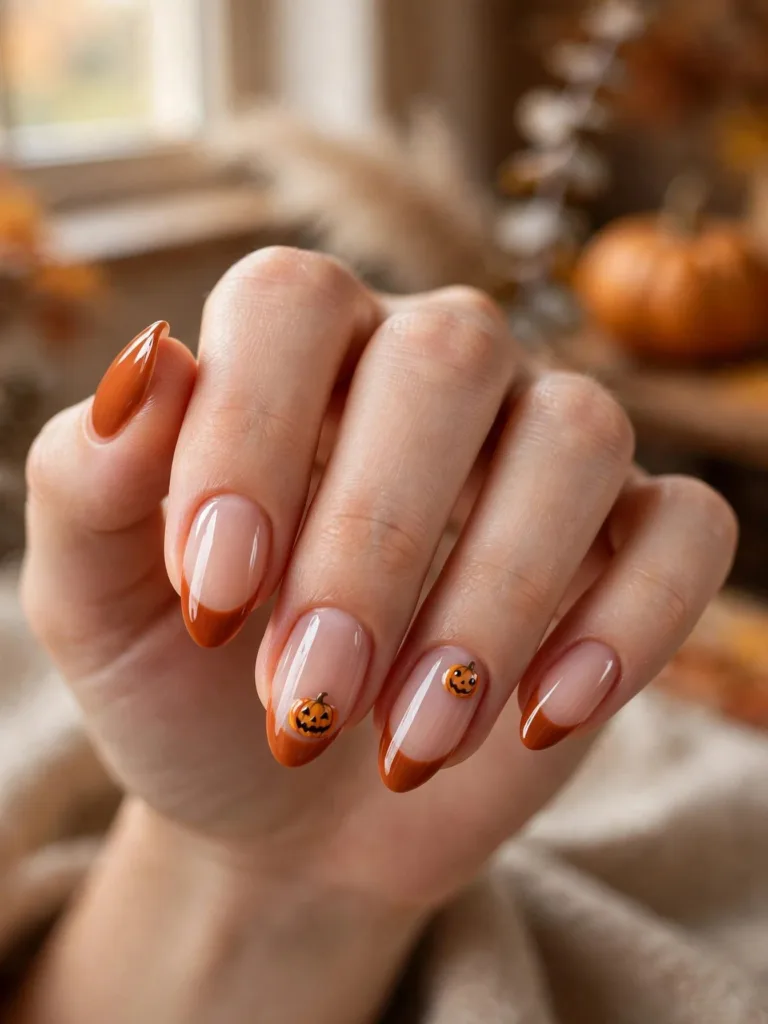
Pumpkin Patch French Tips
Orange French tips get a Halloween rewrite here. Burnt orange tips sit on a sheer nude base, with tiny hand-painted pumpkin faces on two accents. The jack-o-lantern grins are the only characters, so the set reads festive instead of cartoonish. Ask for a glossy top coat, since shine makes the orange look like real pumpkin skin. This is one of the easiest Halloween nail designs to scale down if you want fewer characters.
Best for: French-tip loyalists who want seasonal color without giving up their shape.
Ask your nail tech for: almond French tips in burnt orange, two pumpkin-face accents, and a glossy finish.
Friendly Ghost Accents
Sheet ghosts are the friendliest motif in the Halloween drawer, and they photograph well on every skin tone. The base stays a sheer milky nude, while two nails get chunky white ghosts with simple dot eyes. Keep the ghosts big and the details minimal; tiny ghosts get lost on short nails. A dotting tool makes the eyes perfectly round in seconds.
Best for: first-time Halloween nail wearers and anyone who wants cute over creepy.
Ask your nail tech for: milky nude base, two large white ghost accents, dot eyes, and a glossy top coat.

Blood Drip Gloss Nails
Deep red drips sliding from the cuticle look dramatic on camera and take less skill than they suggest. Start with a nude or black base. Then drag glossy red gel polish into uneven drips with a thin liner brush. Uneven is the point: horror-movie drips never line up. Keep the rest of the nails clean so the drips stay the star. Press-ons carry this design well for a one-night set.
Best for: horror fans and costume parties where the nails need to read from across the room.
Ask your nail tech for: nude base, hand-painted red drips from the cuticle on every nail, high-gloss finish.

Spiderweb Lace Tips
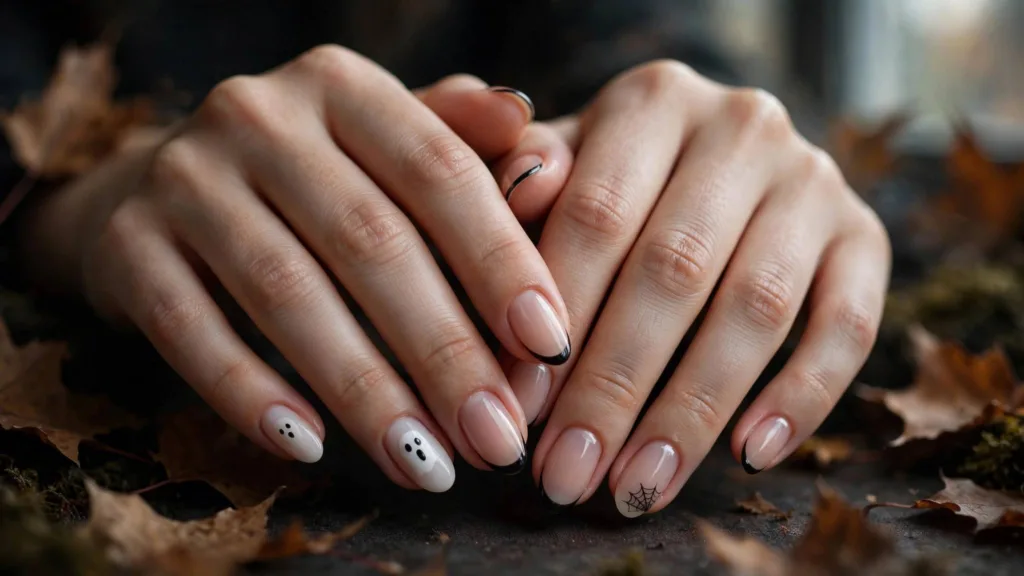
Black spiderwebs stretched over sheer tips look delicate up close and graphic from a distance. The web lines should be thin and slightly imperfect; perfectly symmetrical webs read as printed stickers. One spider on a single accent nail per hand is enough. A spider on every finger tips the set into costume territory. Matte top coat over the webs gives them a lace-like finish.
Best for: minimalists who want one clear Halloween signal in an otherwise quiet manicure.
Ask your nail tech for: sheer nude base, hand-painted black webs on the tips, one spider accent, and a matte finish.

Black Cat Silhouette Nails
A black cat with an arched back against a harvest moon is the most graphic design on this list. Paint the scene on one accent nail per hand over a deep plum base. Keep the other nails solid. Screenshot these October nails and bring the photo as your salon reference. The moon should be a simple circle, not a detailed landscape; negative space does the heavy lifting.
Best for: cat lovers and anyone dressing as a witch, vampire, or cat for the 31st.
Ask your nail tech for: midnight plum base, one moon-and-cat silhouette accent per hand, and a glossy top coat.

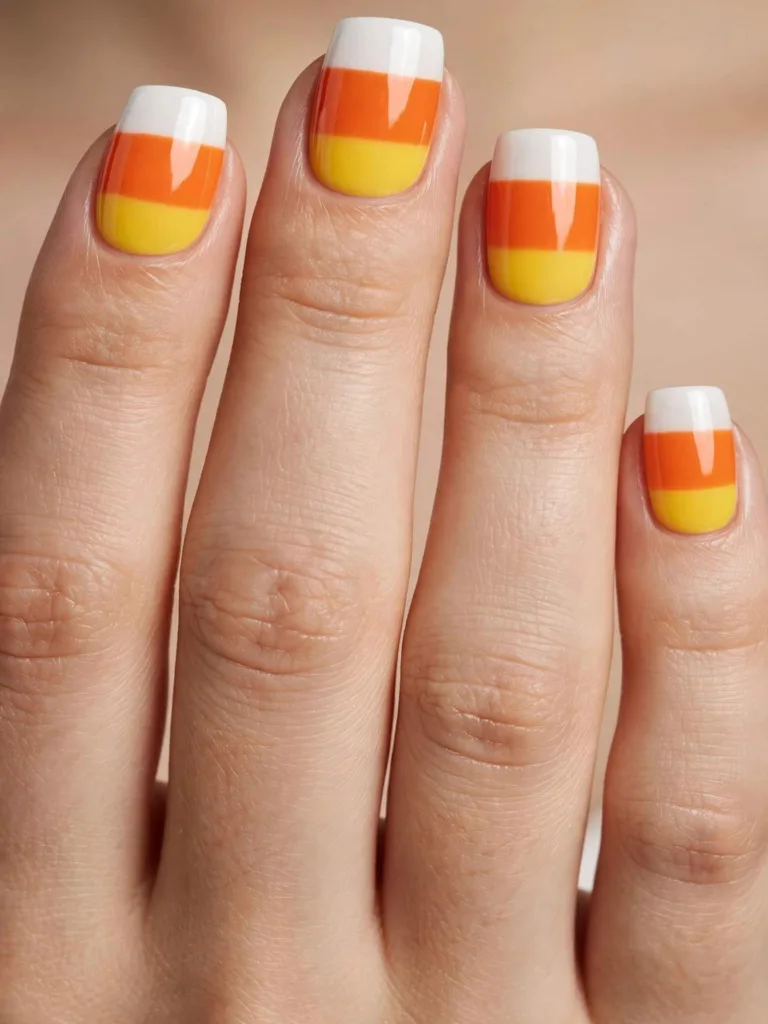
Candy Corn Color Blocking
Candy corn stripes are pure nostalgia, and color blocking keeps them modern. Each nail gets three clean horizontal bands: white at the tip, orange in the middle, and yellow at the base. Crisp tape lines matter more than freehand skill here. The look is loud, so consider it for the week of Halloween rather than the whole month. It pairs well with a simple black outfit and gold jewelry.
Best for: maximalists and retro Halloween lovers who want the set to match the candy bowl.
Ask your nail tech for: full-set candy corn color blocking with crisp bands and a glossy top coat.
Witchy Purple Cat-Eye Nails
Magnetic purple polish does all the talking in this design, no characters required. A cat-eye effect in deep violet shifts from near-black to glowing purple as your hand moves. It reads witchy with no painted motif at all. Hold the magnet over each wet coat to pull the shimmer into a sharp beam. This is the strongest pick for people who want Halloween nails with an October mood and zero literal art.
Best for: anyone who needs a boardroom-safe manicure that still feels like October.
Ask your nail tech for: deep violet magnetic gel polish, a sharp beam cat-eye effect, and a glossy finish.

Mummy Wrap Nails
White bandage strips wrapped diagonally over a gray or nude base make mummies the easiest character nail to paint. Leave small gaps between the strips so the base shows through like shadow. Then add two peeking black dot eyes on one accent nail. The strips should look slightly uneven; perfect stripes read as geometric art. A thin striping brush keeps the lines clean.
Best for: DIY painters, since straight-ish lines are far easier than faces or scenes.
Ask your nail tech for: nude-gray base, diagonal white mummy wraps, and dot eyes on two accents.

Haunted House Scene Nails
One haunted house silhouette with bats and a full moon turns two nails into tiny paintings. Keep the house simple: a crooked rectangle, a triangle roof, and two lit windows in orange. The remaining nails go solid black or deep brown so the scene nails pop. This is the most time-intensive design on the list, so book a longer appointment and bring the reference photo.
Best for: detailed-art lovers who treat their nails as a canvas, not just a color.
Ask your nail tech for: black base, one haunted house scene accent per hand, and a 90-minute booking.

Glow-In-The-Dark Ghost Nails
Ghosts painted in glow-in-the-dark polish look like ordinary white art by day and light up after dark. The effect needs a glow topper charged under light for a few minutes before the party. Daytime, the ghosts are simple white silhouettes on a pale base; nighttime, they are the whole conversation. Charge them under a lamp right before you head out for the brightest result.
Best for: night-out sets and anyone attending an evening party on the 31st.
Ask your nail tech for: pale base, white ghost art, a glow-in-the-dark topper, and a glossy finish.

Vampire Red Chrome Nails
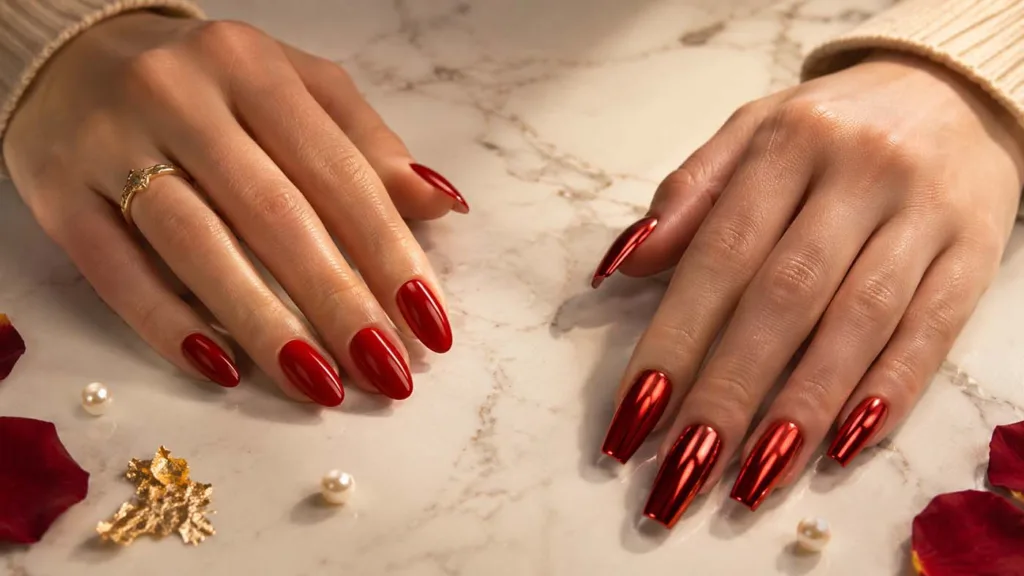
Blood-red chrome powder over a dark base gives a liquid-metal finish that suits vampires, demons, and dramatic dressers alike. The chrome should be burnished smooth, not glittery; the mirror effect is what sells it. For Halloween nails with no art at all, this is the fastest salon option on the list. Under party lighting the red shifts toward black at the edges, which photographs well.
Best for: anyone who wants maximum impact with minimum nail art.
Ask your nail tech for: dark red base, red chrome powder burnished to a mirror shine, and a glossy top coat.

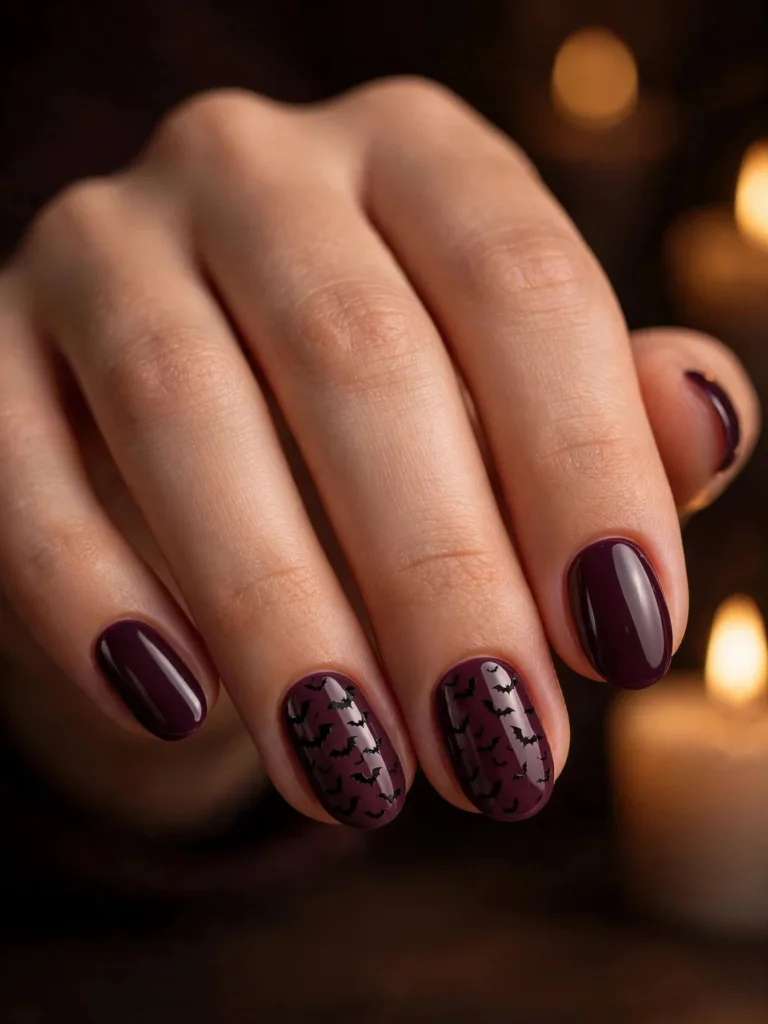
Bat Swarm Accent Nails
Tiny black bats scattered across a plum or charcoal base look like they are mid-flight. Vary the bat sizes and angles so the swarm feels random rather than stamped. Keep them to two or three nails per hand; a full swarm on all ten fingers gets busy fast. A stamping plate can place the bats quickly if your tech offers one.
Best for: These spooky nails work all October. The dark base still looks chic after the bats stop feeling festive.
Ask your nail tech for: plum or charcoal base and scattered bat silhouettes on two accents per hand.
Frankenstein Green Tips
Slime-green tips with black stitch lines across them nod to Frankenstein’s monster without any face painting. The stitches are the clever part: short vertical dashes crossed by a horizontal line, like sutures. Keep the base nude so the green tips stay graphic. Among Halloween nails that skip orange and black, this one stands out. This is a strong pick for short nails. The art lives at the free edge, where there is room to work.
Best for: short nails and green lovers who want Halloween without orange and black.
Ask your nail tech for: nude base, slime-green French tips, black stitch details, and a glossy finish.

Jack-O-Lantern Grin Nails
Grinning pumpkin faces painted across orange nails are the most traditional design here, and tradition works. Vary the faces: a toothy grin on one nail, triangle eyes on another, and a winking face on a third. The variety keeps a full set of characters from feeling repetitive. Use a deeper pumpkin orange rather than neon; it looks richer against fall outfits.
Best for: Halloween purists and families doing matching spooky nails with kids.
Ask your nail tech for: pumpkin orange base, varied jack-o-lantern faces on every nail, and a glossy top coat.

Spooky Aura Nails
An aura gradient in black fading into purple or orange gives Halloween energy with no characters at all. The airbrushed blend should be soft in the center and darker at the edges, like a halo in reverse. A sponge creates the fade at home; salons use an airbrush for a smoother blend. This finish works on any nail length and any shape.
Best for: gradient lovers and anyone who wants spooky nails that still look polished at work.
Ask your nail tech for: airbrushed black-to-purple aura gradient and a glossy finish.

Skeleton Bone Art Nails
White bone lines drawn over matte black look sharp and slightly anatomical. The easiest version is simple. Paint a vertical spine line with short ribs on one accent nail; keep the rest solid black. Among Halloween nails for longer lengths, this one uses the extra room best. Keep the lines thin and the spacing even; thick lines read as stripes instead of bones. This design suits longer nails, where the rib lines have room to breathe.
Best for: edgy dressers and skeleton-costume wearers who want the nails to match the bones.
Ask your nail tech for: matte black base, thin white bone line art on two accents, matte top coat.

Poison Apple Gloss Nails
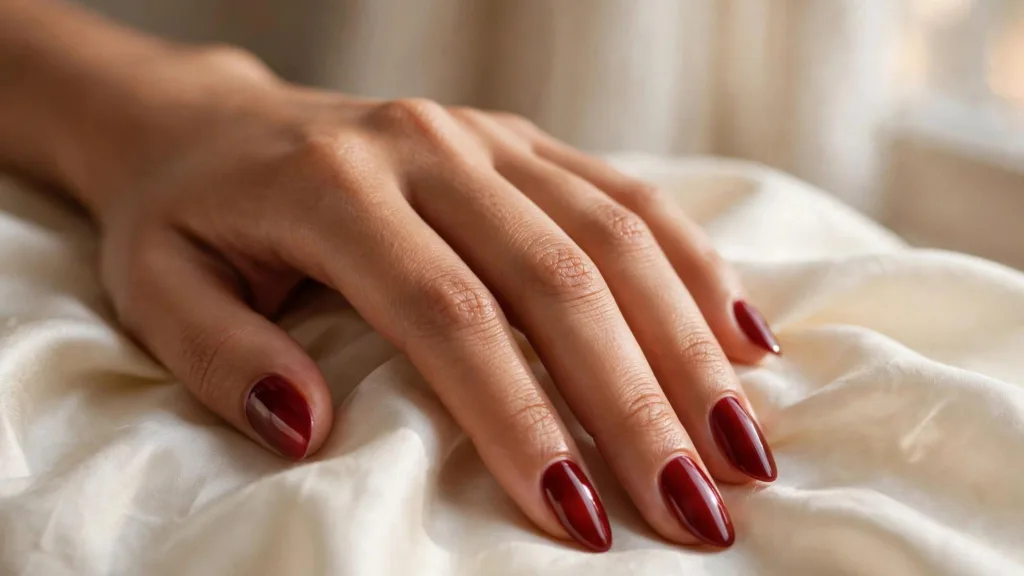
A near-black red with a wet-look gloss reads as poison apple: dark, shiny, and a little dangerous. No art is needed; the color and the shine carry the whole idea. The key is depth, so ask for two thin coats rather than one thick one, which can look flat. Cuticle oil applied daily keeps the high gloss from dulling at the edges.
Best for: one-color manicure fans who want a Halloween nod without any drawing.
Ask your nail tech for: deep black-cherry polish, two thin coats, ultra-glossy top coat.

Moonlit Graveyard Nails
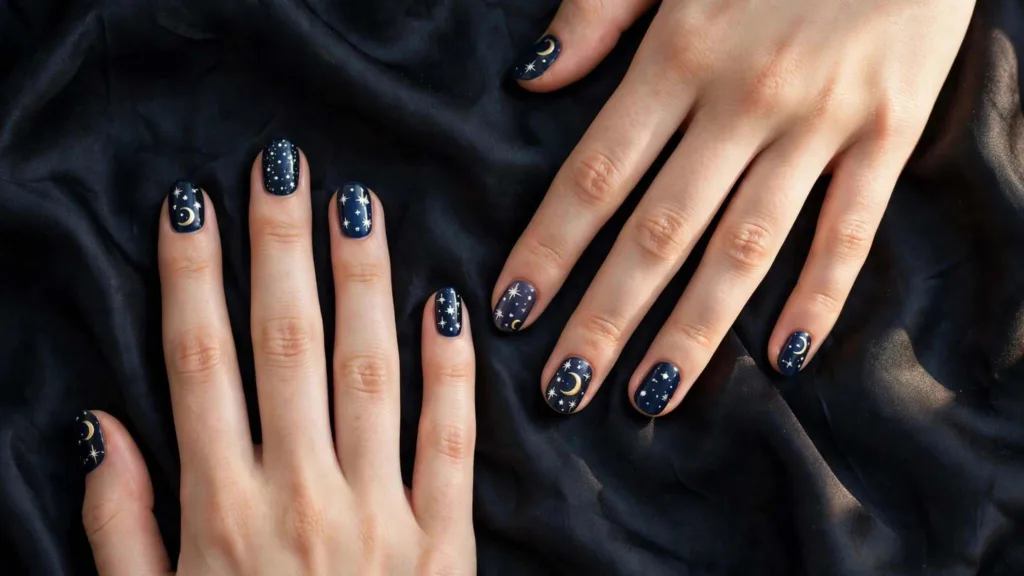
Tombstone silhouettes and a pale moon on a midnight blue base make the moodiest scene on this list. Paint the graveyard on one accent nail per hand. Keep the rest a solid midnight shade with a sparse shimmer. The shimmer reads as stars if you keep it sparse. These late-October halloween nails feel most at home in the final week before the 31st.
Best for: horror-movie marathon hosts and anyone who loves a full scene nail.
Ask your nail tech for: midnight blue shimmer base, one tombstone-and-moon accent per hand.

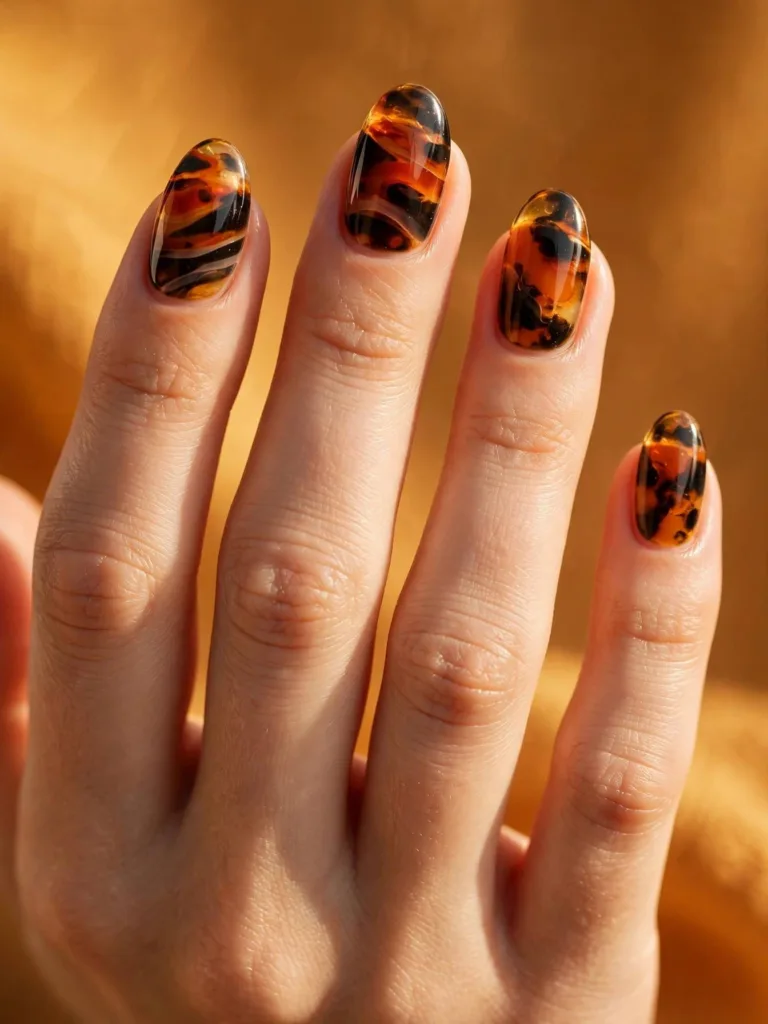
Orange Tortoiseshell Nails
Tortoiseshell in burnt orange, amber, and black is Halloween’s most wearable pattern. The mottled blend looks like autumn leaves and needs no characters to feel seasonal. Layers of jelly polish in translucent orange and brown create the depth; opaque polish flattens it. This pattern hides chips well, which makes it practical for a full two weeks of wear.
Best for: pattern lovers who want seasonal nails that survive past Halloween.
Ask your nail tech for: layered jelly tortoiseshell in orange, amber, and black, glossy finish.
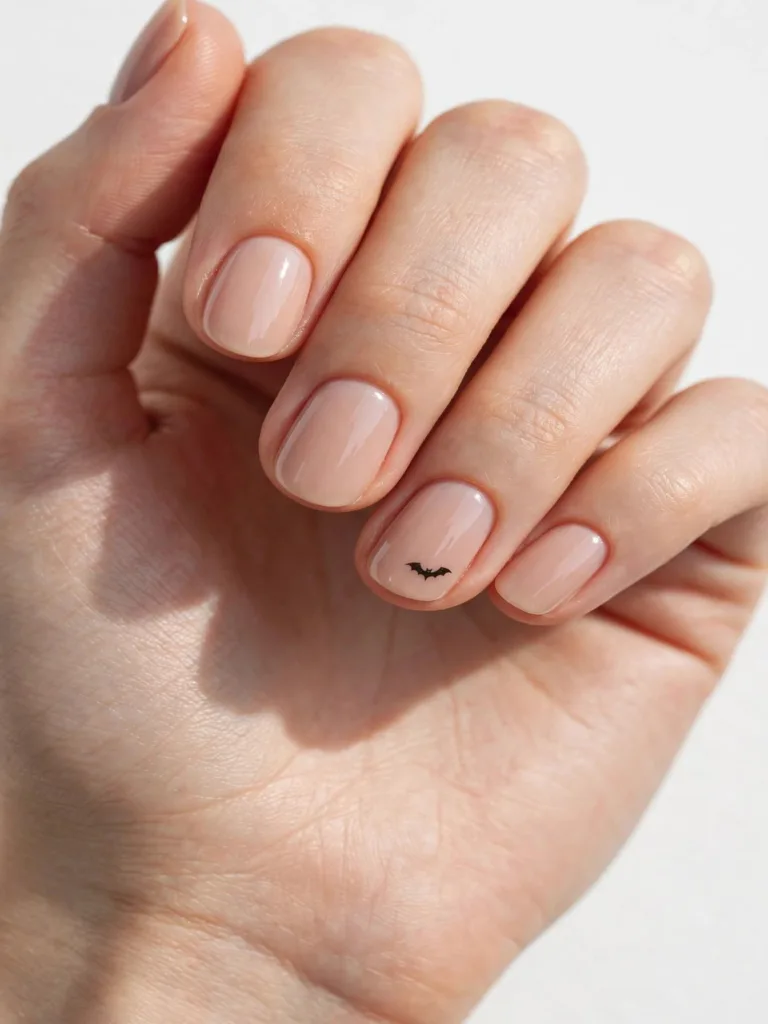
Minimalist Micro Bat Nails
A single tiny bat on each ring finger is the quietest Halloween statement possible. The base stays nude or soft gray. The bat should read as a speck from a distance. The charm is in the discovery. These minimalist halloween nails also remove cleanly with regular polish for a next-day reset. This is the design for people who love the season but dress conservatively. It also removes cleanly with regular polish for a next-day reset.
Best for: minimalists, office dress codes, and last-minute October 30th appointments.
Ask your nail tech for: nude base, one micro bat on each ring finger, glossy top coat.
How To Pick Your Halloween Nails
Halloween nails are October manicures built around spooky motifs like ghosts and pumpkins. Start by deciding how literal you want to go. Literal sets use characters and scenes. Moody sets borrow the palette of black, orange, and purple with no art at all. Your costume, your workplace, and your wear time all push the decision one way or the other.
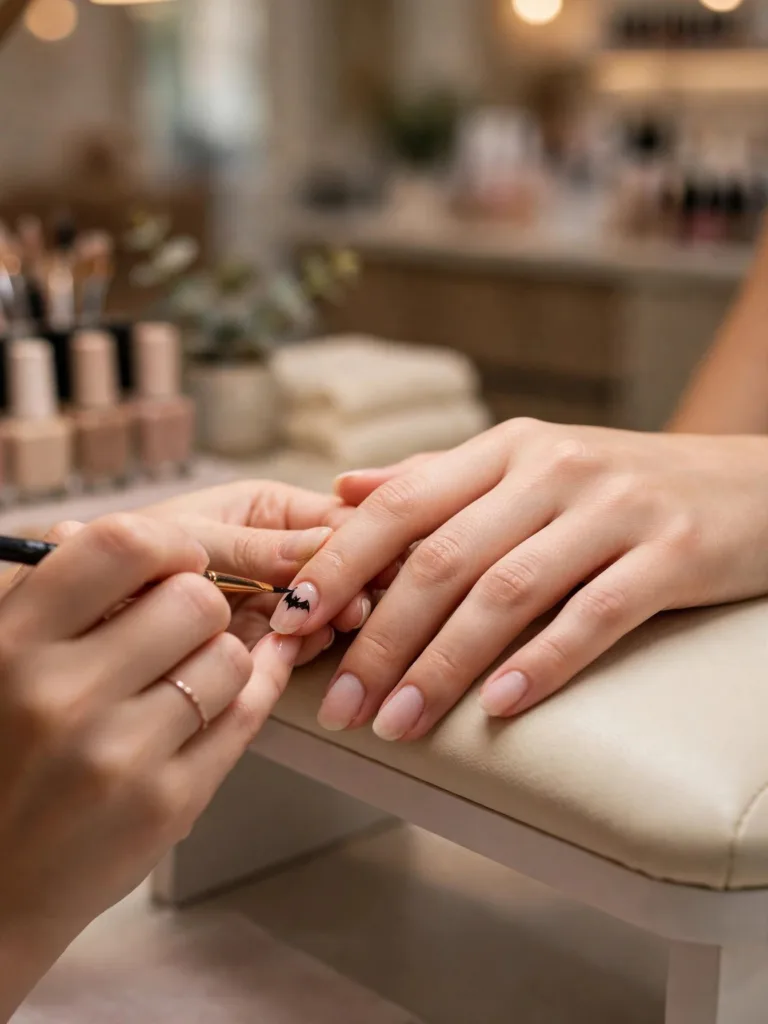
Shape matters more than people think. Almond and stiletto lengths flatter character art and drips. Short square nails suit micro designs and solid dark colors. If you are unsure, browse a guide to nail shapes before your appointment. Bring a reference photo of the shape you want. Salons shape first and paint second, so the decision has to come early.
Timing is the other half of the plan. Gel sets last about 2–3 weeks. Booking in the final week of October lands your freshest nails on the 31st. Regular polish lasts closer to a week, which suits a weekend party but not the whole month. Art-heavy sets like haunted houses need 90 minutes. Simple chrome or aura sets fit a standard hour.
Halloween Nail Care Tips
Dark Halloween shades stain. A proper base coat is the barrier between black polish and yellowed nails. Never skip it, especially with DIY sets. Apply cuticle oil daily; it keeps the nail flexible and the art from lifting at the edges. For home painting, Manucurist’s Halloween nail looks journal covers the dotting tools and brushes for easier ghosts and webs.

Glitter and gel need patience at removal. Soak, do not pick or peel; picking lifts layers of your natural nail along with the polish. If your set is gel, this guide to gel manicure safety walks through the gentler foil-and-soak routine. Julie Kandalec, creative director of New York’s Paintbox studio, advises daily moisturizing while wearing gel. She also recommends a full 10 to 15 minute soak before sliding polish off with an orange stick.
Chrome and magnetic finishes deserve their own note. Chrome nails look best when the base is perfectly smooth, since every ridge shows through the mirror effect. Ask your tech to buff the base layer before the powder goes on. Magnetic cat-eye polish needs the magnet held over each wet coat. Ask the tech not to rush the curing step.
Halloween Nails FAQs
How Long Do Halloween Nails Last?
Gel sets last about 2–3 weeks, which covers most of October. Regular polish lasts closer to 5–7 days. Press-on spooky nails hold for 5–10 days with careful application.
When Should I Book My Halloween Nail Appointment?
Book gel sets in the final week of October so they peak on the 31st. Art-heavy designs need 90-minute slots, so call ahead. Regular polish appointments fit the week of the party.
How Much Do Halloween Nails Cost?
As a rough US guide as of fall 2026, seasonal hand-painted sets run about $60–$120. Simple accent art sits at the lower end; full character sets cost more. Prices vary by salon, city, and complexity, so ask for an estimate when booking.
Are Halloween Nails OK For Short Nails?
Yes. Keep the art small: micro bats, tiny dots, single accents, or solid dark colors. Detailed scenes need length, so save haunted houses and graveyards for longer nails.
Can I Do Halloween Nail Art At Home?
Yes. Most halloween nail designs on this list work with stickers, dotting tools, and striping brushes. Start with solid black plus one glitter accent, then try ghosts or webs once the basics feel easy.
How Do I Remove Glitter Or Gel Halloween Nails?
Soak in acetone with foil wraps for 10–15 minutes, then slide the polish off gently. Never pick or peel it; that lifts layers of your natural nail. Moisturize with cuticle oil after.
Will Dark Halloween Polish Stain My Nails?
It can, especially black and deep red. A base coat blocks most staining. If staining happens, buff the nail lightly and let it rest polish-free for a few days.
Final Thoughts
Twenty halloween nails, one October, no wrong answer as long as the set fits your life after the party. Pick the lane that matches your calendar. Cute ghosts suit a long wear; dark chrome brings drama; micro bats work if your office has opinions. Screenshot three favorites now and book the late-October slot this week. Show your nail tech the photos at the appointment.