10-Step Korean Skincare Routine Your Skin Really Needs!
Ever follow every skincare tip online and still wake up with dull, tired-looking skin? You’re not alone. Most routines fail because of the wrong order, not bad products.
A good Korean skincare routine fixes that. It builds a strong, hydrated skin barrier through gentle layering instead of harsh treatments. Most guides list ten steps and stop there. They skip the part that actually matters: how to adjust the routine for your skin, your schedule, and your budget.
This guide breaks down the full method. It explains what each step really does and how to avoid the mistakes that quietly ruin results. You’ll also learn how to customize it by skin type and budget. By the end, you’ll know exactly which steps to prioritize first.
What Makes a Korean Skincare Routine Different
Western routines often chase quick fixes. This method takes the opposite approach. It focuses on daily prevention and gradual repair instead of aggressive treatments.
The core idea is layering. Thin, water-based products go on first. Thicker, oil-based products follow. This order lets active ingredients absorb before a moisturizer seals them in. Korean beauty culture also treats the skin barrier as the foundation of healthy skin. Damage that barrier, and every other product works less effectively. Protect it, and your skin recovers faster from breakouts, dryness, and sun exposure.
This approach also explains why glass skin became such a popular goal. “Glass skin” describes a complexion so smooth and hydrated it reflects light like glass. It isn’t about heavy makeup. It comes from a barrier that’s healthy enough to hold moisture without looking greasy or dry.
The 10-Step Korean Skincare Routine Explained
Each step in this routine has one clear job. Skip a step and you lose part of the benefit. You don’t need every product on day one. Build the routine gradually and let your skin adjust.
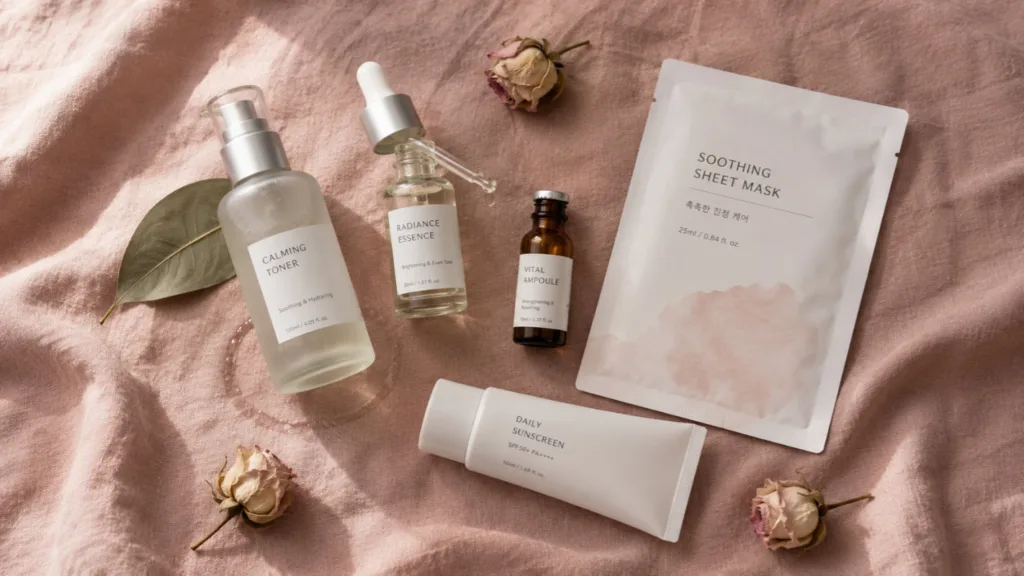
Quick reference, the order at a glance:
- Oil cleanser
- Water-based cleanser
- Exfoliator (2-3x weekly)
- Toner
- Essence
- Serum or ampoule
- Sheet mask (2-3x weekly)
- Eye cream
- Moisturizer
- Sunscreen (AM only)
Step 1: Oil Cleanser
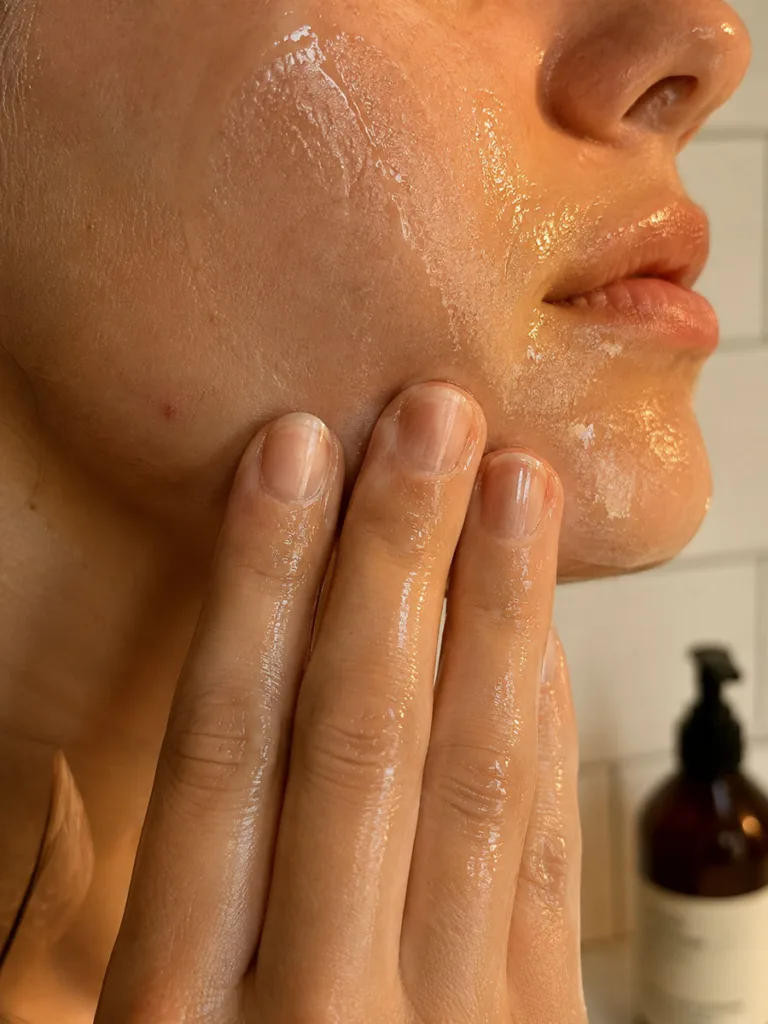
An oil cleanser dissolves makeup, sunscreen, and excess sebum before water ever touches your face. Oil binds to oil, so it lifts stubborn product that a foaming cleanser alone can’t budge. Massage it onto completely dry skin for about 60 seconds, using slow circles instead of scrubbing. Rinse with lukewarm water, then move straight into your second cleanser. This step forms the first half of the double cleanse. Skip it, and you’re likely washing makeup deeper into your pores instead of out.
Step 2: Water-Based Cleanser
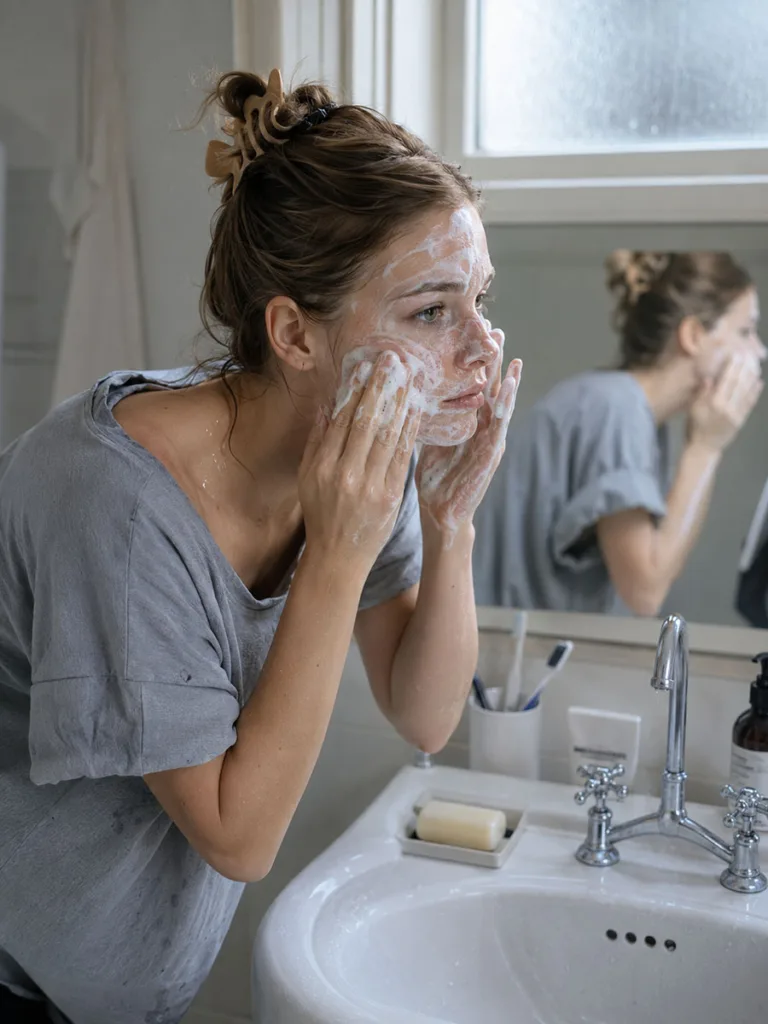
A gentle, low-pH cleanser finishes the job your oil cleanser started. It removes sweat, dead skin, and any oily residue left behind without leaving your face feeling stripped or squeaky. Use it right after the oil cleanser to complete the double cleanse. Look for a pH level between 5 and 6. This protects your acid mantle and keeps your barrier from drying out. Foaming gel formulas suit oily skin well. Cream-based cleansers tend to work better for dry or sensitive types.
Step 3: Exfoliator
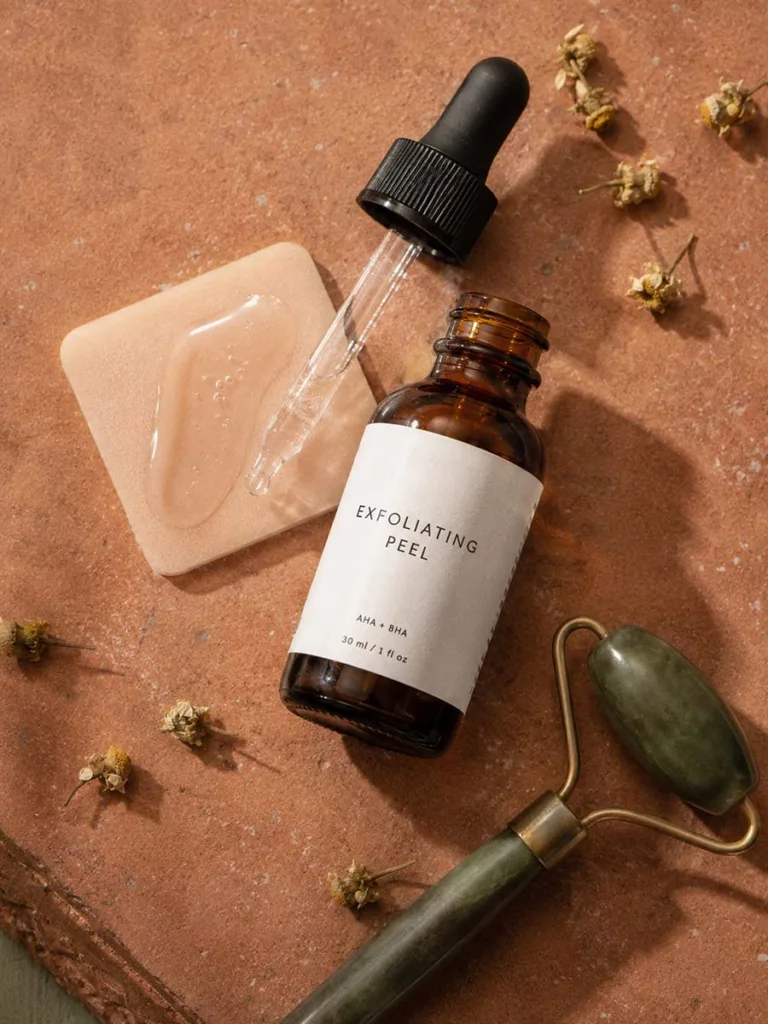
Exfoliating two to three times a week clears away dead skin cells before they clog your pores. Chemical exfoliants like AHA and BHA work more evenly than physical scrubs. They dissolve buildup instead of scraping it off. AHAs suit dry or sun-damaged skin. BHAs cut through oil and work well on acne-prone skin. Overdoing this step is the fastest way to damage your barrier. Start with once a week and build up slowly from there. Your skin will tell you if you’ve gone too far.
Step 4: Toner

Korean toners hydrate the skin instead of stripping it. That’s what sets them apart from the astringent toners many of us grew up using. Pat it on with clean hands instead of a cotton pad. Rubbing creates friction that can irritate sensitive skin. Toner rebalances your skin’s pH after cleansing and preps it to soak up everything that follows. Some people apply two or three light layers for extra hydration, a technique often called toner soaking. Give each layer a minute to absorb before adding the next.
Step 5: Essence

An essence sits between toner and serum in both texture and purpose. It’s thinner than a serum but more concentrated than a toner. It delivers hydration deep into the skin while supporting cell turnover. Many people skip this step because it feels optional. But it’s often what separates dull, flat skin from a genuine glow. Pat it in with your palms instead of dragging it across your face. Give it a full minute to absorb before you move on to the next layer.
Step 6: Serum or Ampoule

This is where targeted treatment happens. Pick your serum based on what your skin actually needs, not what’s trending online. Niacinamide works well for uneven tone and enlarged pores. Vitamin C boosts brightness and fades dark spots. Hyaluronic acid adds a serious hydration boost for dry or dehydrated skin. Ampoules offer a more concentrated dose of active ingredients. They work best in short bursts, like a one-week treatment, instead of as a permanent daily step.
Step 7: Sheet Mask
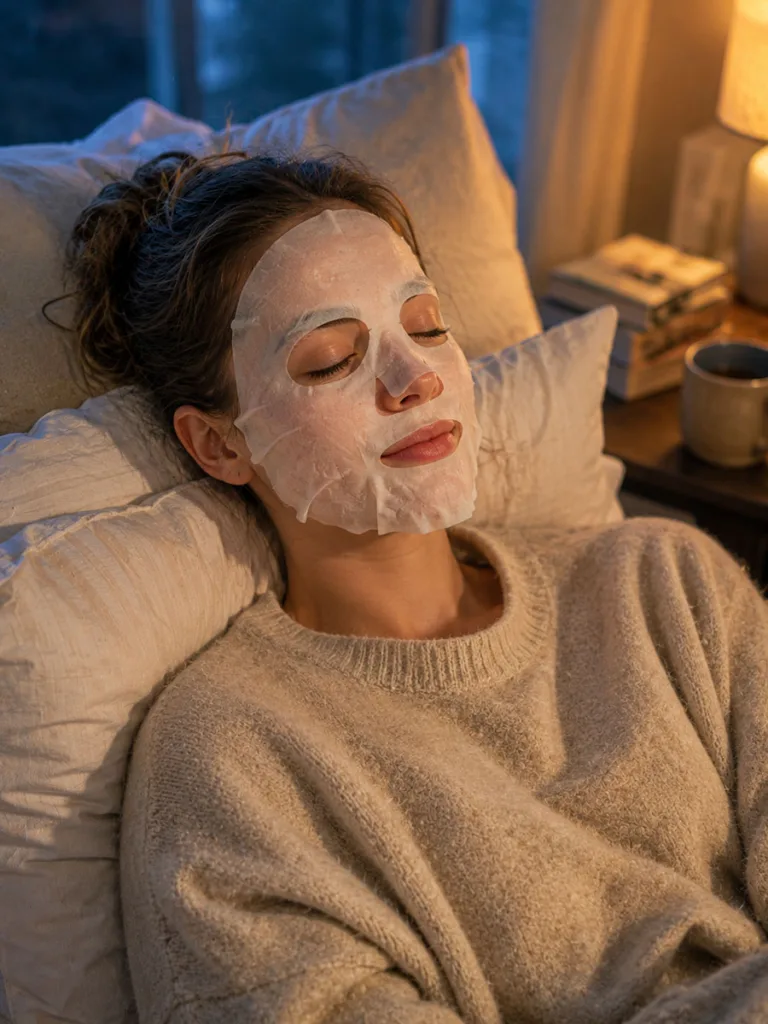
Sheet masks deliver a concentrated hydration boost two to three times a week. Honestly, they’re one of the most satisfying steps in the whole routine. The soaked mask material holds moisture against your skin far longer than a cream applied alone. This forces deeper absorption into the surface layers. Fifteen to twenty minutes is enough time to get the full benefit. Longer wear can pull moisture back out of the skin as the sheet starts to dry out. Don’t fall asleep with one on.
Step 8: Eye Cream
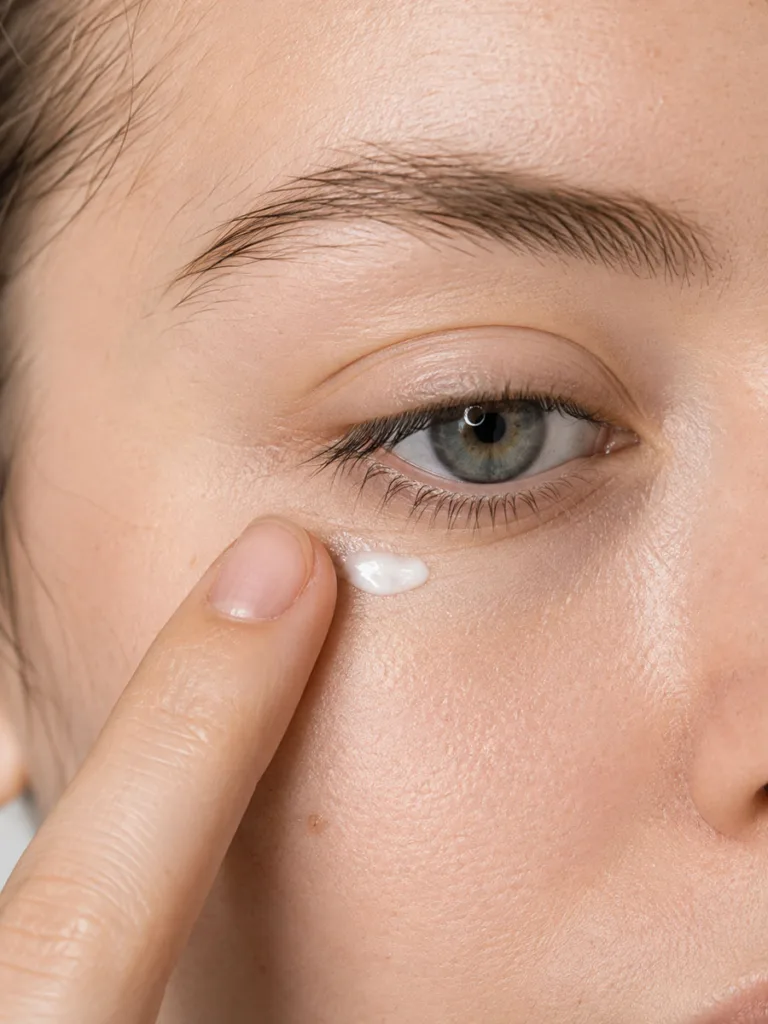
The skin around your eyes is thinner than anywhere else on your face. That makes it more prone to fine lines and puffiness. Use your ring finger to gently tap the product in, rather than rubbing or dragging it. This reduces tugging on delicate tissue. A little goes a long way here. Look for ingredients like caffeine for puffiness or peptides for firmness. Apply this step both morning and night for the best long-term results around your eyes.
Step 9: Moisturizer

A moisturizer seals in every layer you just applied. It traps hydration before it has a chance to evaporate off your skin. Pick a lighter gel formula if you have oily or combination skin. Choose a richer cream if your skin runs dry or feels tight after cleansing. Moisturizer locks everything in place, whether you’re heading to bed or layering makeup on top. Skipping it, even on oily skin, often backfires by triggering extra oil production to compensate for the lost hydration.
Step 10: Sunscreen

Daytime routines end with SPF, no exceptions, even on cloudy days or when you’re staying indoors near a window. Korean sunscreens feel lightweight and non-greasy on skin. They layer well under makeup instead of pilling or leaving a white cast. Skipping this step undoes the benefit of every earlier one. UV exposure is the single biggest cause of visible skin aging. That includes fine lines, dark spots, and lost elasticity. Reapply every two hours if you’re spending real time outside.
Key Ingredients Worth Learning
Product labels get confusing fast. Knowing what a few core ingredients do helps you build a routine that works. You’ll target your skin’s real needs instead of guessing.
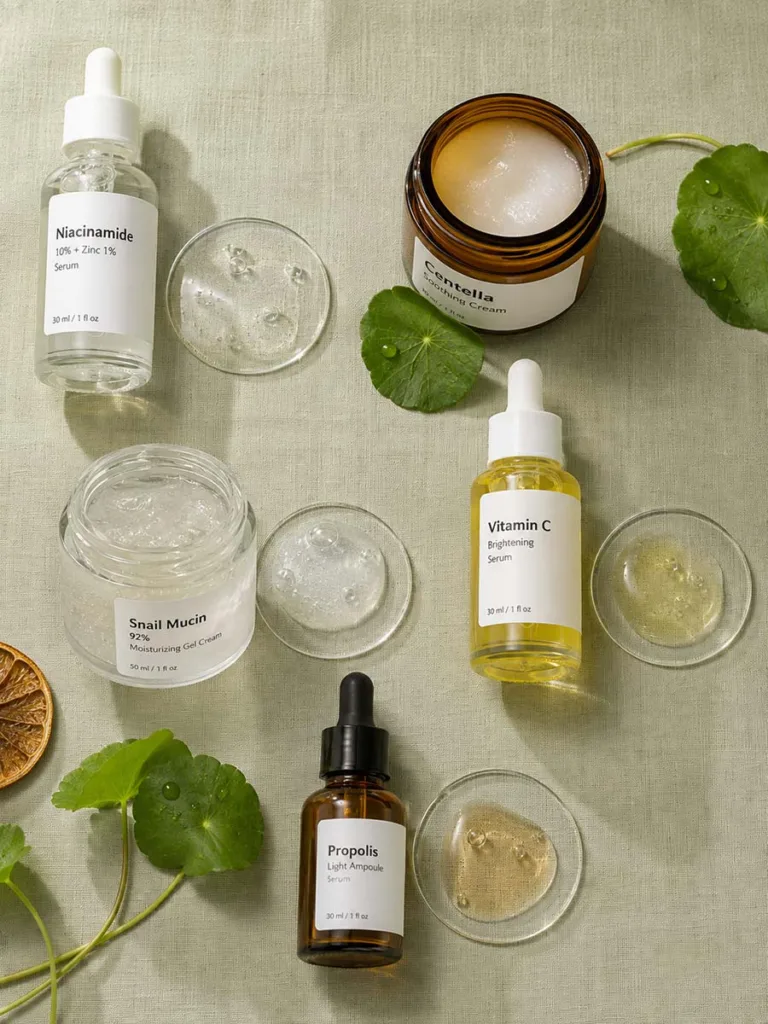
Hydrating and Soothing Ingredients
None of these ingredients fight for space, so you can layer two or three together without irritation.
- Hyaluronic Acid: Pulls water into the skin. Works best when applied on damp skin.
- Centella Asiatica (Labeled Cica): Soothes irritation and supports barrier repair. A good pick if your skin flares up easily.
- Snail Mucin: a staple in many Korean formulas. Hydrates while supporting the skin’s natural repair process.
Active and Brightening Ingredients
You don’t need all six ingredients in one routine. Pick one or two that match your main concern and build the rest of your routine around them.
- Niacinamide: Calms redness and evens out skin tone. Usually shows results within four to six weeks.
- Vitamin C: Brightens skin and fights free radical damage from sun exposure. Can feel more irritating on sensitive skin.
- Propolis: Offers antibacterial benefits that suit acne-prone skin.
Budget vs Splurge: Building an Affordable Routine
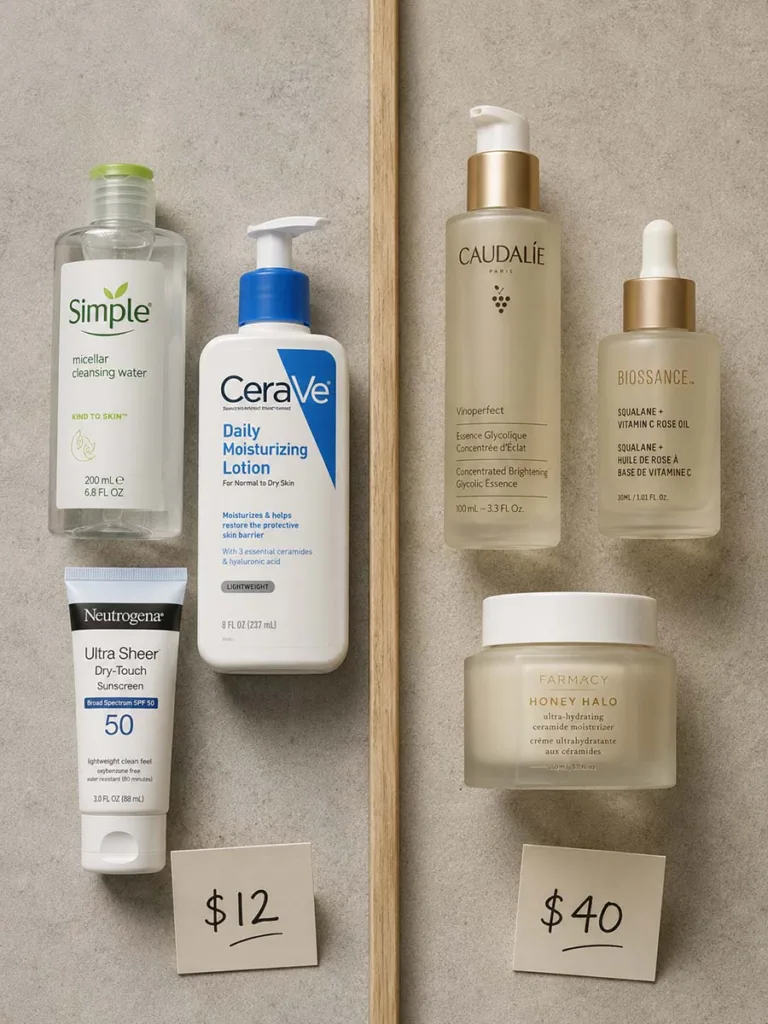
You don’t need expensive products to follow this routine correctly. Drugstore Korean brands like COSRX and Some By Mi offer effective cleansers, toners, and serums at low prices.
Where to Save
Cleansers, toners, and sheet masks perform similarly across price points, since their main job is hydration and gentle cleansing. A $12 toner can work just as well as a $40 one.
- Cleansers: Mainly wash away dirt and oil, so formulation matters less
- Toners: Hydration and pH balance don’t require a premium price tag
- Sheet Masks: Drugstore versions deliver similar short-term hydration
There’s little reason to overspend on these lighter, high-volume steps. Save the splurging for products where formulation changes the outcome.
Where to Splurge
Save your budget for products you use in small amounts, where higher concentrations of active ingredients matter more.
- Serums And Ampoules: Concentration and formulation quality directly affect results
- Sunscreen: Pick one you’ll actually enjoy wearing daily, since consistency beats price
A sunscreen sitting unused in a drawer protects nobody.
Morning vs Night: How to Adjust Your Routine
You don’t need all ten steps twice a day. Mornings call for a lighter routine focused on protection. Evenings allow for deeper treatment since your skin repairs itself overnight.
| Category | Morning Routine | Night Routine |
| Steps used | Water-based cleanser, toner, serum, moisturizer, sunscreen | All 10 steps (masks and exfoliation a few times weekly) |
| Main goal | Speed and protection | Deeper repair and treatment |
| Skip unless congested | Oil cleanser, exfoliator | Nothing: this is the full routine |
| Best time for actives | Not ideal, since sunscreen must go on top | Ideal; skin absorbs ingredients best overnight |

Your Morning Routine
A simple morning routine looks like this: water-based cleanser, toner, serum, moisturizer, and sunscreen. Skip the oil cleanser and exfoliator unless your skin feels congested from the night before. The goal here is speed and protection, not deep treatment.
Your Night Routine
A full night routine uses all ten steps, though sheet masks and exfoliation only happen a few times a week. This is when retinol or stronger actives, if you use them, work best. Nighttime is also when your skin absorbs ingredients most efficiently. It isn’t fighting pollution or sun exposure during the day.
How to Customize Your Routine by Skin Type
No single routine fits every skin type. Adjust the steps above to fit your skin, not a generic template.
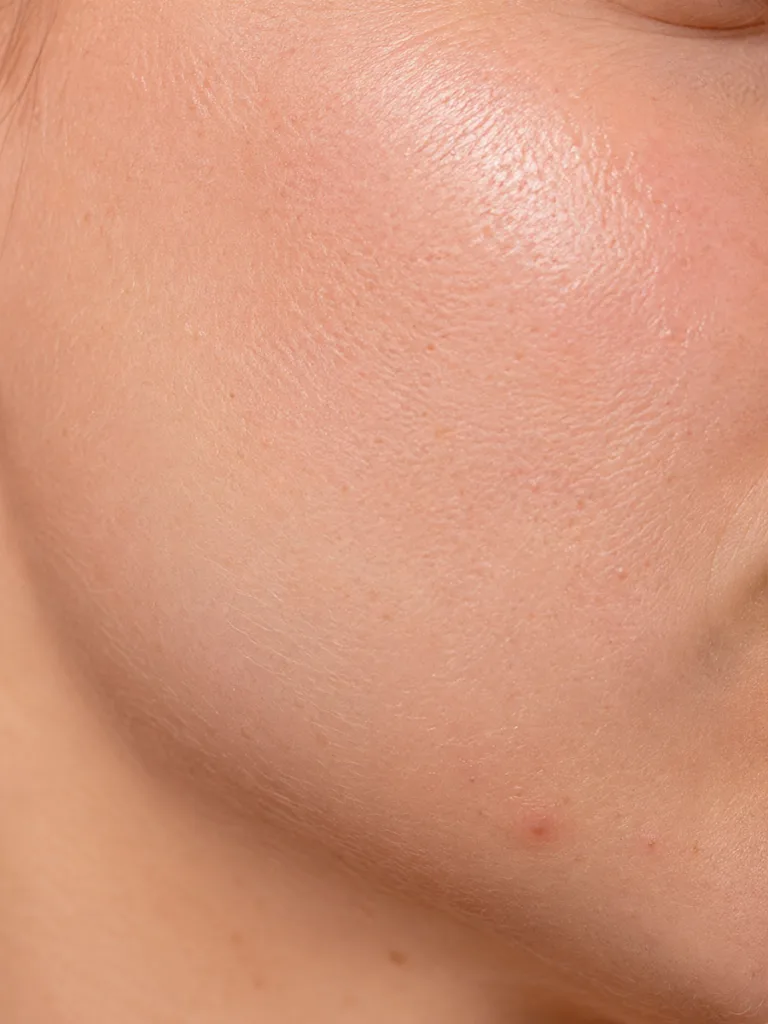
Oily and Acne-Prone Skin
Oily and acne-prone skin benefits from lightweight, gel-based products and a stronger focus on BHA exfoliation to clear pores. Skip heavy oils in the cleansing step and choose a foaming, low-pH cleanser instead. Heavier creams tend to feel suffocating and can worsen breakouts.
Dry Skin
Dry skin needs extra layers of hydration. Add a second essence layer, called skin cycling, or choose a cream-based moisturizer over a gel. Cutting back on exfoliation to once a week also helps preserve moisture instead of stripping it away.
Sensitive Skin
Sensitive skin should avoid fragrance and high concentrations of active ingredients. Introduce one new product at a time and always patch test on your inner arm first. Centella asiatica and panthenol are common calming ingredients worth looking for on the label.
Combination Skin
Combination skin often needs two approaches in one routine. Use a lighter moisturizer on the T-zone and a richer one on drier cheeks. Some people even apply two different moisturizers to different parts of the same face.
Mature Skin
Mature skin benefits from adding peptides and stronger hydrators like ceramides, since barrier function naturally weakens with age. Layer these under your regular moisturizer rather than replacing existing steps. Give new products extra time, since older skin often responds more slowly to change.
Common Mistakes That Ruin Results
Even a well-built routine fails when these mistakes creep in. Recognizing them early saves months of frustration.
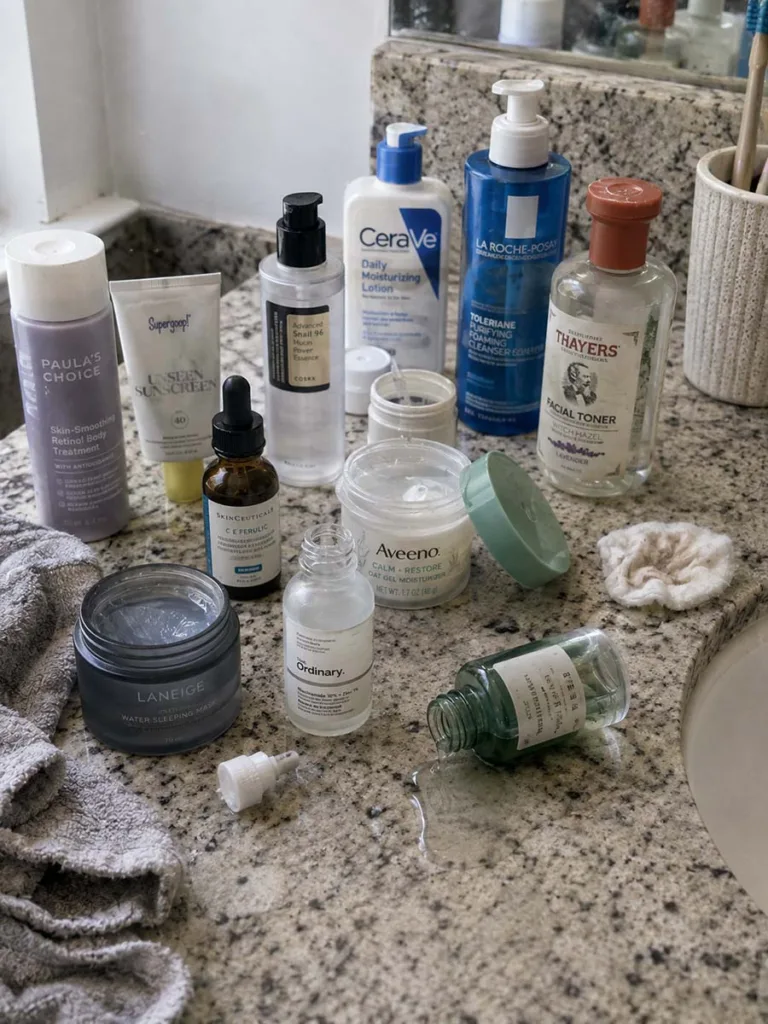
Over-Layering Active Ingredients
Layering too many active ingredients at once is the most common error. Mixing retinol with strong exfoliants, for example, can strip the barrier and cause redness. Introduce one active at a time and wait two weeks before adding another to your rotation.
Skipping Sunscreen
Skipping sunscreen is another frequent mistake. No serum or cream can undo daily UV damage. Applying products in the wrong order also reduces effectiveness. Thicker layers block thinner ones from absorbing properly into the skin.
Switching Products Too Often
Switching products too often prevents your skin from adjusting. Give a new routine at least four to six weeks before judging results. Constant swapping just resets the clock every time.
Washing With Hot Water
Hot water strips natural oils and weakens the barrier faster than cold or lukewarm water. Stick to lukewarm water for every cleansing step, no matter how tempting a hot shower feels in winter.
Overusing Sheet Masks
Piling on too many sheet masks in one week can overwhelm the skin. That leads to clogged pores instead of the glow you’re chasing. Two to three times a week is the sweet spot for most skin types.
How Long Until You See Results

Most people notice smoother texture within two weeks. Visible brightening and reduced breakouts typically take four to eight weeks of consistent use. Deeper concerns, like fine lines or dark spots, often need three months or longer. Consistency matters more than product count.
Skin cell turnover naturally takes around 28 days in younger skin and slows with age. Judge a new routine after a full month, not after a few days. Track your progress with photos taken in the same lighting each week. This makes subtle changes easier to spot than relying on memory alone.
Frequently Asked Questions
1. What is the correct order for a Korean skincare routine?
Cleanse, exfoliate, tone, treat with essence and serum, mask, moisturize, and finish with sunscreen during the day.
2. Do I need all 10 steps every day?
No. Use a shortened version daily and save exfoliation and sheet masks for two to three times a week.
3. Is double cleansing necessary every day?
Yes, at night to remove sunscreen and makeup. In the morning, a single gentle cleanser is usually enough.
4. Can men use a Korean skincare routine?
Yes. The same steps work for any skin type, with product choices adjusted for oil level and sensitivity.
5. Why does my skin purge after starting this routine?
New actives like exfoliants can bring existing congestion to the surface faster. This usually settles within two to four weeks.
6. Can I use Western products in a Korean skincare routine?
Yes. The steps and order matter more than the brand. Mix and match products from any country as long as textures layer thin to thick.
7. How many products do I really need to start?
Four products cover the basics: a gentle cleanser, a hydrating toner, a moisturizer, and daily sunscreen. Add more once your skin adjusts.
Conclusion
This routine works because it respects your skin’s barrier instead of fighting it. Start with the basics: double cleanse, hydrate, and protect with SPF every single day. These four steps alone will outperform any single fancy serum. Add an essence, a sheet mask, and targeted actives once your skin adjusts to the routine. Track your progress with weekly photos instead of judging results after a few days. Real change takes about a month, sometimes longer for stubborn concerns like dark spots. Consistency beats a packed shelf of products every time. Pick one step from this guide and start tonight.