DIY Coconut Hair Conditioner: 8 Best Silky Hair Recipes
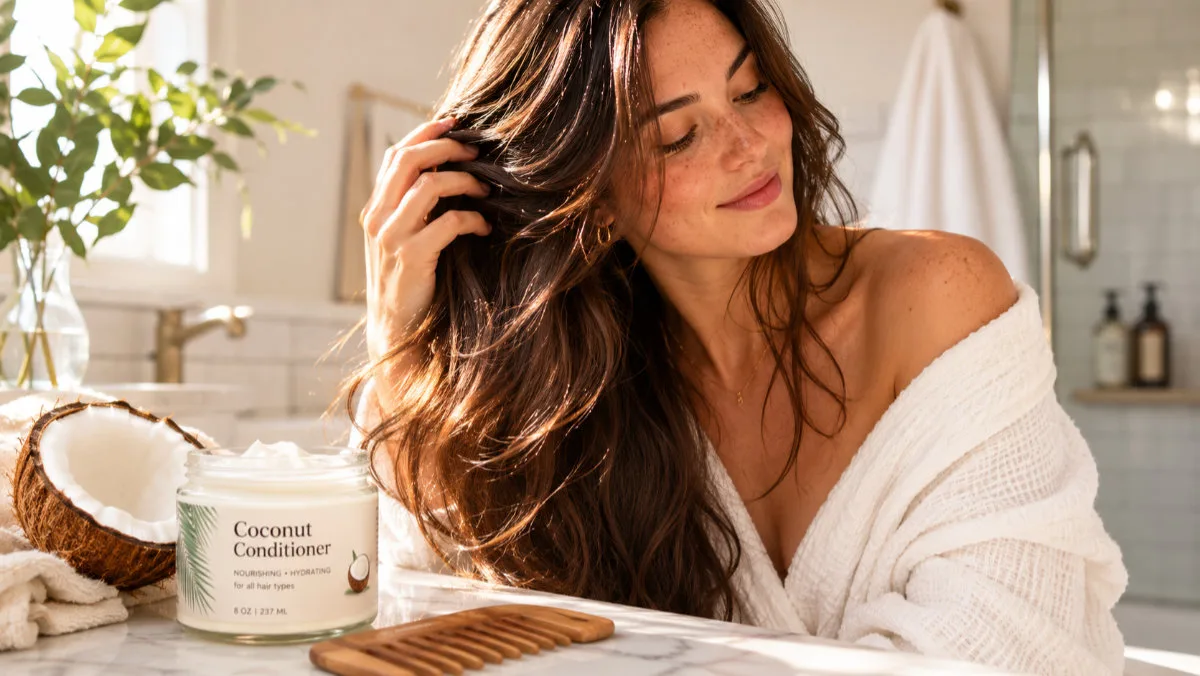
Why does your hair still feel dry after conditioner every single wash? You’re not doing anything wrong. Most bottled conditioners lean on silicone to fake softness. It sits on top of the hair, then washes away and leaves you back where you started.
A homemade DIY coconut hair conditioner for shiny and silky hair works differently. Coconut oil slips into the hair shaft instead of coating the outside. It reaches the inner cortex and locks in moisture where it actually counts. Women have used this trick for generations, long before bottled conditioners existed.
Here’s what you’re getting: eight tested recipes, built from stuff already in your kitchen. You’ll learn how to match each one to your hair type. You’ll also find out why some coconut treatments leave hair greasy instead of soft. Let’s get into it.
Why Coconut Oil Conditions Hair So Well
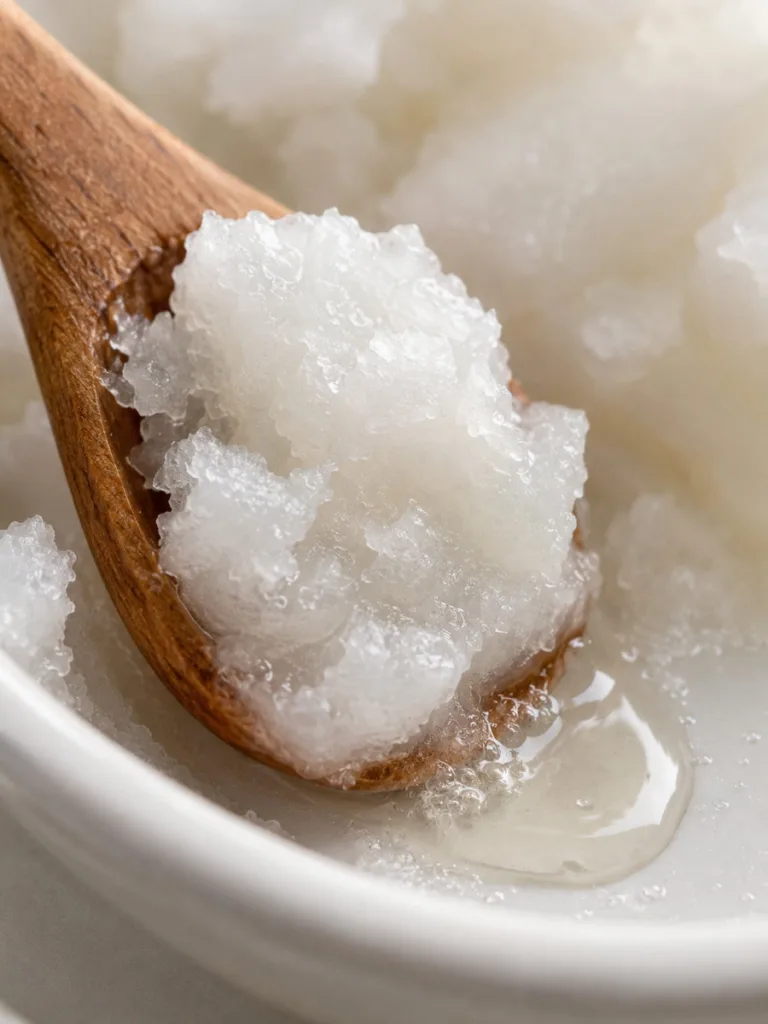
The science part is short, so bear with me. Coconut oil is full of medium-chain fatty acids, mainly lauric acid. That fat has a straight molecular shape. It slips past the hair cuticle more easily than most plant oils do. Once it’s inside, it binds to hair proteins. That slows moisture loss from every strand. A study in the Journal of Cosmetic Science actually tested this. Coconut oil reduced protein loss during washing far more than mineral oil or sunflower oil.
One trait, a lot of payoff. It gets you:
- Reduces protein loss during washing and heat styling
- Smooths the cuticle layer, so light bounces off evenly and hair looks shinier
- Fights frizz by holding strands together instead of letting them fray apart
- Calms an itchy, flaky scalp with natural antifungal and anti-inflammatory compounds
- Shields hair from UV rays and everyday pollution buildup
Commercial conditioners take a shortcut. They lean on silicones to fake smoothness. Silicones just sit on the surface. They build up over weeks and dull your hair over time. A real coconut oil conditioner does something different. It repairs the strand instead of hiding damage under a coating. That’s the same effect the study above measured, and it’s why virgin coconut oil keeps beating the alternatives.
What You Need Before You Start
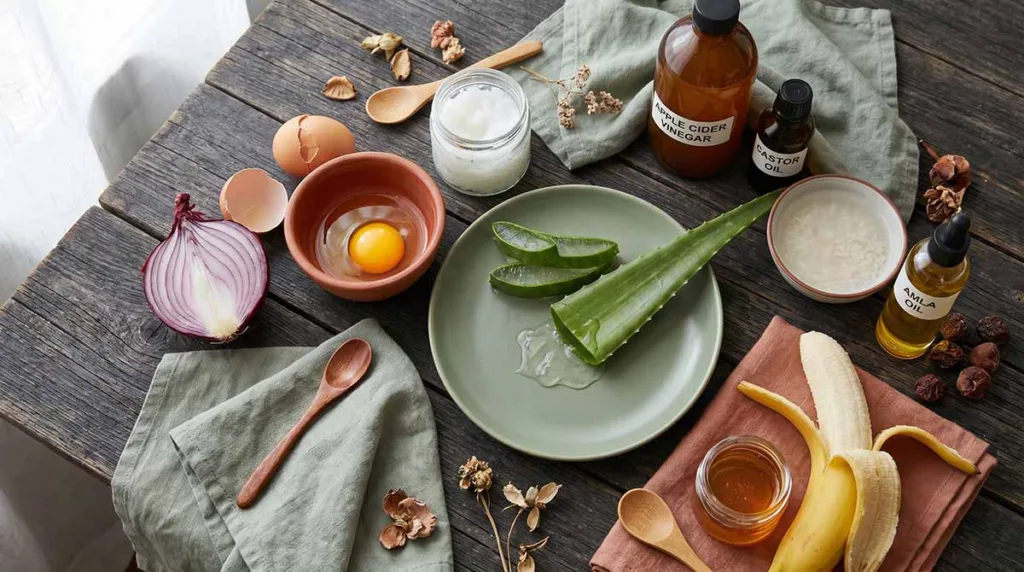
Good results start with good ingredients. That’s the first rule. Skip the refined, bleached coconut oil sold for cooking. Grab virgin coconut oil or cold-pressed coconut oil instead. Why? Heavy processing strips out the fatty acids and antioxidants that actually condition your hair.
You’ll also want a few basics on hand. A small mixing bowl. A double boiler or a microwave-safe dish. An airtight glass jar for storage. And a wide-tooth comb, which spreads the mixture evenly without snapping strands, especially through wet, tangled ends.
One more step matters, and don’t skip it. Patch test any new mix on your inner arm 24 hours before it touches your scalp. It takes less than five minutes. It catches allergic reactions before they reach your hairline.
8 DIY Coconut Hair Conditioner Recipes for Silky, Shiny Hair
Not every recipe here does the same job. Some go deep. Some are quick, light, everyday fixes. Each coconut hair conditioner below targets a different goal. Pick one based on your hair type, your porosity, and how much time you actually have on wash day. All eight use pantry staples you probably already own. No special shopping trip needed. Skim through them first, though. A few share ingredients, so you can prep more than one at once.
1. Classic Coconut and Shea Butter Pre-Poo
Best for dry, damaged hair that needs extra repair before shampooing.
You’ll need:
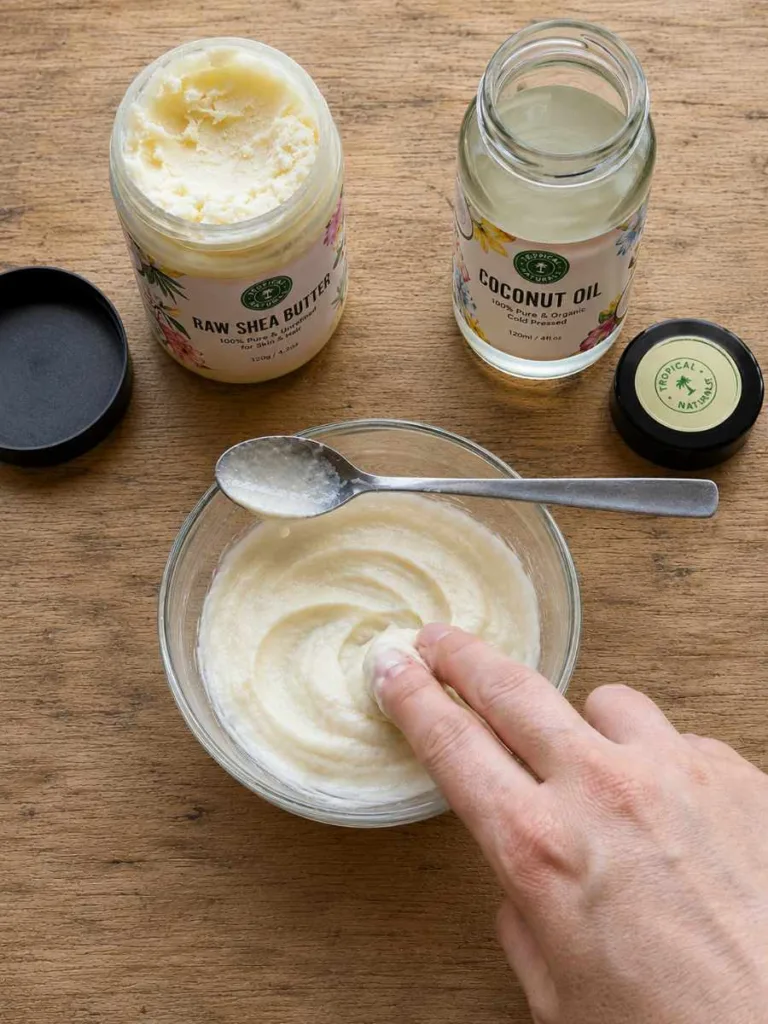
- 2 tbsp coconut oil
- 1 tbsp shea butter
- 1 tsp jojoba oil
- A few drops of essential oil
How to use it:
- Melt the coconut oil and shea butter together over low heat.
- Stir in the jojoba oil and essential oil.
- Chill until firm, then whip until creamy and smooth.
- Apply from roots to ends before shampooing.
- Leave it on for 30 minutes or overnight for deeper repair.
2. Coconut Milk Leave-In Spray
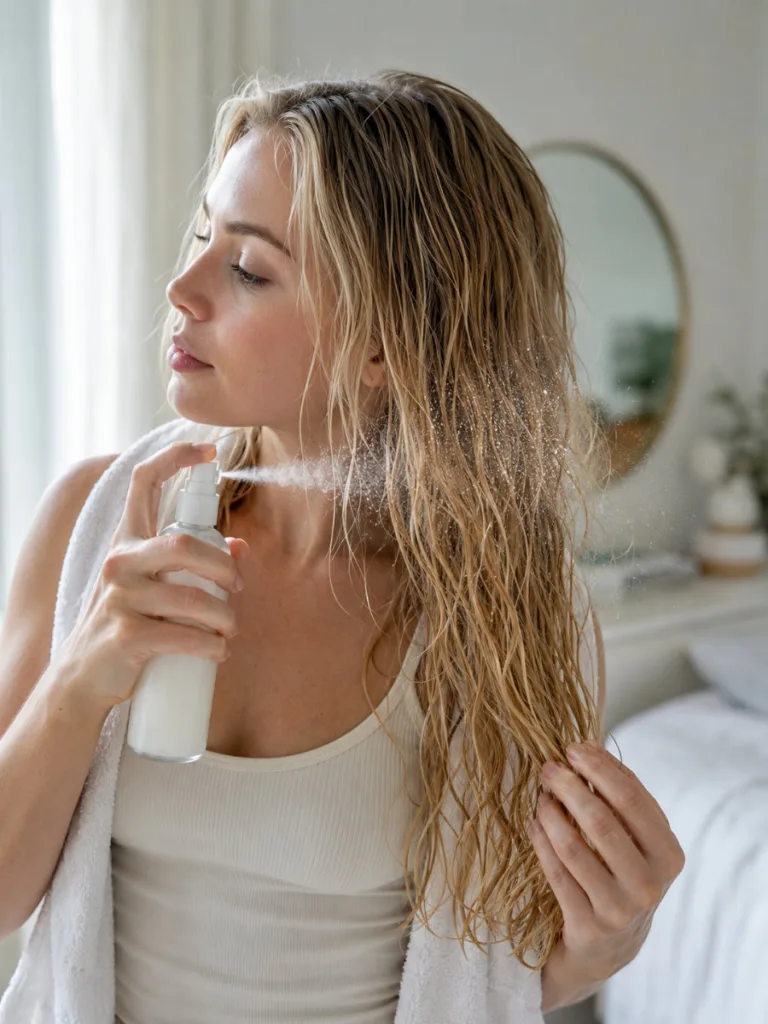
A homemade coconut milk conditioner you spray on, not rinse out. Best for hydrating fine strands or curls without weighing them down.
You’ll need:
- ½ cup coconut milk
- 1 cup distilled water
- 1 tbsp aloe vera gel
How to use it:
- Whisk all three ingredients together.
- Pour into a spray bottle and shake well before each use.
- Mist onto damp hair after washing, focusing on mid-lengths.
3. Coconut and Honey Deep Mask
Best for locking in moisture with a natural humectant.
You’ll need:
- 2 tbsp coconut oil
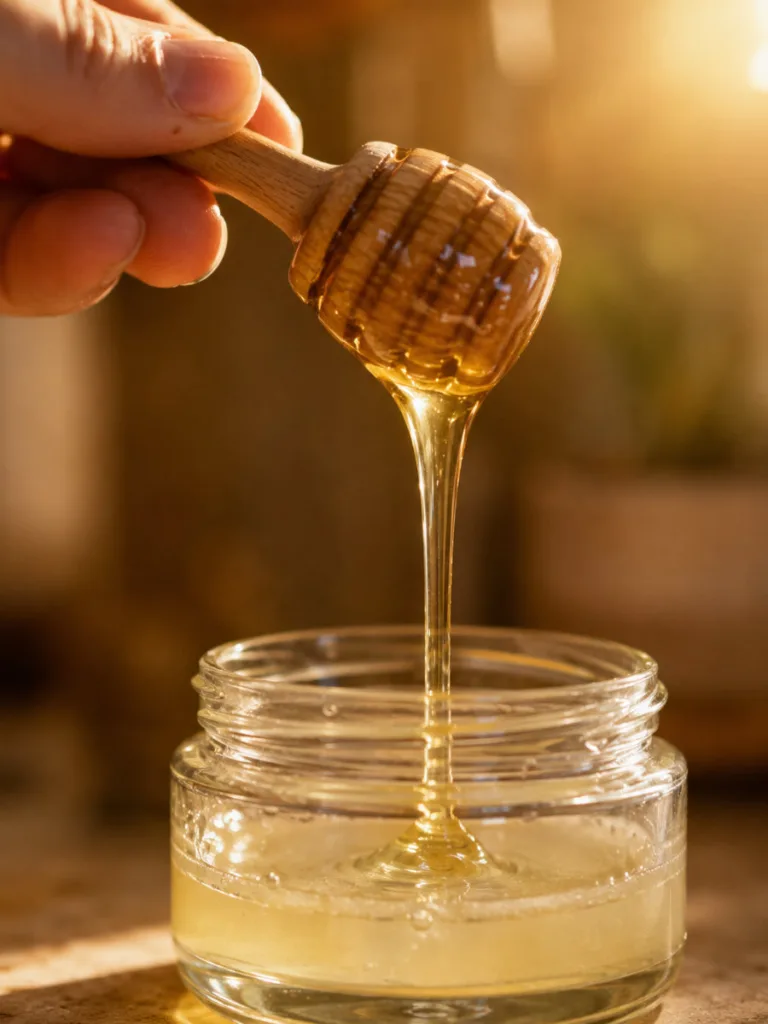
- 1 tbsp raw honey
How to use it:
- Combine the coconut oil and honey until smooth.
- Apply to mid-lengths and ends.
- Cover with a shower cap and leave for 20 minutes.
- Rinse with lukewarm water.
4. Coconut and Castor Oil Growth Mask
Best for boosting scalp circulation once a week.
You’ll need:
- 4 tbsp coconut oil
- 2 tbsp castor oil

How to use it:
- Mix the oils together.
- Massage into the scalp, then work the rest through the lengths.
- Shampoo twice afterward, since castor oil is thick and leaves residue.
- Repeat weekly for a full month to see results.
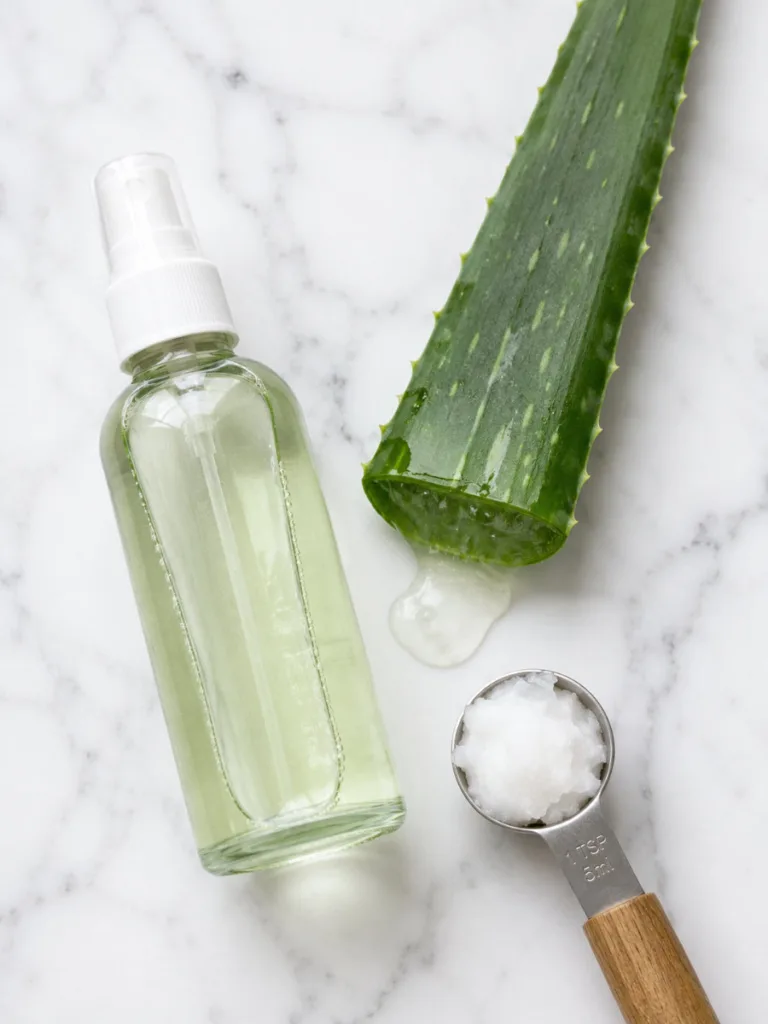
5. Coconut and Aloe Vera Lightweight Spray
It’s best for fine hair and low-porosity hair, which turns greasy fast with heavier mixes.
You’ll need:
- 2 tbsp coconut oil
- 4 tbsp aloe vera juice
How to use it:
- Blend both ingredients in a spray bottle.
- Shake well before each use.
- Mist lightly onto damp or dry hair.
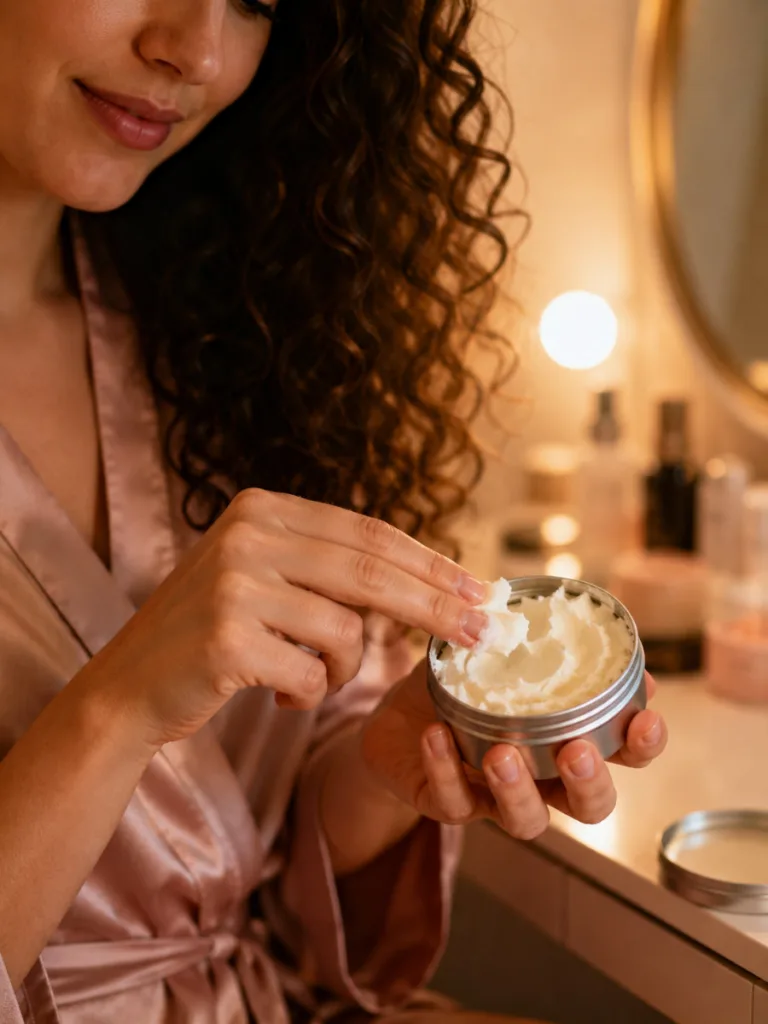
6. Coconut and Apricot Smoothing Cream
Best for taming frizz on thick, curly hair without residue.
You’ll need:
- 2 tbsp coconut oil
- 1 tbsp shea butter
- 2 tbsp apricot kernel oil
- 1 tbsp glycerin
How to use it:
- Melt the coconut oil and shea butter together.
- Whisk in the apricot kernel oil and glycerin.
- Whip until fluffy and light before applying.
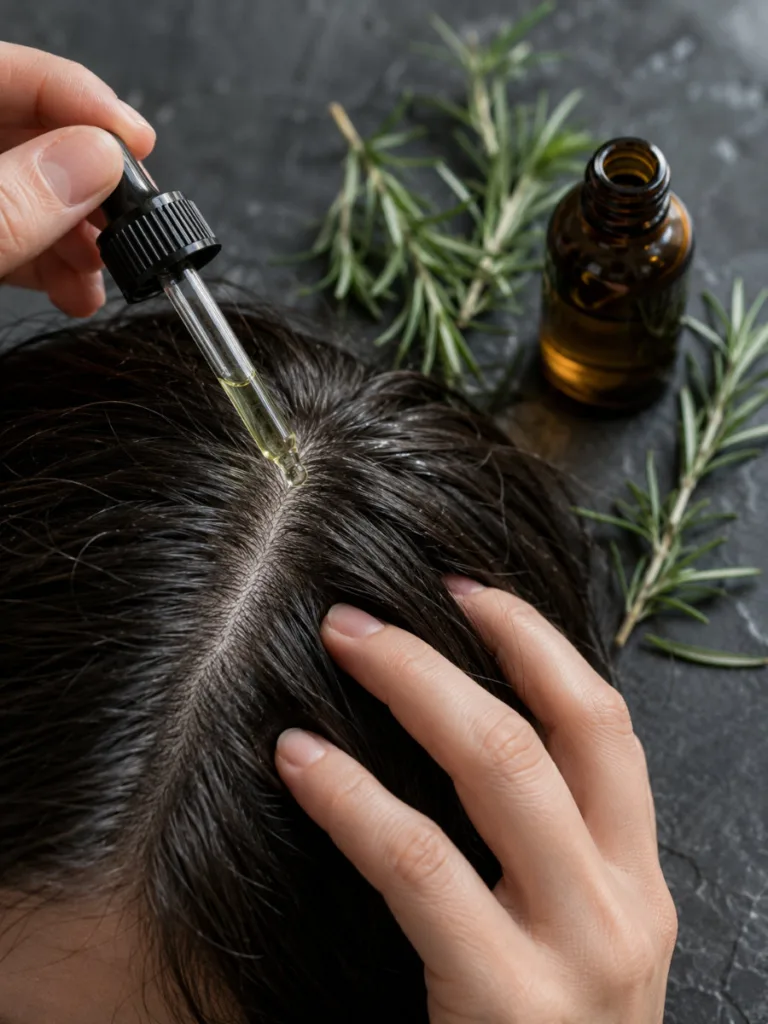
7. Coconut and Rosemary Scalp Mask
Best for strengthening follicles. A small trial found rosemary essential oil worked about as well as minoxidil for thickening hair over six months.
You’ll need:
- 3 tbsp coconut oil
- 5 drops rosemary essential oil
How to use it:
- Warm the coconut oil slightly, then stir in the rosemary oil.
- Massage into the scalp for five minutes.
- Leave on for 15 more minutes.
- Wash out with a gentle sulfate-free shampoo.
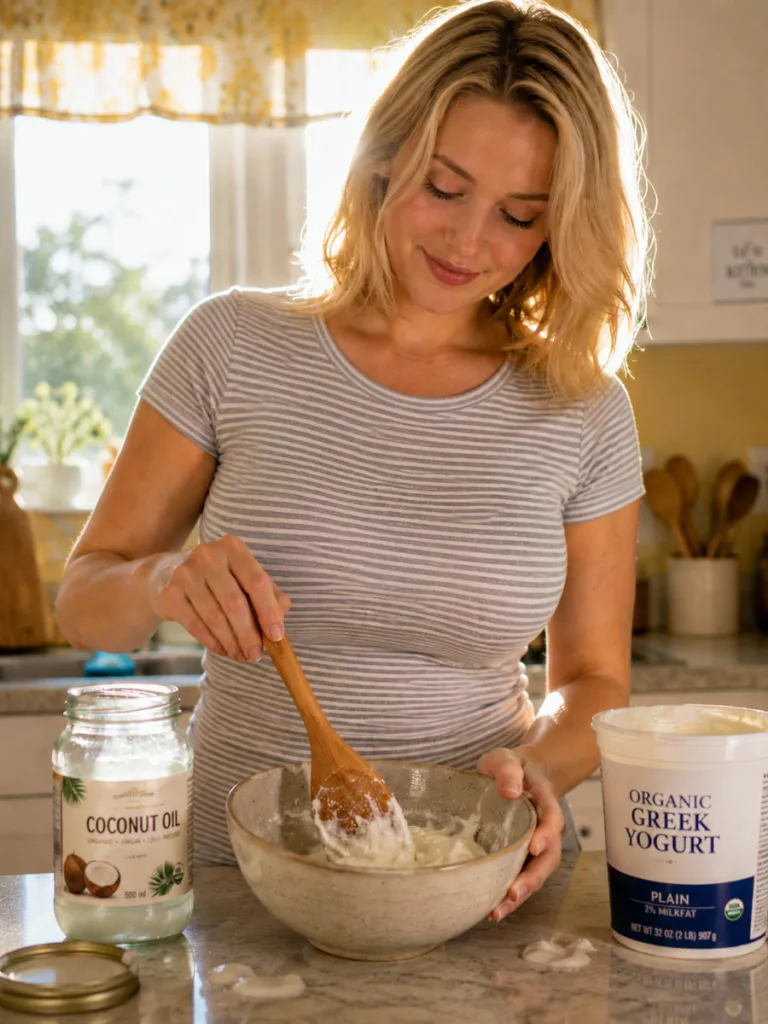
8. Coconut and Yogurt Protein Mask
Best for strengthening weak, over-processed strands with lactic acid and protein.
You’ll need:
- 2 tbsp coconut oil
- ½ cup plain yogurt
How to use it:
- Stir the coconut oil into the yogurt until blended.
- Apply from root to tip.
- Wait 25 minutes.
- Rinse with cool water for an extra shine boost.
How to Match the Recipe to Your Hair Type
Nobody tells you this part. Hair porosity decides how well a recipe works, more than anything else on this list. Get this wrong, and even a great recipe flops. Pick based on your type:
- Low-porosity hair: Tightly packed cuticles resist oil absorption. Heavy recipes, like the shea butter pre-poo, can sit on top and feel greasy for days. Go lighter. Try the aloe vera spray instead, since it absorbs faster.
- High-porosity hair: Small gaps in the cuticle let moisture escape fast, all day long. Richer masks, like the castor oil growth mask or the apricot smoothing cream, seal those gaps and hold moisture in longer.
- Fine hair: Needs the smallest amount of oil. Apply it only to the ends, where damage shows first.
- Thick or coily hair: Can handle full-length application and longer processing time without going limp or flat at the roots.
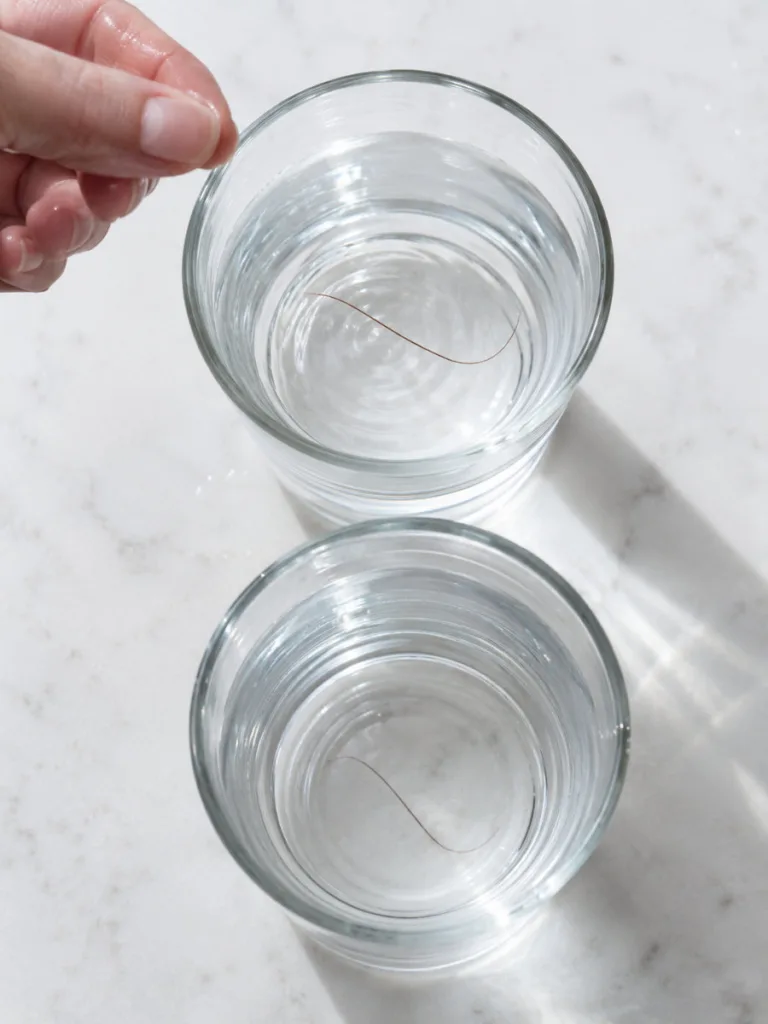
Not sure of your porosity? Try this. Drop a clean strand of hair into a glass of water. If it sinks fast, that’s high porosity. If it floats, that’s low porosity, and you’ll want the lightest recipes on this list.
How to Apply a Coconut Conditioner the Right Way
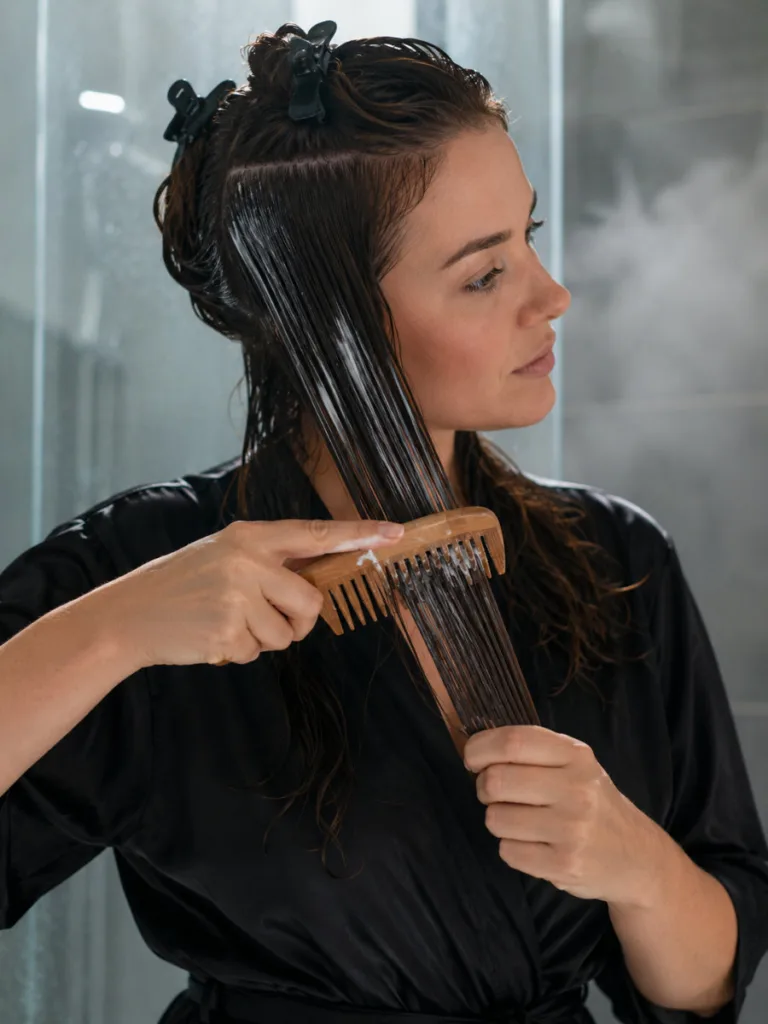
The recipe matters, sure. But how you apply it matters just as much. Follow these five steps every time, no matter which recipe you picked:
- Section your hair into four parts before applying any mixture. It makes even coverage way easier on longer hair.
- Start at the mid-lengths and work toward the ends. Roots rarely need extra oil, unless you’re doing a scalp mask.
- Distribute with a wide-tooth comb. It spreads the product and detangles at the same time.
- Cover with a shower cap to trap body heat. That heat helps the oil absorb deeper into each strand.
- Wait at least 20 minutes before rinsing with lukewarm water, not hot. Coconut oil needs time to fully penetrate the cuticle. Rushing this step is the single biggest reason people see weak results from an otherwise good recipe.
Common Mistakes That Leave Hair Greasy or Weighed Down
“My hair feels greasy” is the number one complaint about coconut oil. It’s almost never the oil’s fault. Most greasy results trace back to one of these four fixable habits:
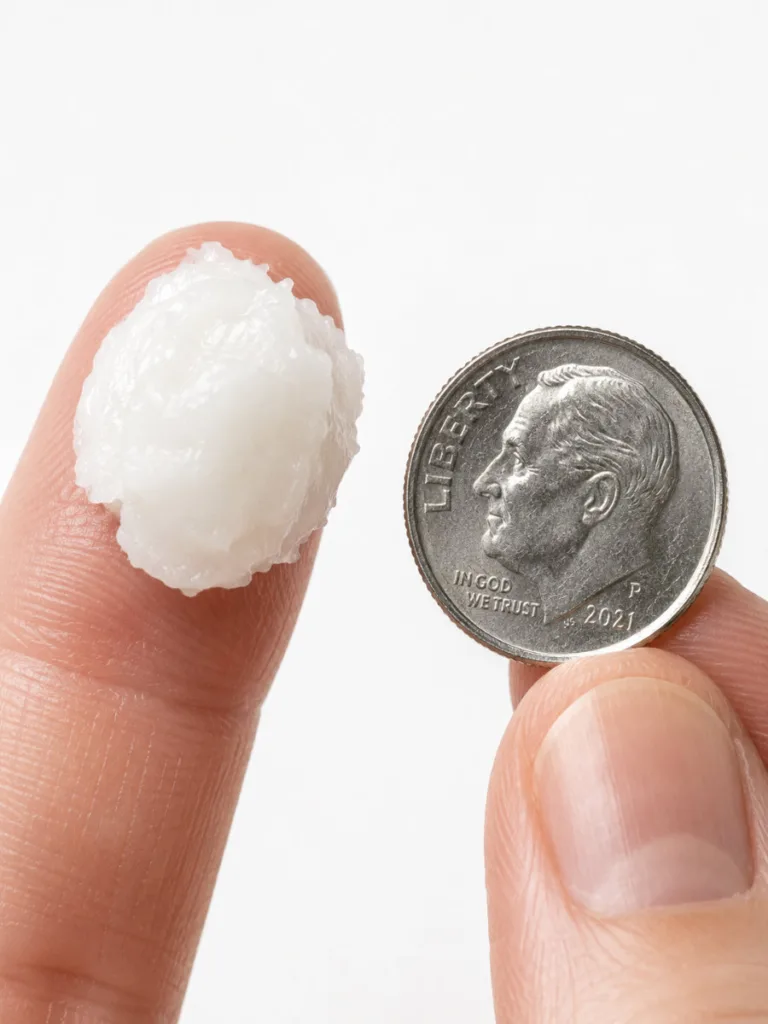
- Using too much product. A dime-sized amount is enough for shoulder-length hair in most recipes above.
- Applying oil straight to an already oily scalp. That triggers extra buildup, plus flat, lifeless roots by the next day.
- Skipping the double shampoo. This matters most with the castor oil blend. Always follow up with a sulfate-free shampoo to fully clear the oil residue.
- Using the wrong recipe for your porosity. As covered above, this is usually the real reason behind heavy, limp results that people blame on coconut oil itself.
One more thing catches people off guard: cold weather. Coconut oil solidifies below 76 degrees Fahrenheit. Leave a jar in a cold bathroom, and it turns clumpy and hard to spread evenly through hair.
How Long Homemade Coconut Conditioner Lasts
Good news first: oil-based recipes last a while. Four to six months at room temperature, as long as they’re away from direct sunlight and heat. The catch is anything made with coconut milk, honey, or yogurt. Those spoil much faster, since they contain water and dairy. Keep those in the fridge, and use them within seven to ten days. Better safe than itchy.
Frequently Asked Questions
Does DIY coconut oil conditioner really make hair shinier?
Yes, it does. Coconut oil smooths the cuticle layer, so light reflects evenly across each strand. You’ll notice visible shine within a few uses.
How often should I use a coconut hair conditioner?
Two to three times a week works well for normal to thick hair. Got fine or low-porosity hair? Stick to once a week.
Can coconut oil damage hair if overused?
Not really. Overuse causes buildup and dullness, not actual damage. Just cut back on the amount or the frequency if hair starts feeling heavy.
Should I apply it to wet or dry hair?
Either works. Apply to damp hair to lock in moisture or to dry hair before shampooing as a protective pre-poo treatment.
Is coconut oil safe for color-treated hair?
Yes. It won’t strip your color. It may even help retain moisture that color treatments tend to remove from the hair shaft.
Why does coconut oil make my hair feel greasy?
Two likely reasons. You used too much, or your hair has low porosity. Try the lightweight aloe vera spray recipe instead.
Conclusion
Real shine doesn’t come from a bottle full of silicones. A homemade coconut hair conditioner gets you there without the hidden chemicals. So pick the recipe that matches your hair porosity. Patch test it tonight. Then apply it before bed. Wake up to noticeably softer, silkier hair.
For more hair care tips, please visit VelvetBoard.